A contribution by Florian Jasche
In the last two days I have been working on retr0bright and I don’t want to withhold my experiences from you. I’m currently retrofitting this old Playstation 2 controller and was actually going to limit myself to the inside, but now I’ve decided to give the controller a bit of a facelift on the outside as well.
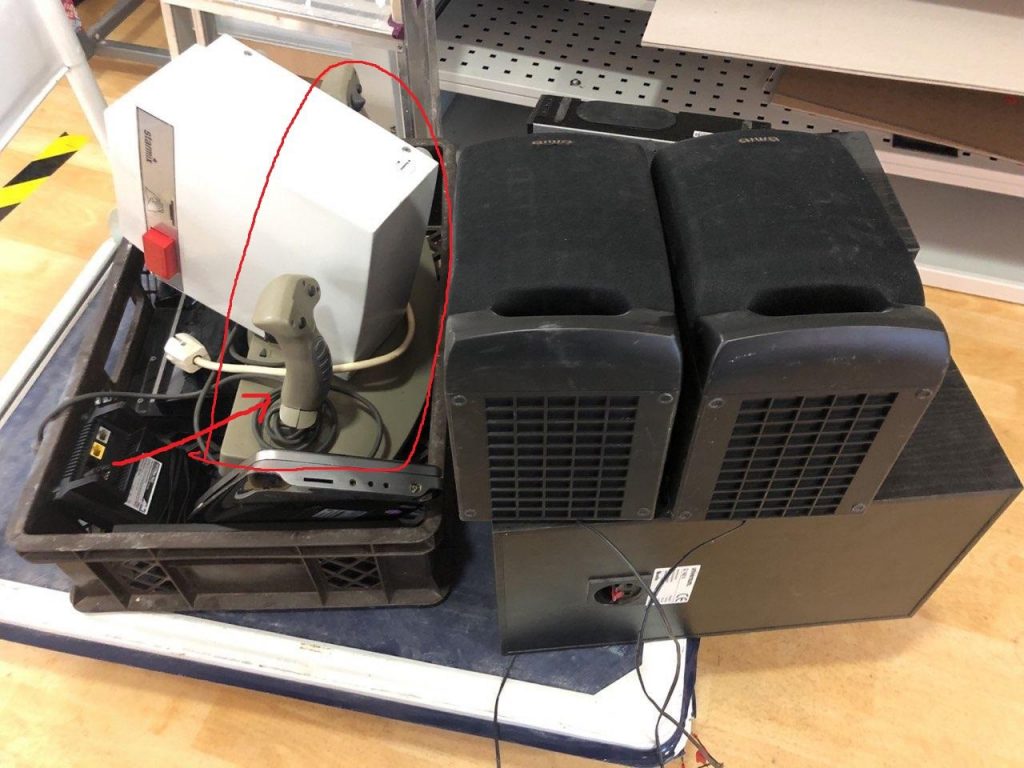
However, the primary goal was not to make the controller look nicer again, but to simply have retr0bright done. So I looked around in this internet how retr0bright works and what you need for it. You can find many different recipes and procedures. All involve hydrogen peroxide (H2O2) solution 👨🔬 and (UV) light. I was inspired by this video first and decided on the H2O2 and heat variant:
For this I bought a 3% hydrogen peroxide solution. You can get them for a few euros at Müller or Amazon. To test the procedure, I first performed a small test. There were two parts on the controller that had to be replaced due to damage and could therefore be used as a test and reference object. Before the test, I removed the protection from the parts.

For the H2O2 & heat variation, I mixed the H2O2 with tap water in about a 1:2 ratio and heated it to about 60°C in a pot, then let the first part float in the solution for four hours. Even though no additional light source was used in the video, I still decided to shine a lamp into the pot. Since other tutorials keep saying that the best results can be achieved with ultraviolet light or lots of light in general, I took the brightest/intensive lamp I had there. This is a 50W high power LED which is normally used as plant lighting. But I can’t tell you exactly what wavelength comes out ¯_(ツ)_/¯.

After four hours, I then took the part out of the solution and could perceive a visible brightening, with which I was satisfied.

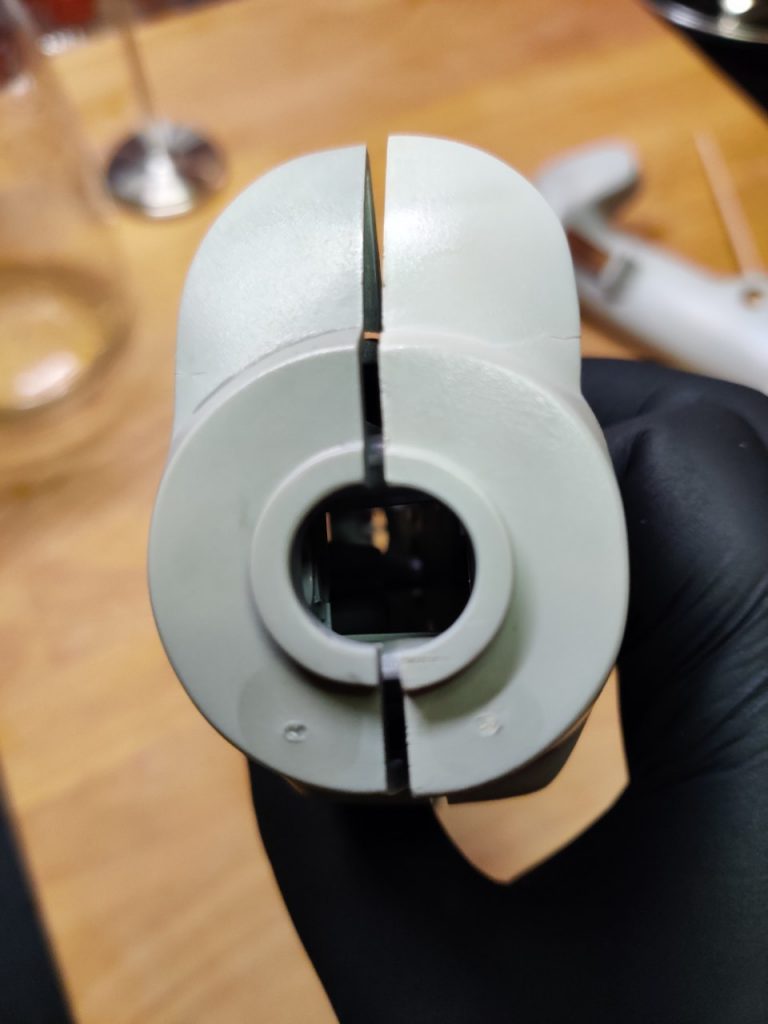
So in go the next parts. Since I had bought only a small bottle of H2O2 (250ml) and accordingly there was not so much liquid in the pot, I first put in only the front sides of the joysticks, since they are somewhat flatter. Important: the parts should be completely covered. After four more hours, I took out the fronts of the joysticks and compared them to the backs.

I treated the backs using the same process, but I had to improvise a bit because I didn’t have enough of the hydrogen peroxide solution to completely cover the backs. So I decanted the solution into the jar and added some more water and then heated the solution by water bath. This time I couldn’t set up the lamp properly, so I left it out.

After another four hours, I got the parts out. The whitening was much less than the other pieces, so I just let them float in the solution for another three hours. Unfortunately, this did not bring so much.
Since the actual controller housing is way too big for my pots, I used a different variant here. For large housing parts, the Internet recommends the use of hydrogen peroxide gel. In this process, hydrogen peroxide is mixed with glycerin (among other moisturizing properties) and xanthan gum (E 415, thickening agent). Alternatively, you can use Oxide Cream from the hairdresser: https://www.amazon.de/Cream-Oxide-1000ml-12/dp/B008F5MIL6/ (see reviews).
The procedure here is as follows: The part to be bleached is evenly coated with the gel and then, if possible, wrapped airtight (zip lock bag or cling film) and placed in the sun or under a lamp for about 24 hours. Wrapping is to prevent the gel from drying out too quickly.


The aluminum foil serves only as protection for the table. Then quickly built a bracket for the lamp 👨🔧.
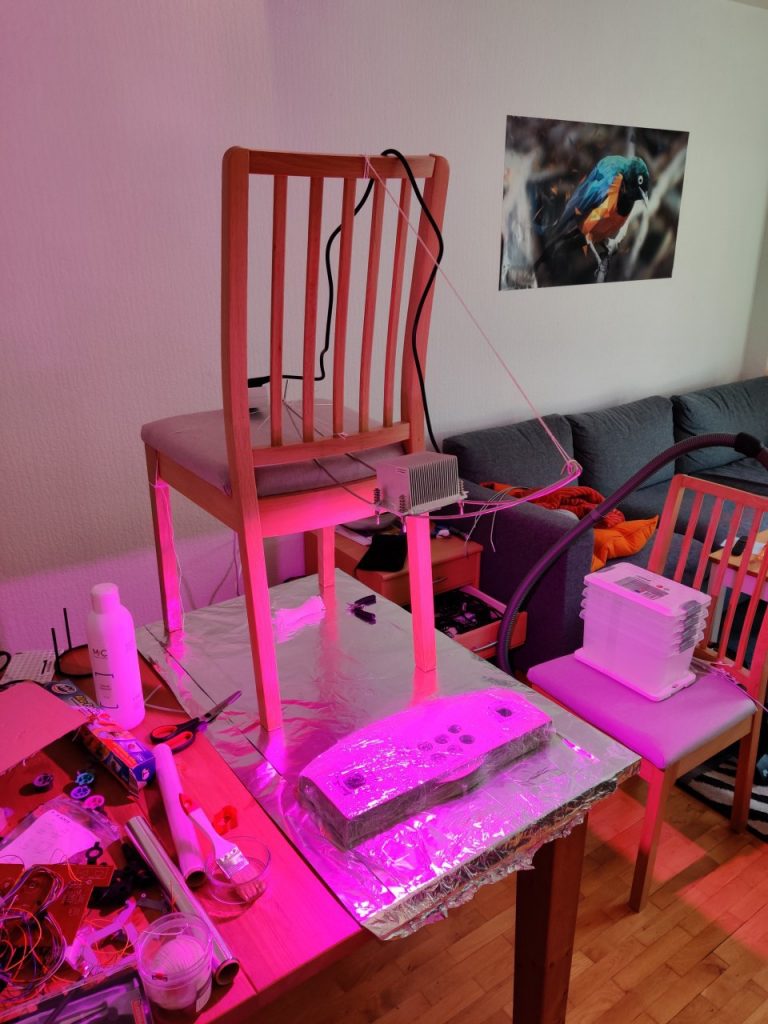
After about 24 hours, I then freed the case from the cling film and washed it properly. It has become brighter, but unfortunately not as much as the other parts.


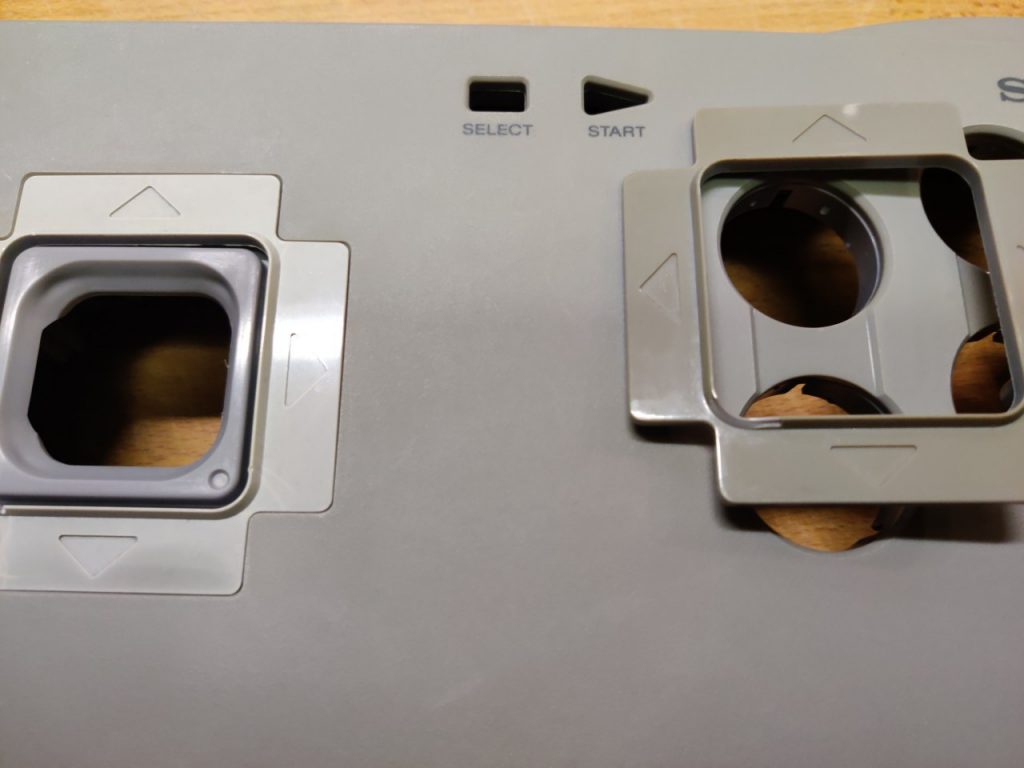
I also put the backs of the joysticks under the lamp overnight. In the morning, the parts looked like this:



0 Comments