From the 25th to the 28th of March, a technology camp will take place at the SIEGENIA Ausbildungszentrum, which we are organising together with the SIEGENIA GROUP and FRids e.V.. The technology camp will give pupils from regional schools the opportunity to learn the basics of 3D-modelling and 3D-printing.
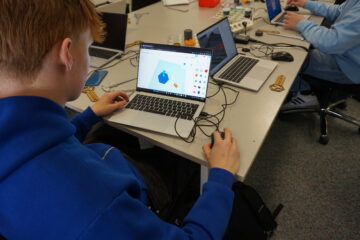
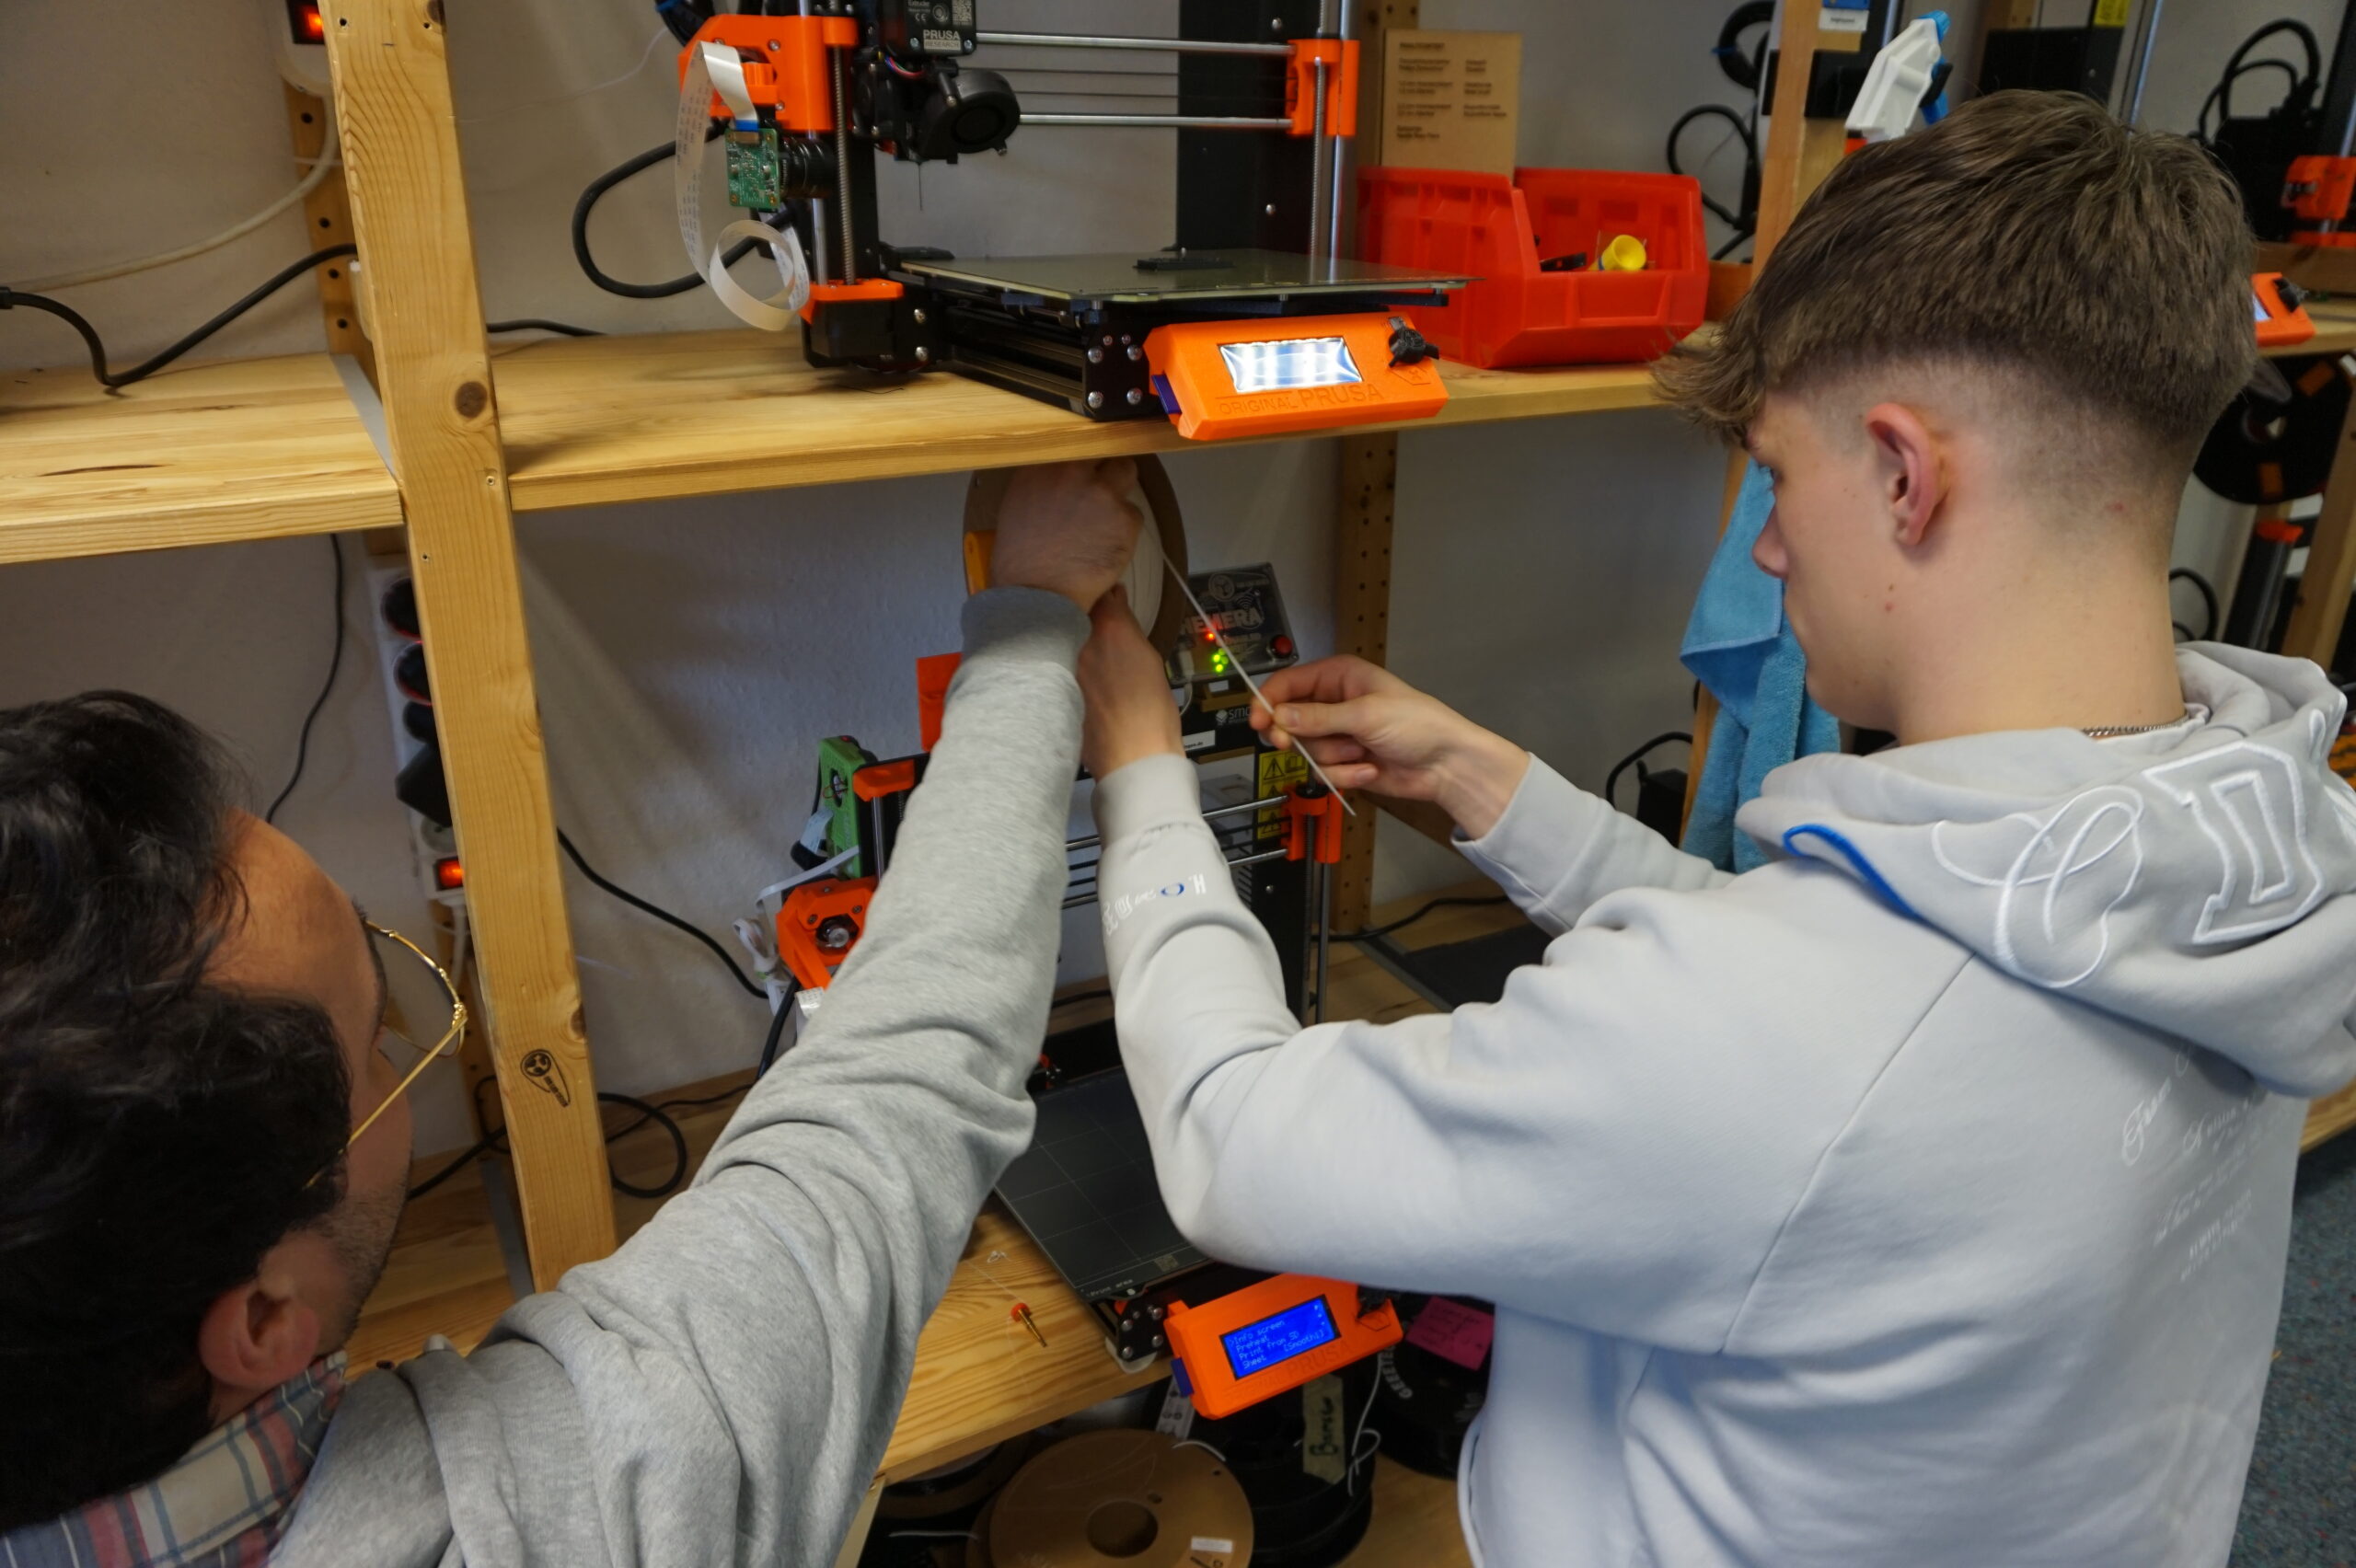
In order to provide the students with the best possible support, seven motivated trainees who work at SIEGENIA in the toolmaking and mechatronics departments were introduced to 3D printing in a train-the-trainer workshop here at the Fab Lab last week. Over the course of two days, our two colleagues, Marios Mouratidis and Jonas Kosiahn, taught the trainees how the technology works and how they can design and print their own models.
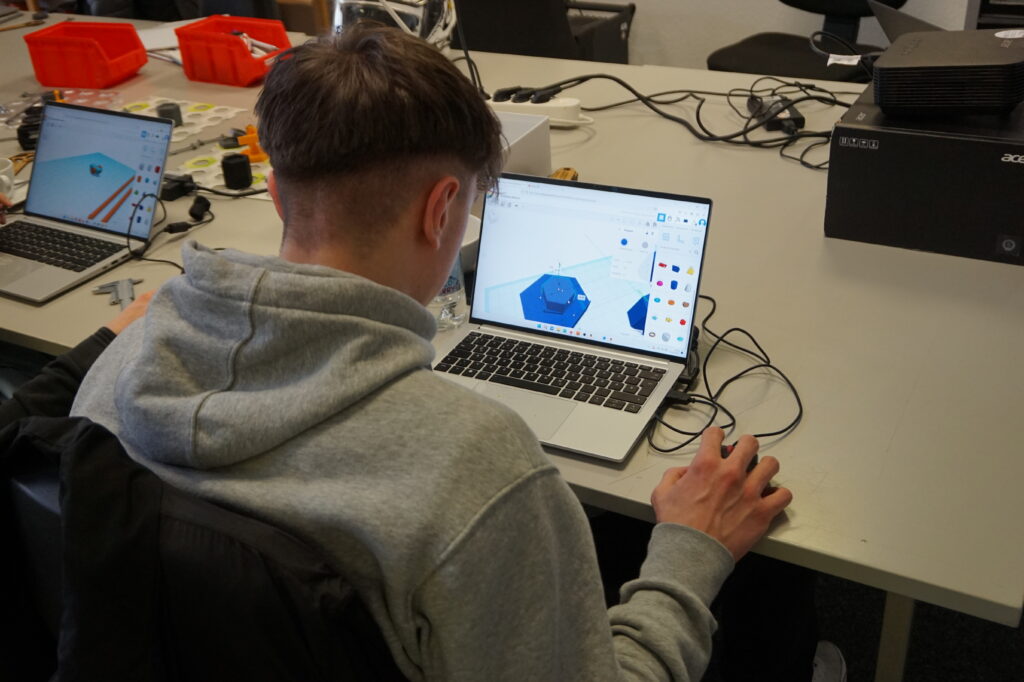
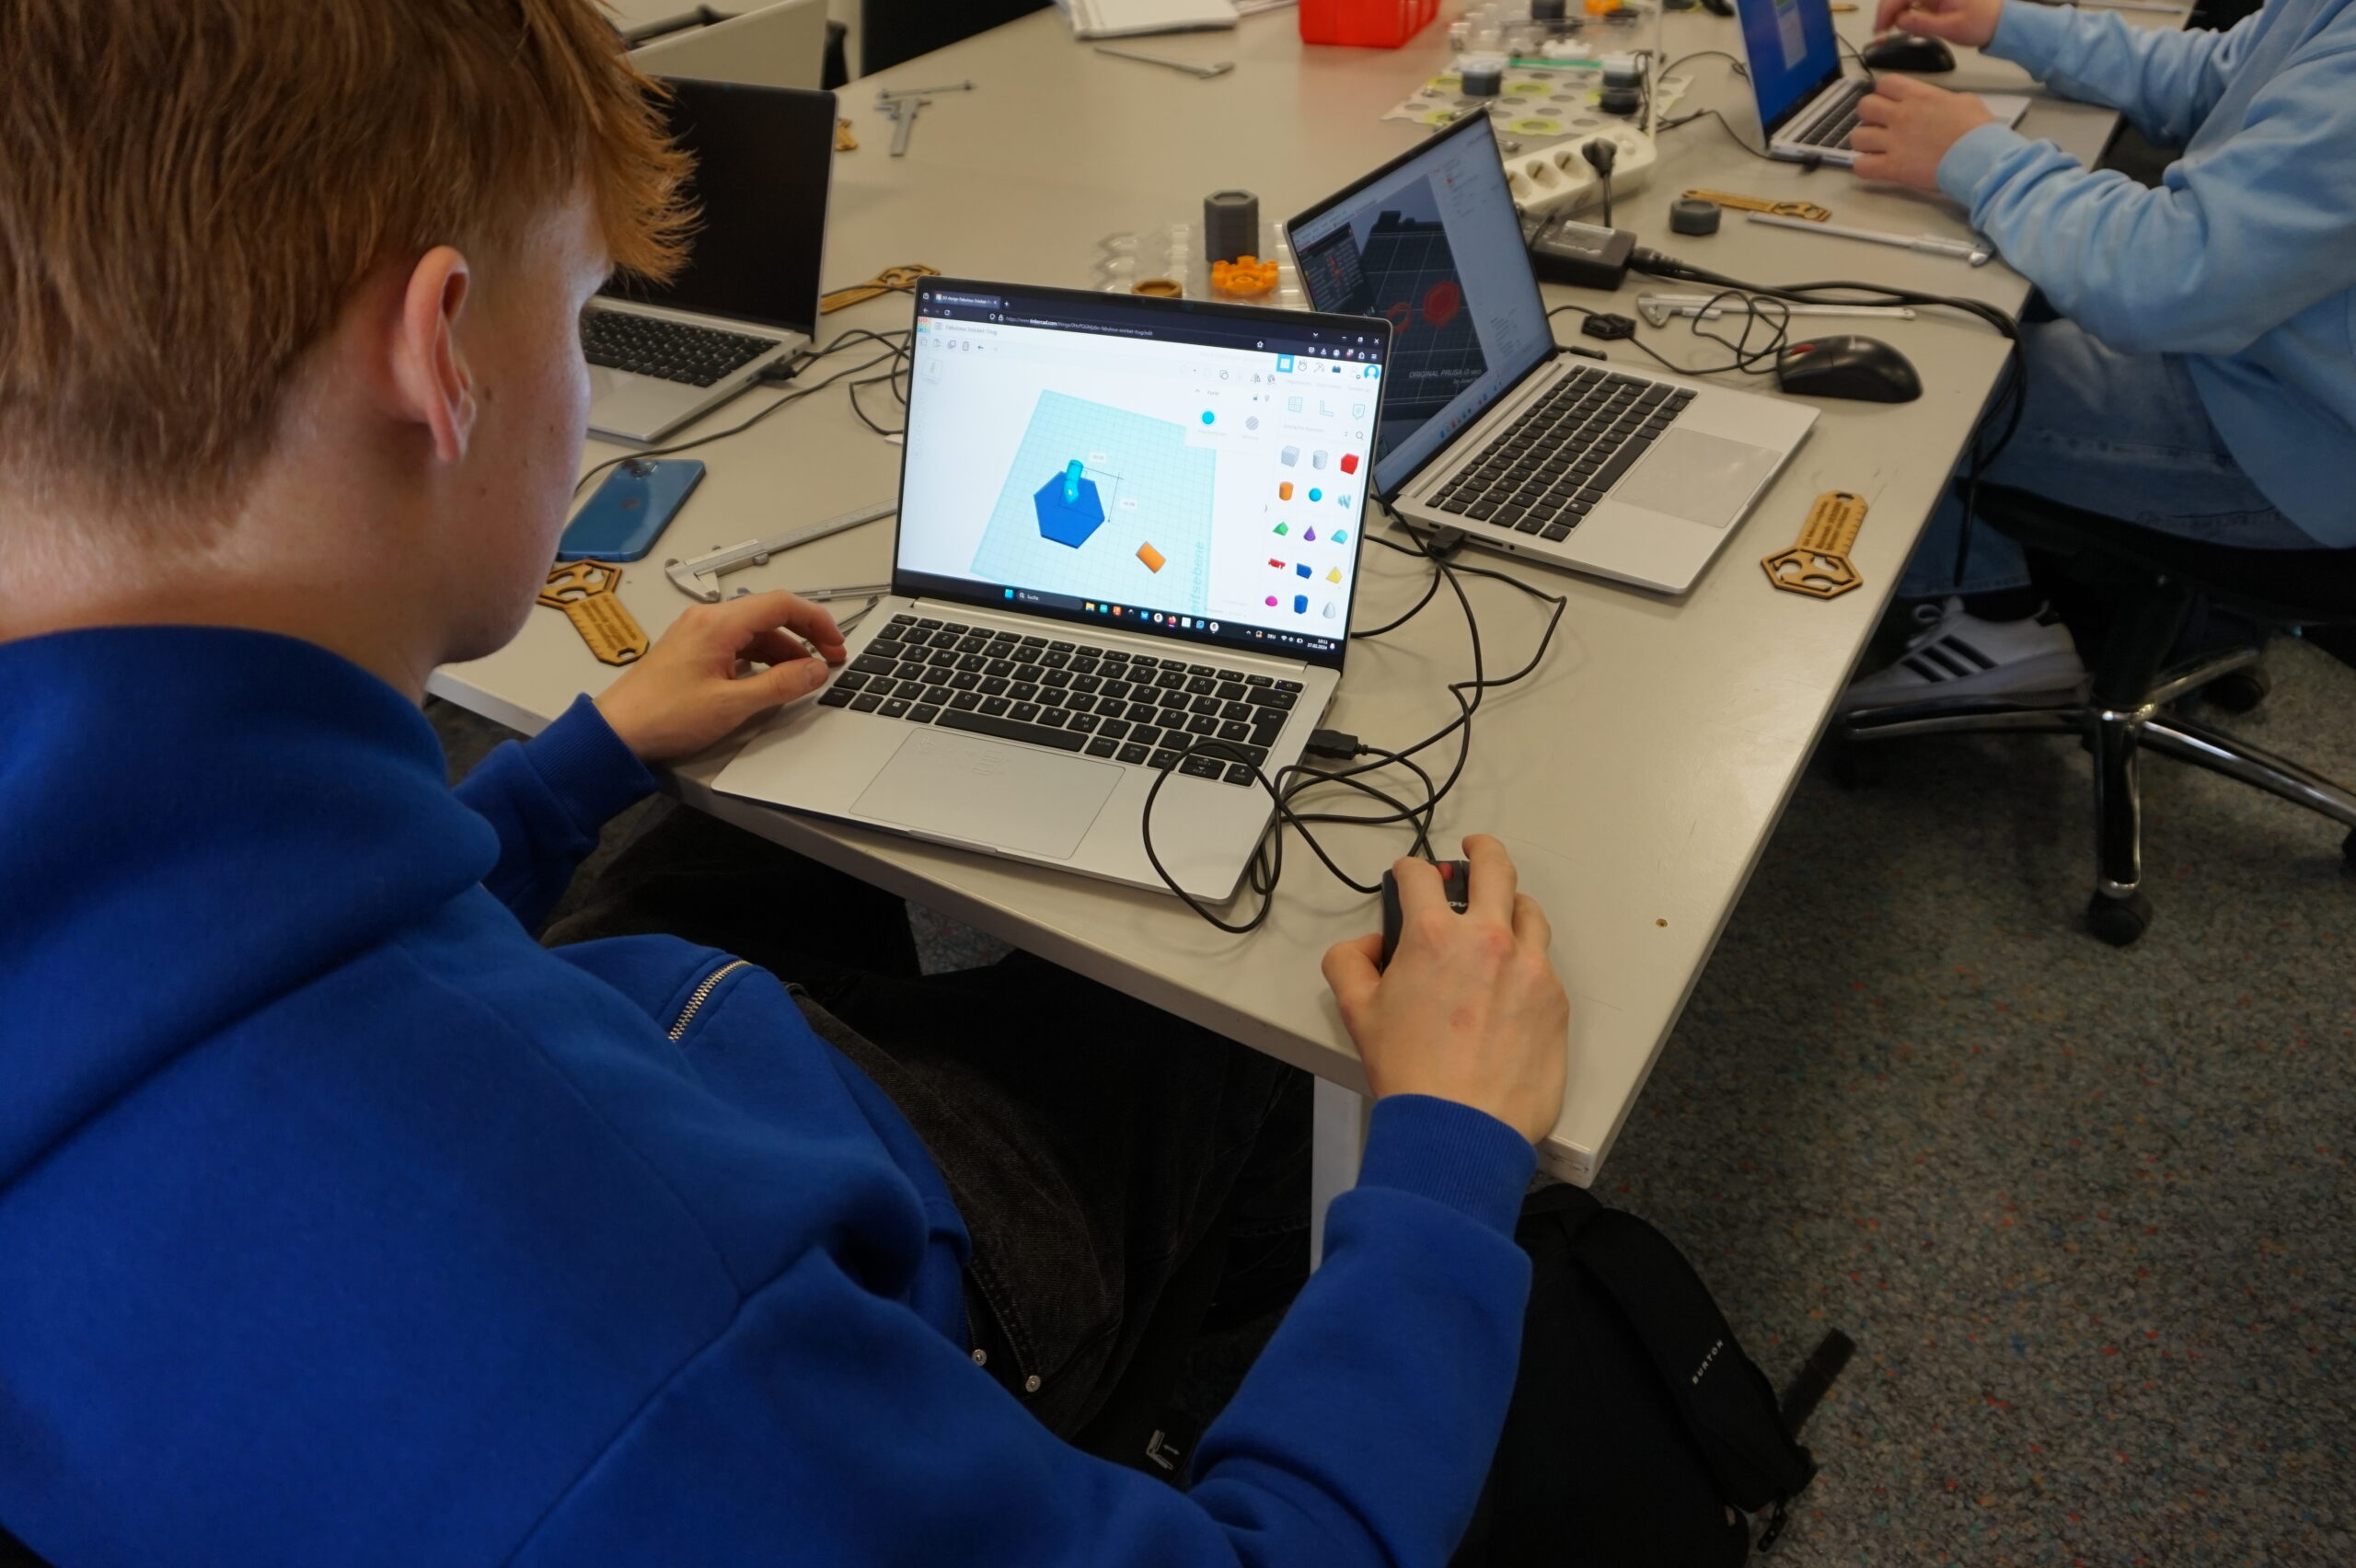
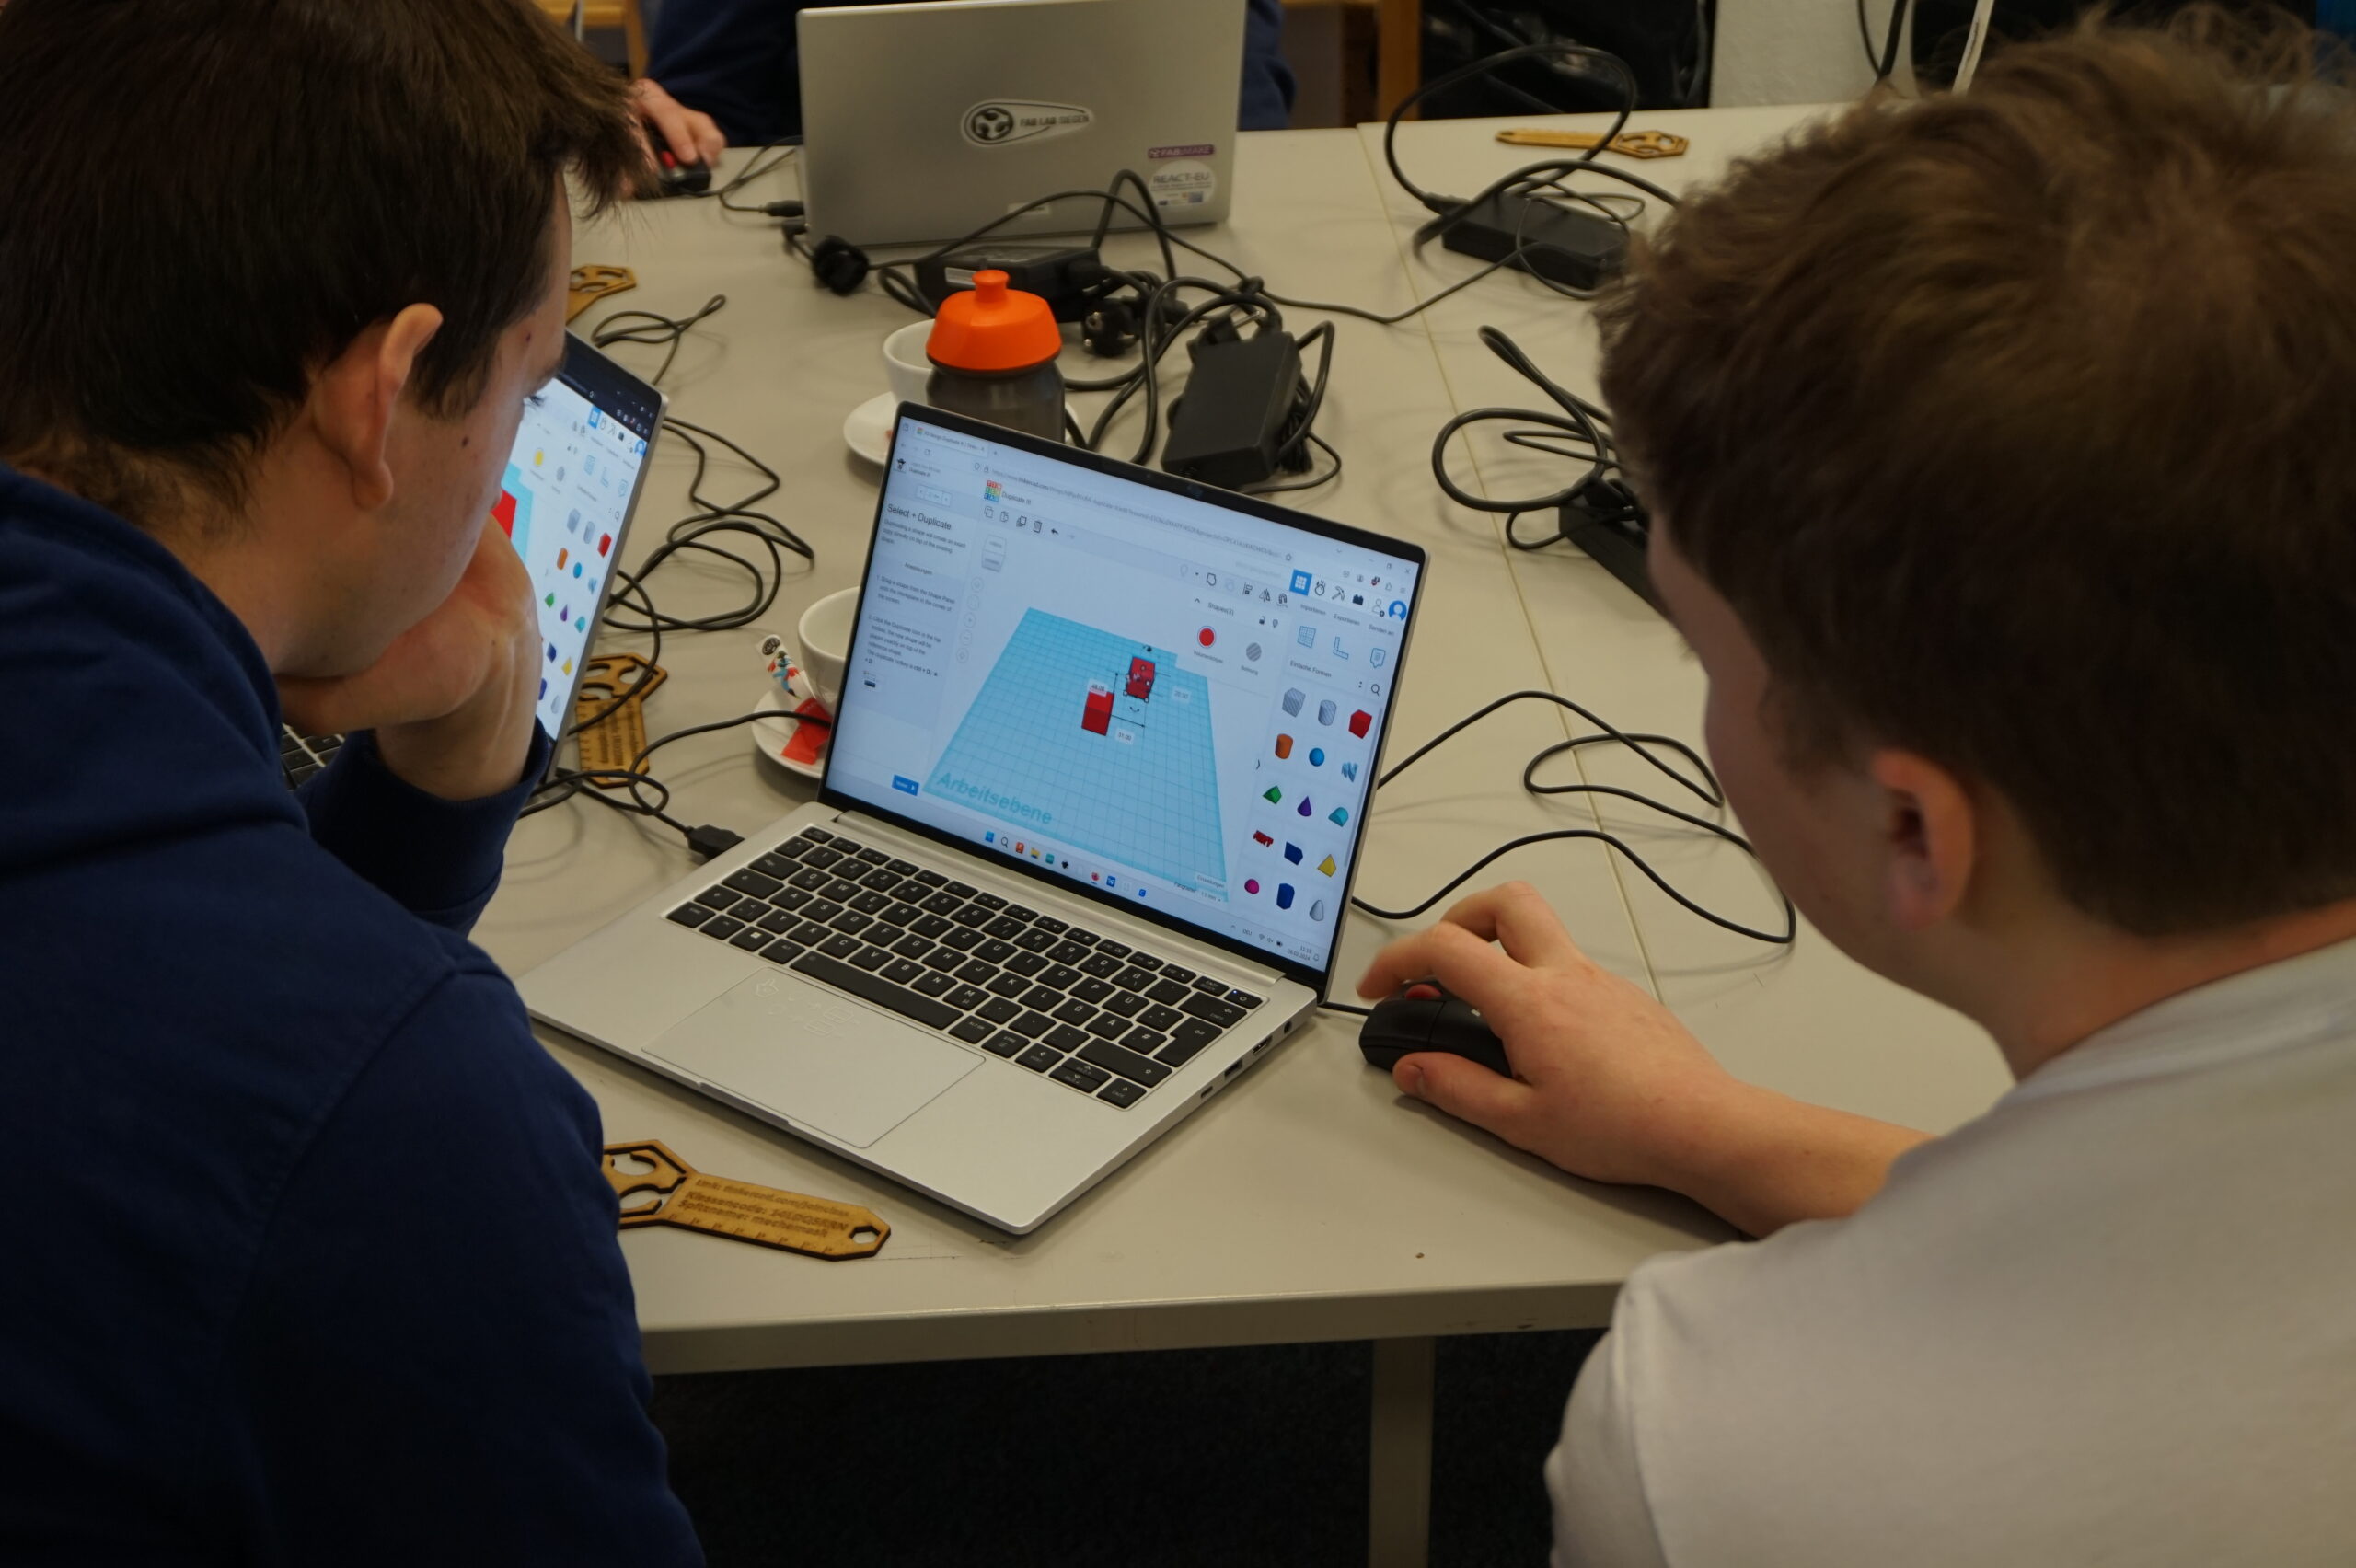
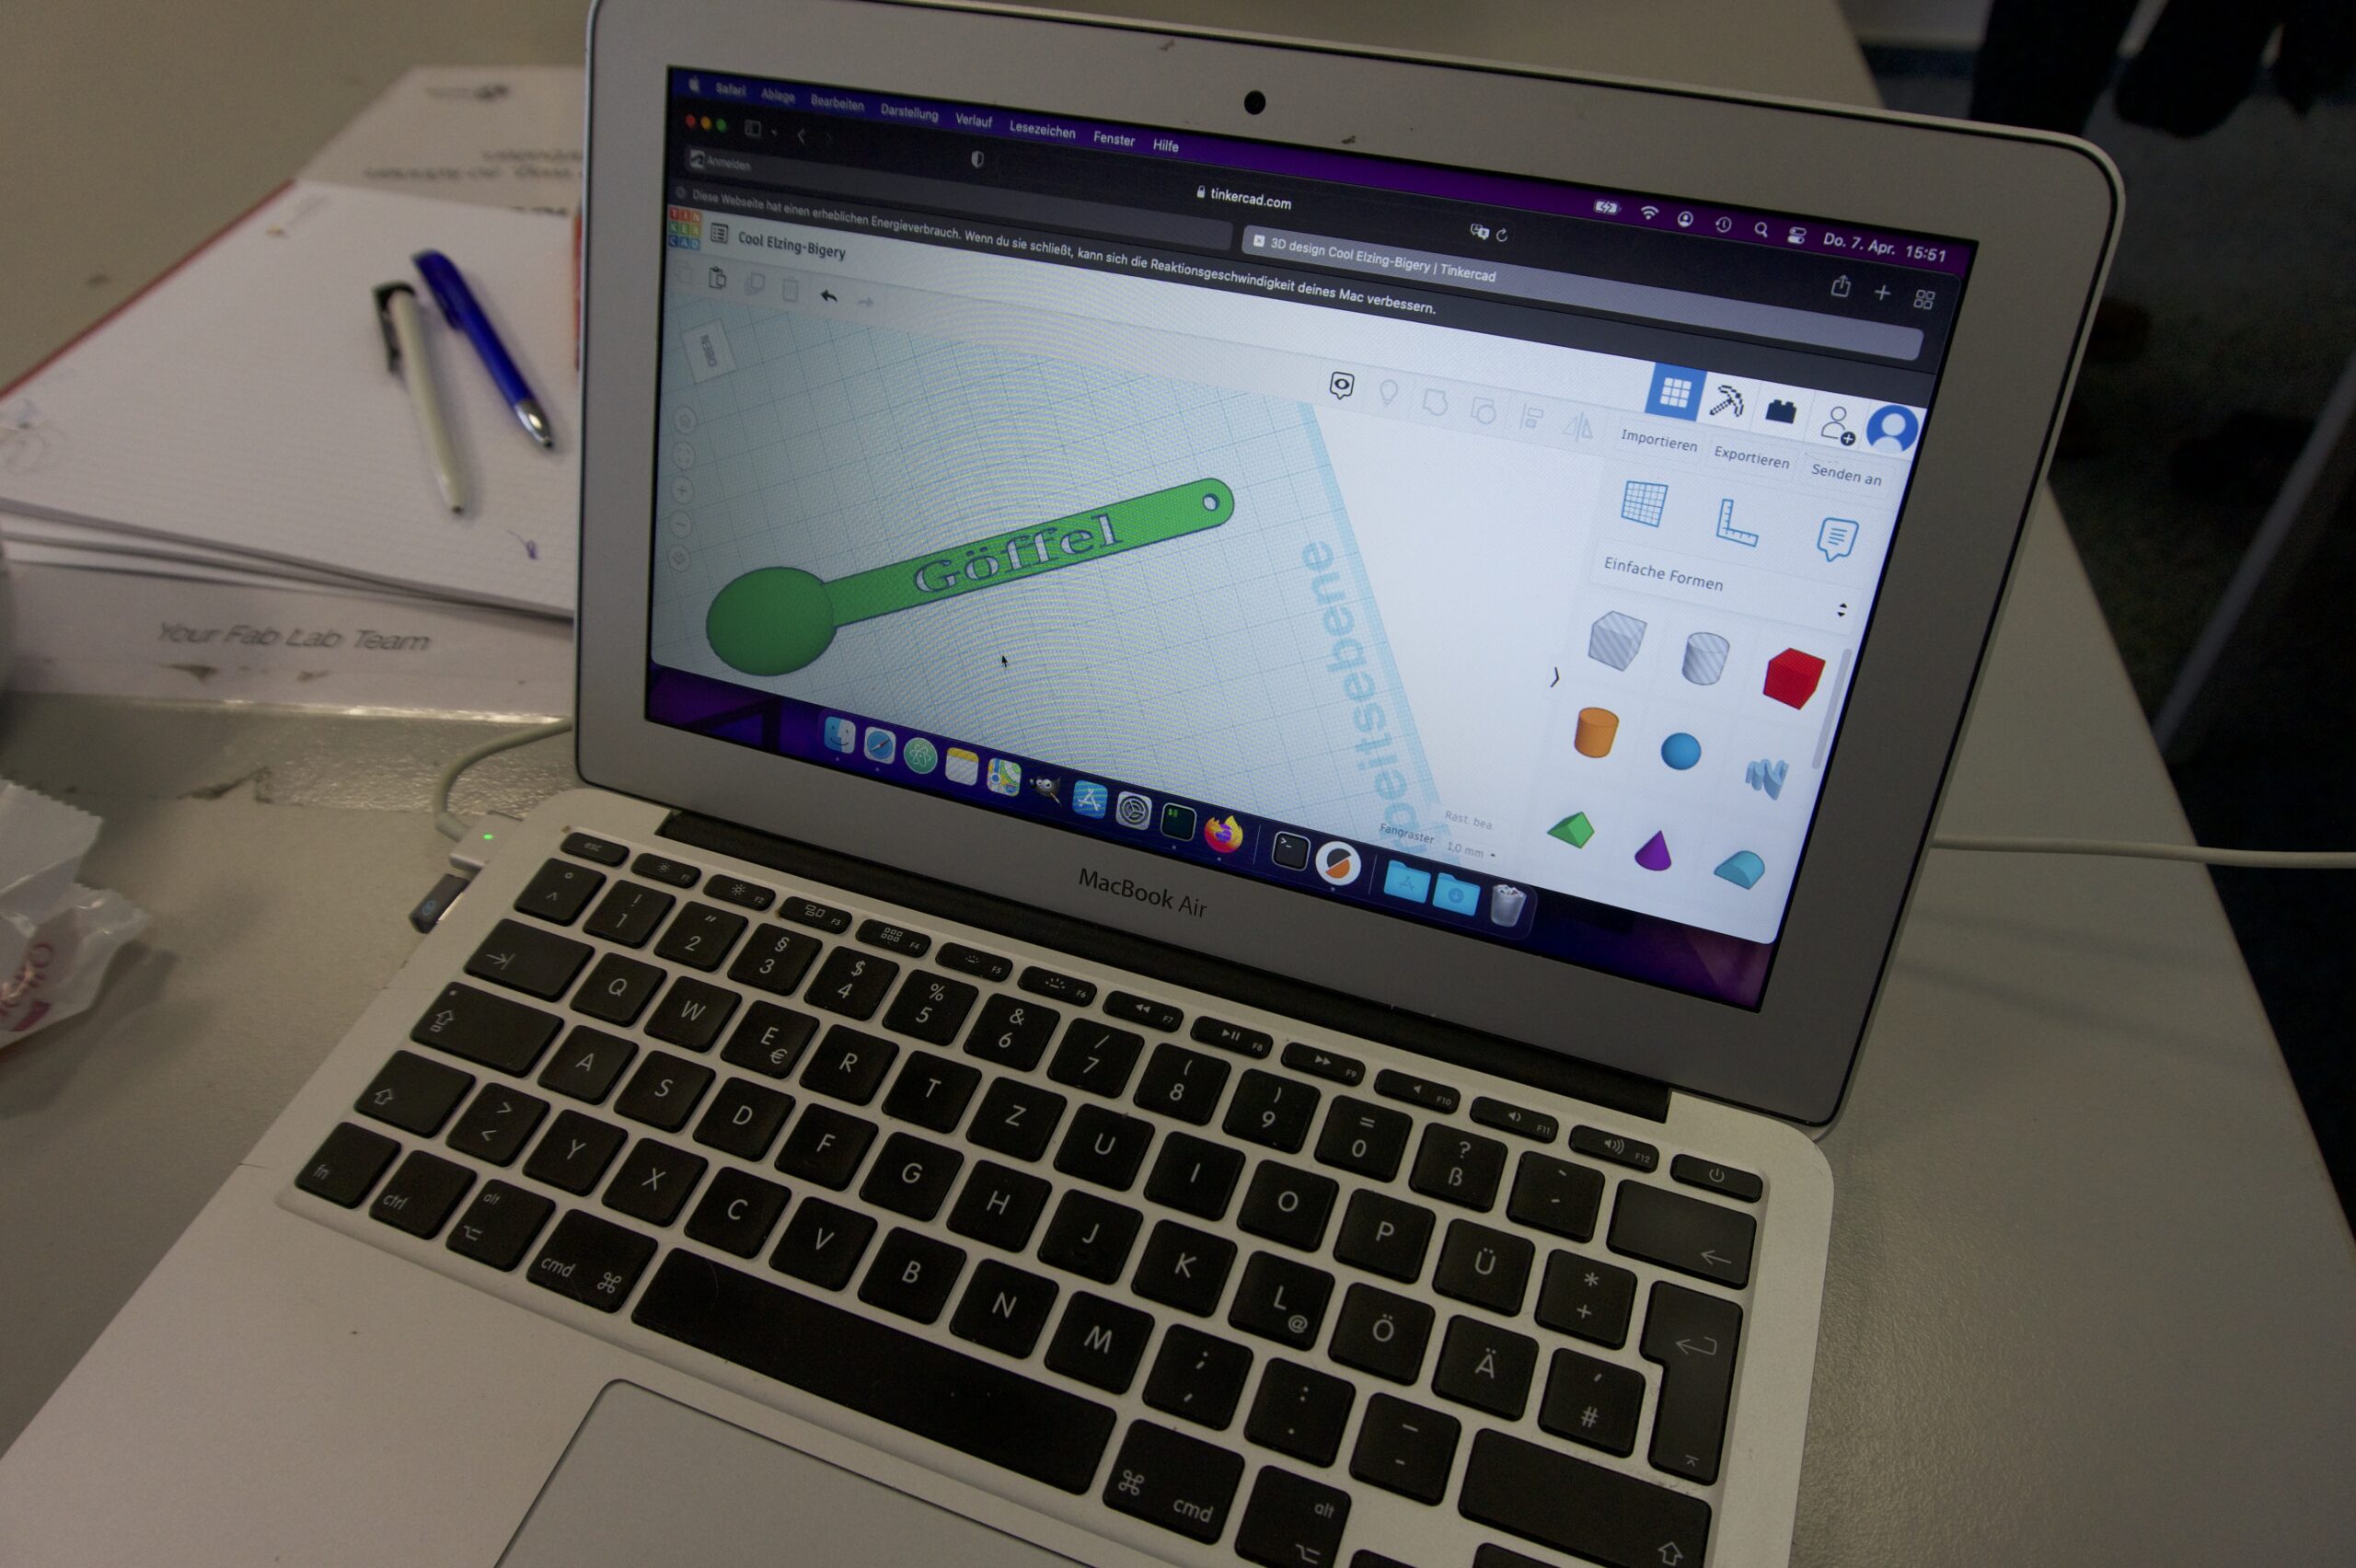
At the beginning of the workshop, the trainees were given an introduction to 3D printing and the modelling software TinkerCAD. Based on that, they were able to complete their first task: they independently modelled SIEGENIA key chains in TinkerCAD and then printed them.
The trainees then worked with a ball track system and designed and printed spare parts. The trainees had the task of recreating individual parts of the ball track system in TinkerCAD and then printing them using our 3D printers. Thanks to the practical approach in the workshop, the trainees were able to apply the knowledge they had acquired directly and are now ready for the technology camp!
We are delighted to be able to support STEM education in the region with our collaboration partners, the SIEGENIA GROUP and FRids e.V.. We really enjoyed the workshop and look forward to seeing how the trainees pass on their newly learnt skills to the pupils at the upcoming technology camp!
Das Fab Lab Siegen ist neuerdings außerschulischer Lernort. Dass MINT-Themen hier praktische Anwendungen finden, hat auch eine Schülerinnen-Gruppe der Gesamtschule Freudenberg herausgefunden. Im Rahmen eines Projektkurses haben die Schülerinnen das Fab Lab besucht, um mehr über die Möglichkeiten digitaler Fabrikation im Rapid Prototyping herauszufinden. Der Kurs findet im Rahmen des Kooperationsprojekts „Next Generation Design for Climate“ zwischen der Uni Siegen (Fokos und Mintus) und Schulen unserer Region statt. Gefördert wird es von der Sparkasse Siegen.
Die Schülerinnen versuchen durch konventionelles Einwegbesteck aus Kunststoff Abfälle zu reduzieren. Da Kunststoff nicht gleich Kunststoff ist, begann die Arbeit im Chemie-Labor in der Chemie-Didaktik bei Prof. Dr. Gröger unter Anleitung von Karina Souza Oliveira.
Welche Kunststoffe gibt es so? Welche Eigenschaften haben sie? Wo kommen die Rohstoffe her und wie wird man sie nach der Verwendung wieder los?
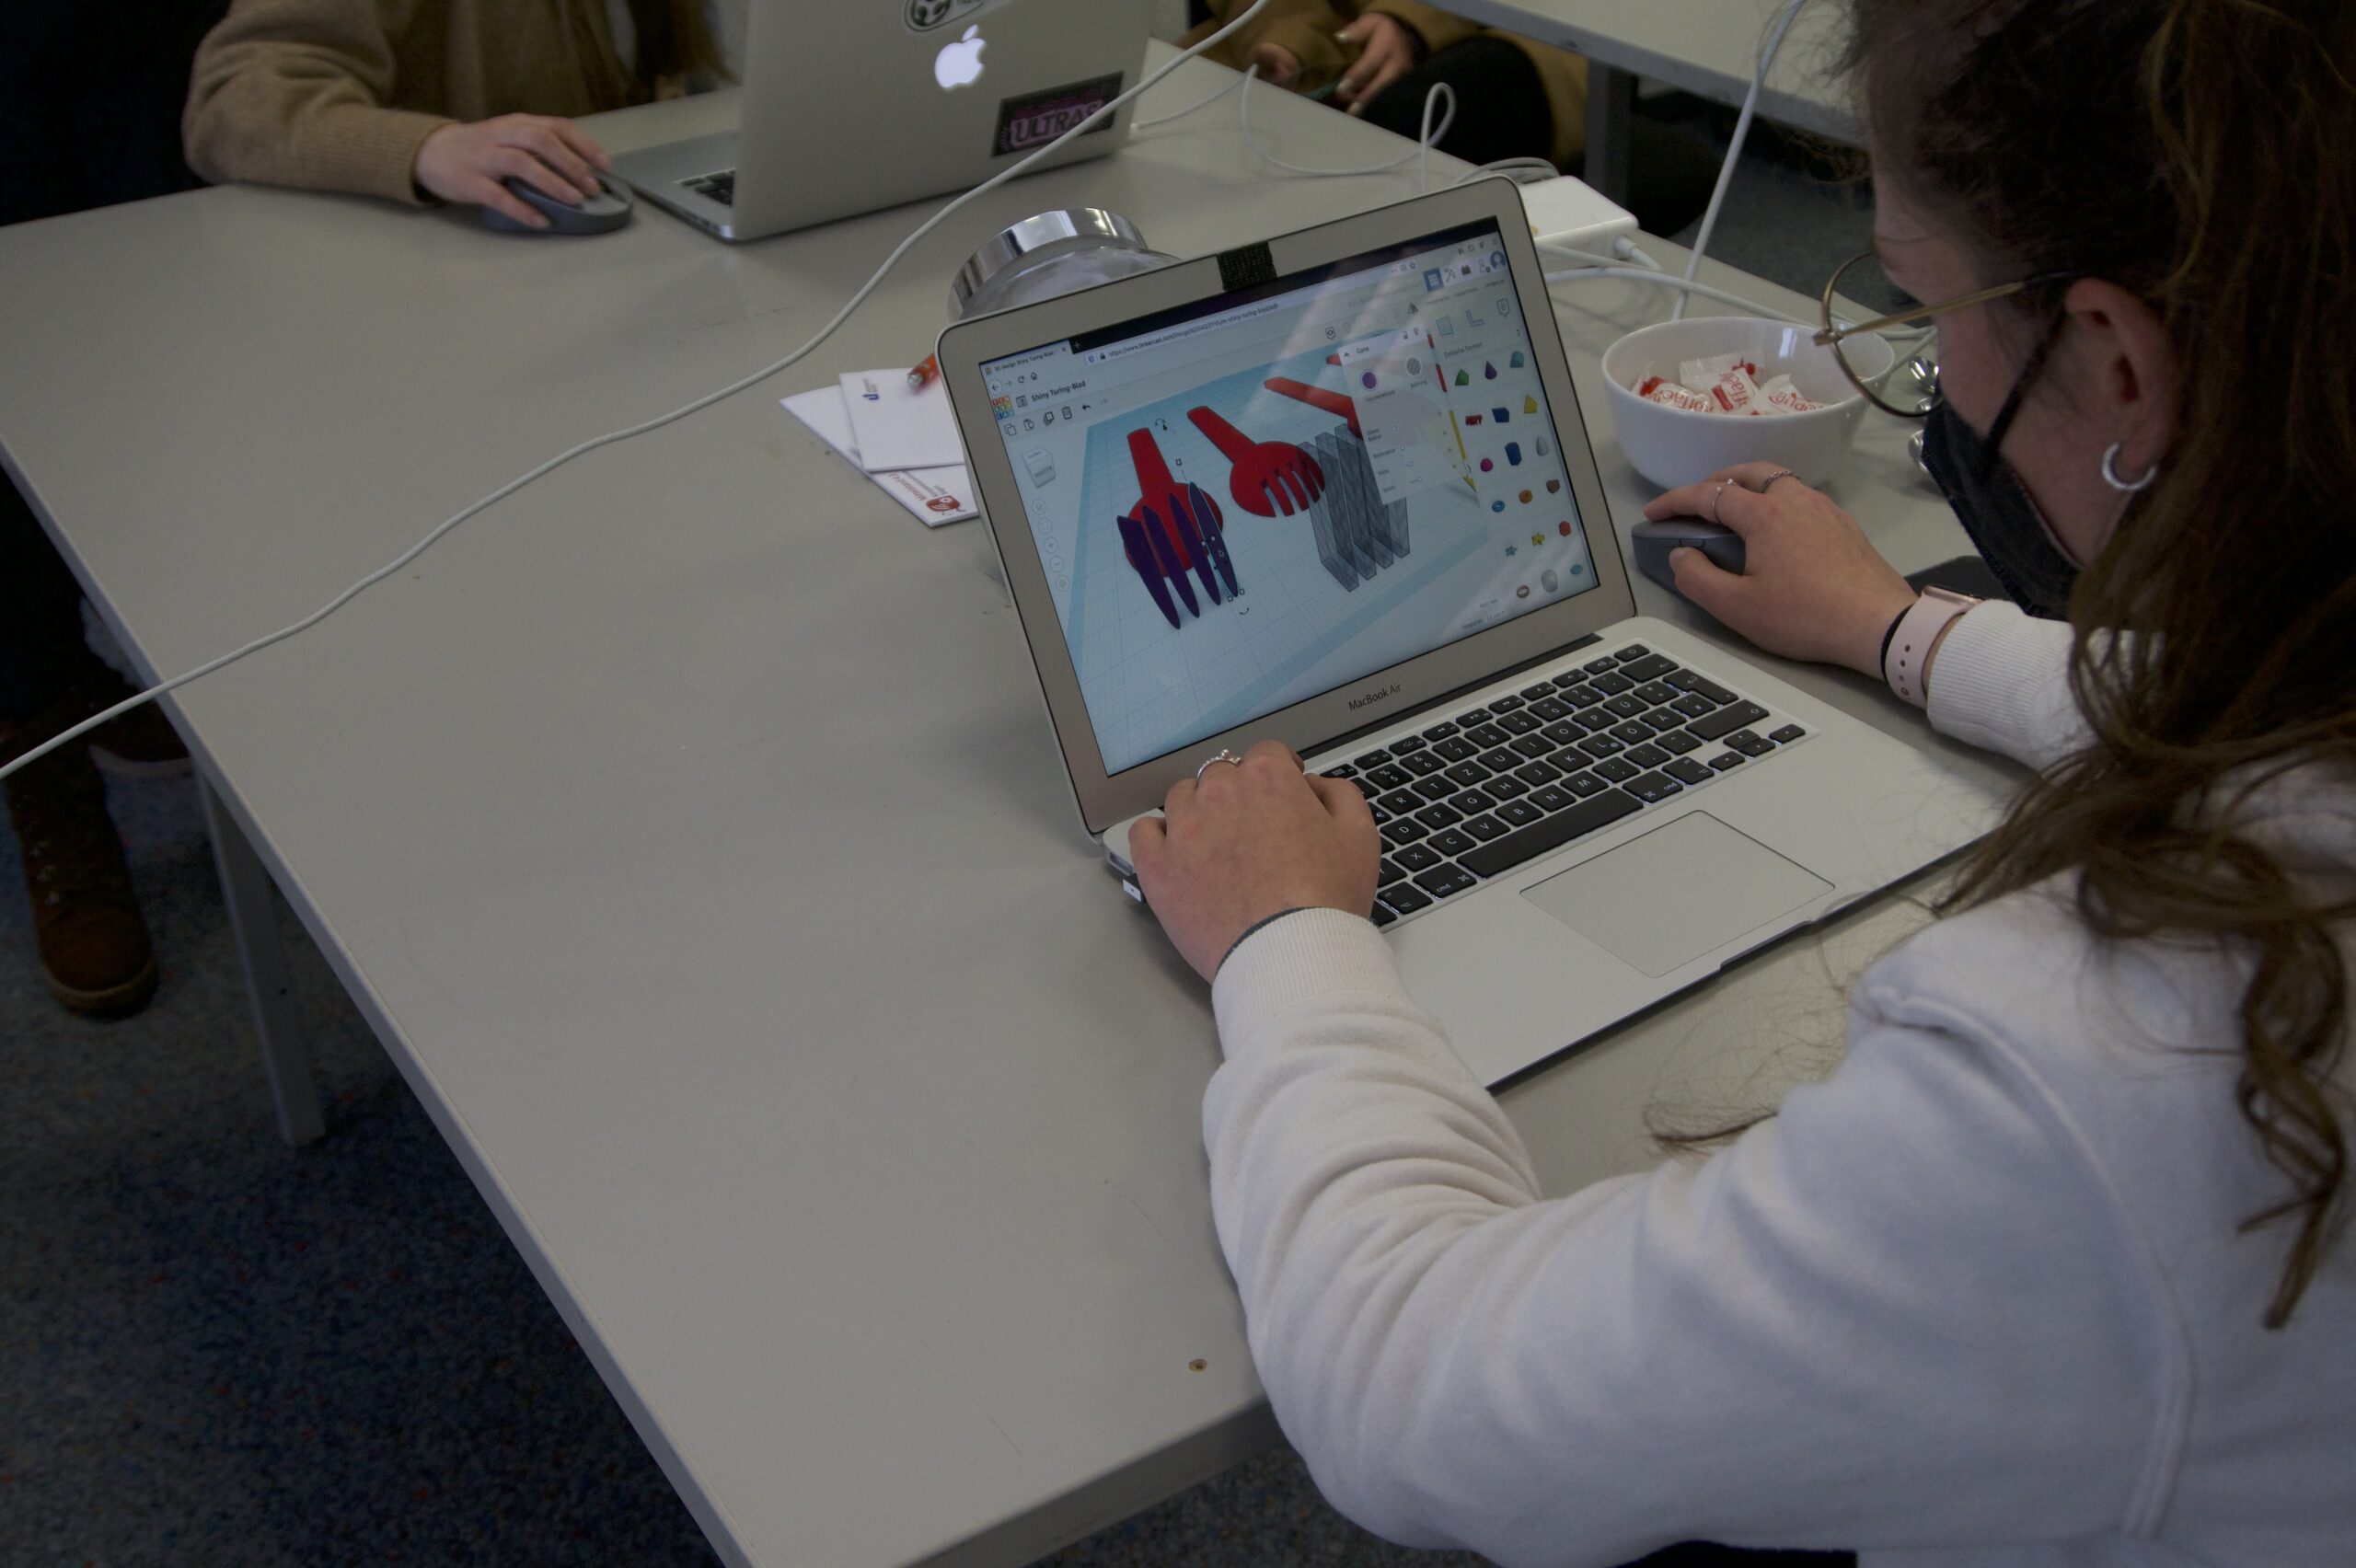
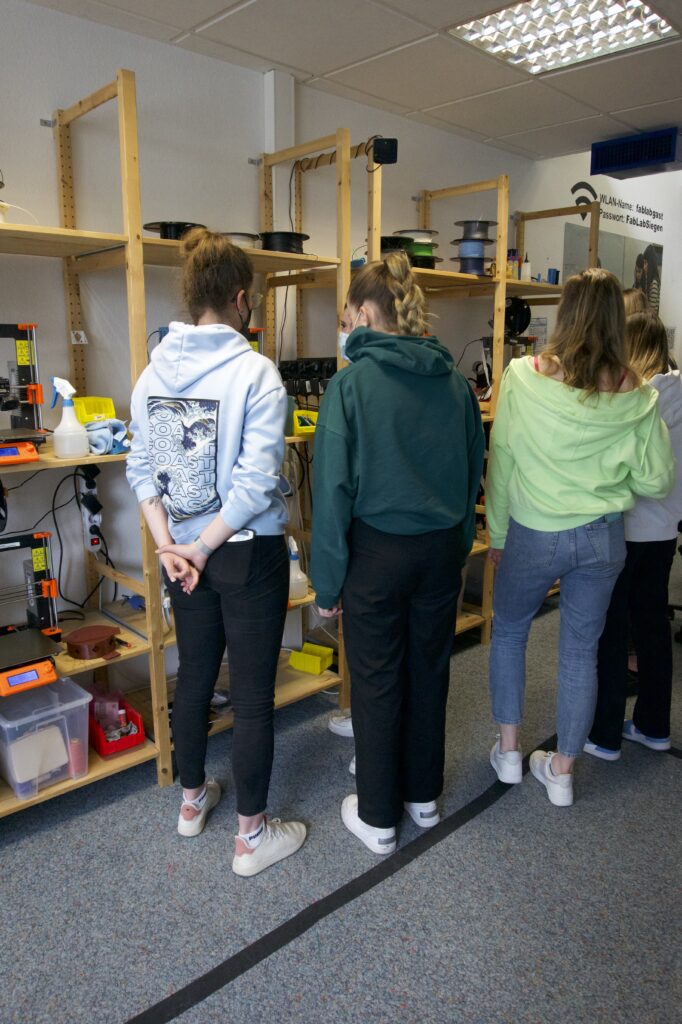
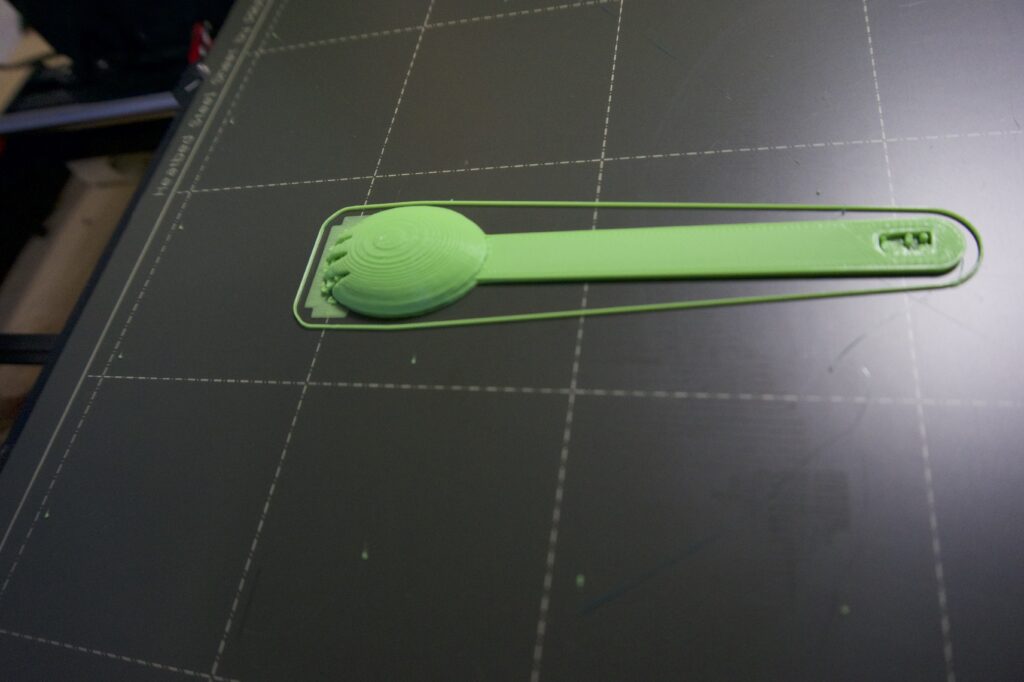
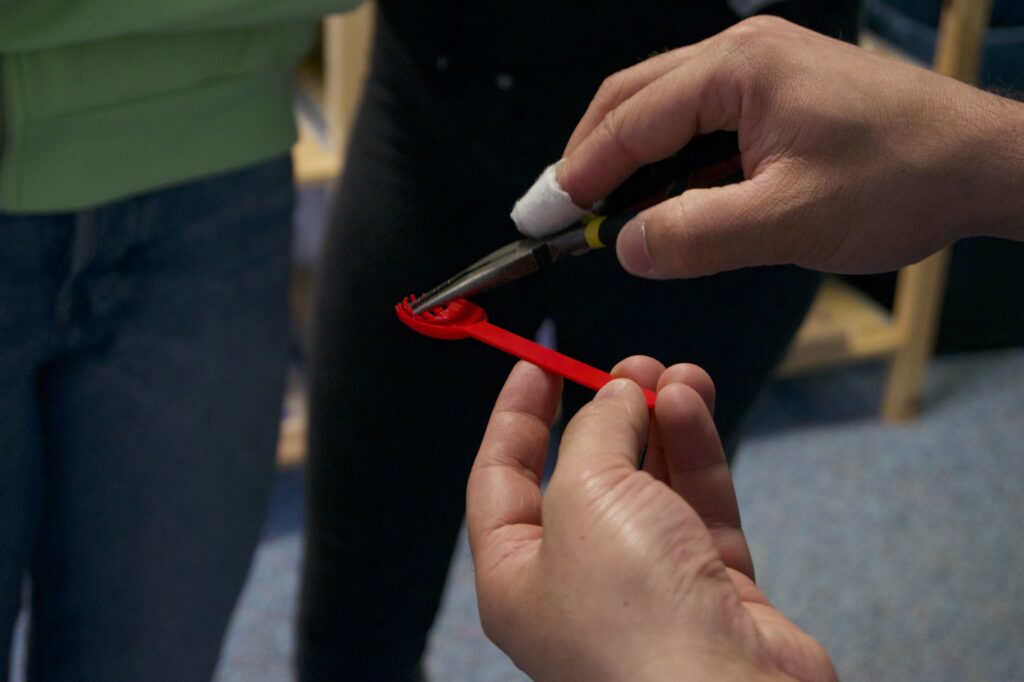
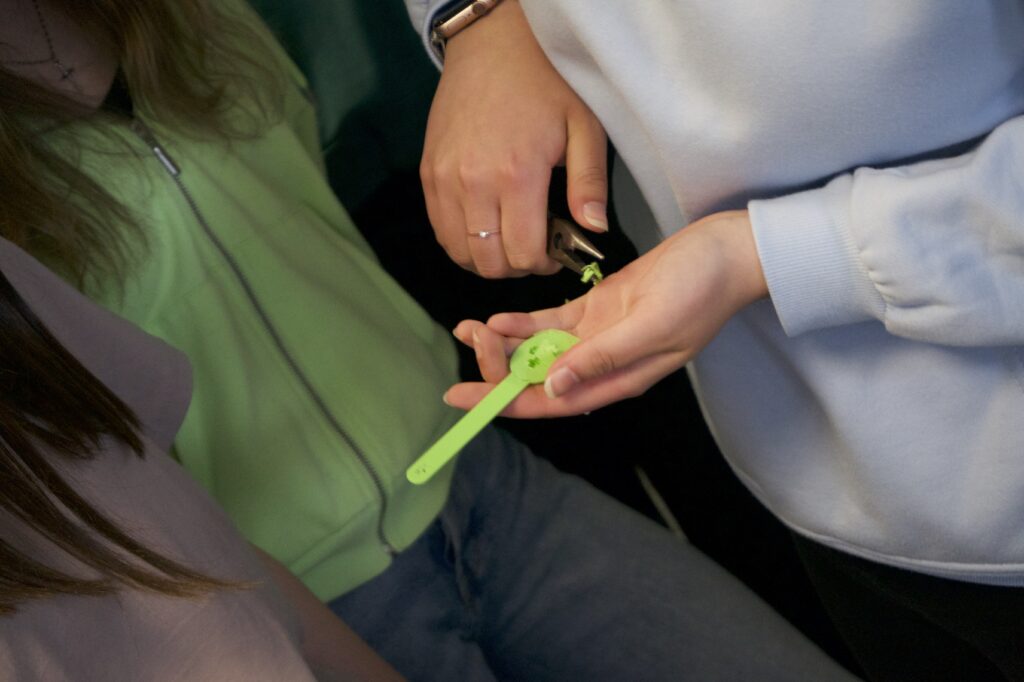
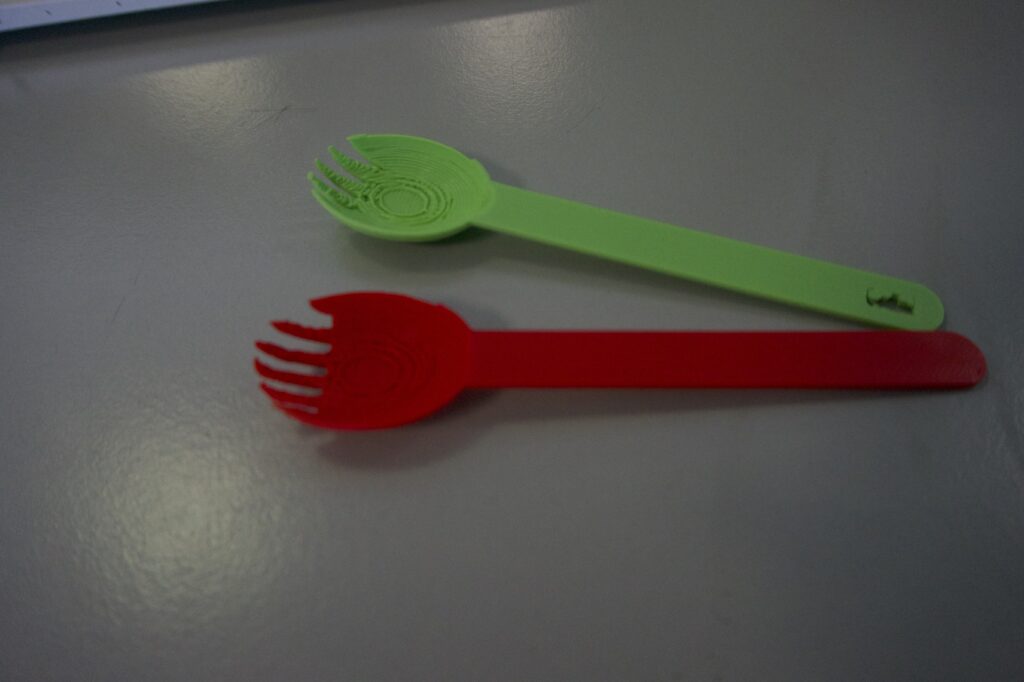
Nachdem sich die Schülerinnen über verschiedene Materialien informiert hatten, entschieden sie sich dazu, das Filament PBS (Polybutylensuccinat) zu nutzen. PBS besteht aus nachwachsenden Rohstoffen, ist CO2-neutral hergestellt und zu Hause kompostierbar. Gute Voraussetzungen also: Das dreckige Geschirr kann direkt nach der Grillparty auf den Kompost. Das eigentliche Produkt (ein Göffel – Halb Gabel, halb Löffel) sollte bei uns im Fab Lab Siegen gestaltet und hergestellt werden. Die Gruppe wurde von Marios Mouratidis in das Fused-Layer-Modelling (FLM) 3D-Druckverfahren unterwiesen und angeleitet. Über mehrere Wochen lernte die Gruppe Grundlagen über die Funktionsweise und Bedienung von FLM 3D-Druckern, verschiedene Materialien sowie die Konstruktion mit einer CAD-Anwendung kennen. Die Prototypen wurden mit Polylactid (PLA) hergestellt. PLA ist zwar nur in Industrieanlagen kompostierbar, wird aber mit Hilfe eines Fermentations- und Polymerisationsprozesses aus nachwachsenden Rohstoffen gefertigt. Es bietet gute Eigenschaften „um mal eben“ einen Prototypen zu drucken. Das Endprodukt wird dann aus PBS gefertigt, da es deutlich elastischer und hitzebeständiger ist.
Weitere Infos zum Projekt Next Generation Design for Climate findest du hier.
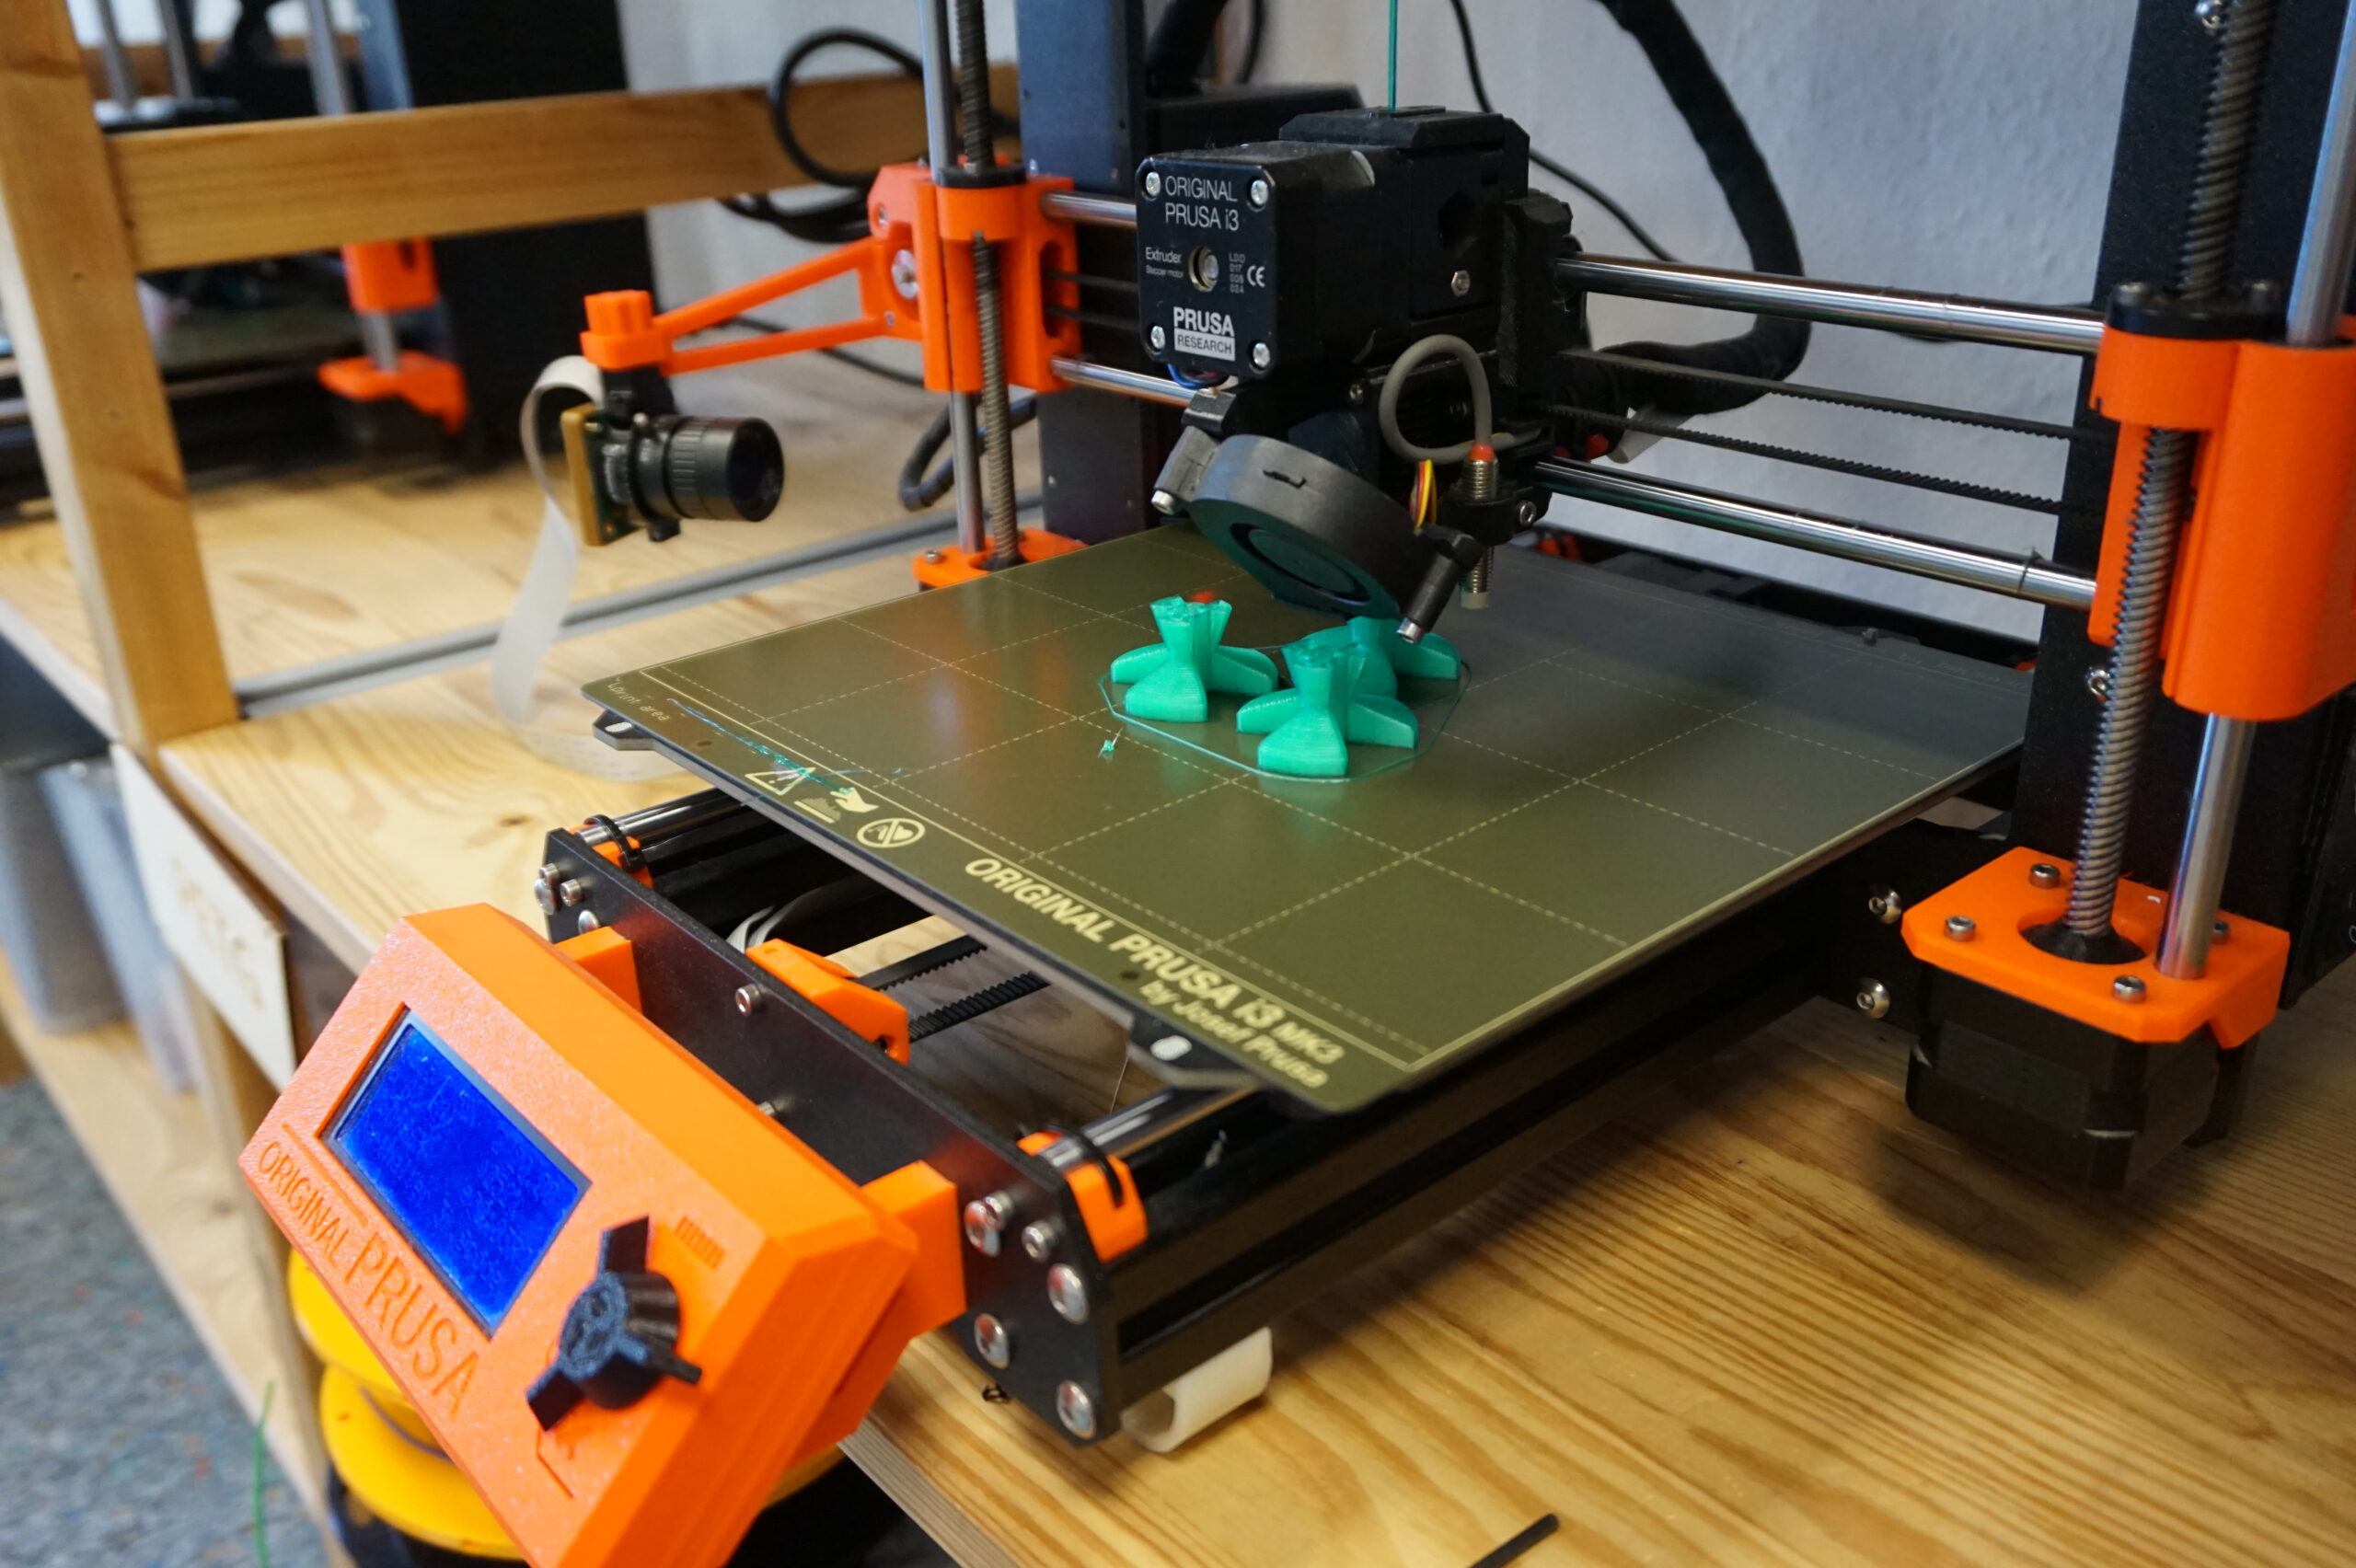
Konstruktion mit TinkercadFertiger EntwurfEinweisung in die FLM 3D-DruckerGespanntes Zuschauen an der DruckerfarmStützen werden nach dem abgeschlossenen Druck abgemacht.
Am Samstag den 14. Mai sind wir von 10-16 Uhr am Campus Unteres Schloss mit einem Stand bei der Offenen Uni vertreten. Wir bringen 3D-Drucker, einen Roboterarm und die Sandbox und freuen uns, wenn ihr vorbei kommt. Unsere Standnummer ist die 32.
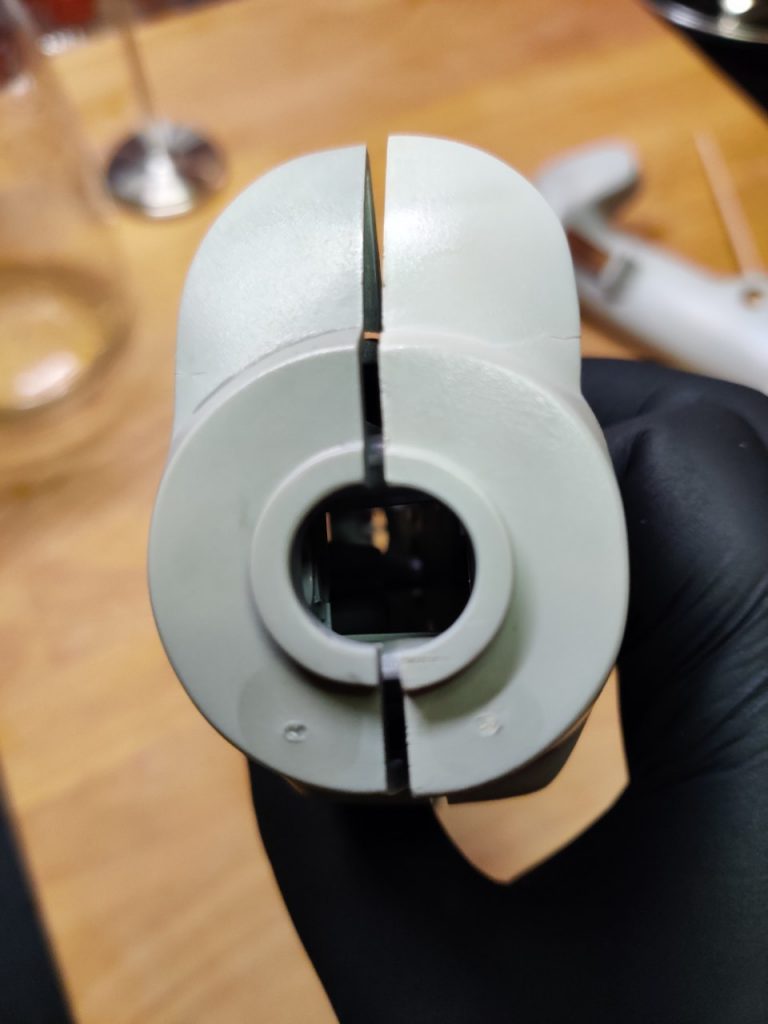
In the last two days I have been working on retr0bright and I don’t want to withhold my experiences from you. I’m currently retrofitting this old Playstation 2 controller and was actually going to limit myself to the inside, but now I’ve decided to give the controller a bit of a facelift on the outside as well.
However, the primary goal was not to make the controller look nicer again, but to simply have retr0bright done. So I looked around in this internet how retr0bright works and what you need for it. You can find many different recipes and procedures. All involve hydrogen peroxide (H2O2) solution 👨🔬 and (UV) light. I was inspired by this video first and decided on the H2O2 and heat variant:
For this I bought a 3% hydrogen peroxide solution. You can get them for a few euros at Müller or Amazon. To test the procedure, I first performed a small test. There were two parts on the controller that had to be replaced due to damage and could therefore be used as a test and reference object. Before the test, I removed the protection from the parts.
For the H2O2 & heat variation, I mixed the H2O2 with tap water in about a 1:2 ratio and heated it to about 60°C in a pot, then let the first part float in the solution for four hours. Even though no additional light source was used in the video, I still decided to shine a lamp into the pot. Since other tutorials keep saying that the best results can be achieved with ultraviolet light or lots of light in general, I took the brightest/intensive lamp I had there. This is a 50W high power LED which is normally used as plant lighting. But I can’t tell you exactly what wavelength comes out ¯_(ツ)_/¯.
After four hours, I then took the part out of the solution and could perceive a visible brightening, with which I was satisfied.
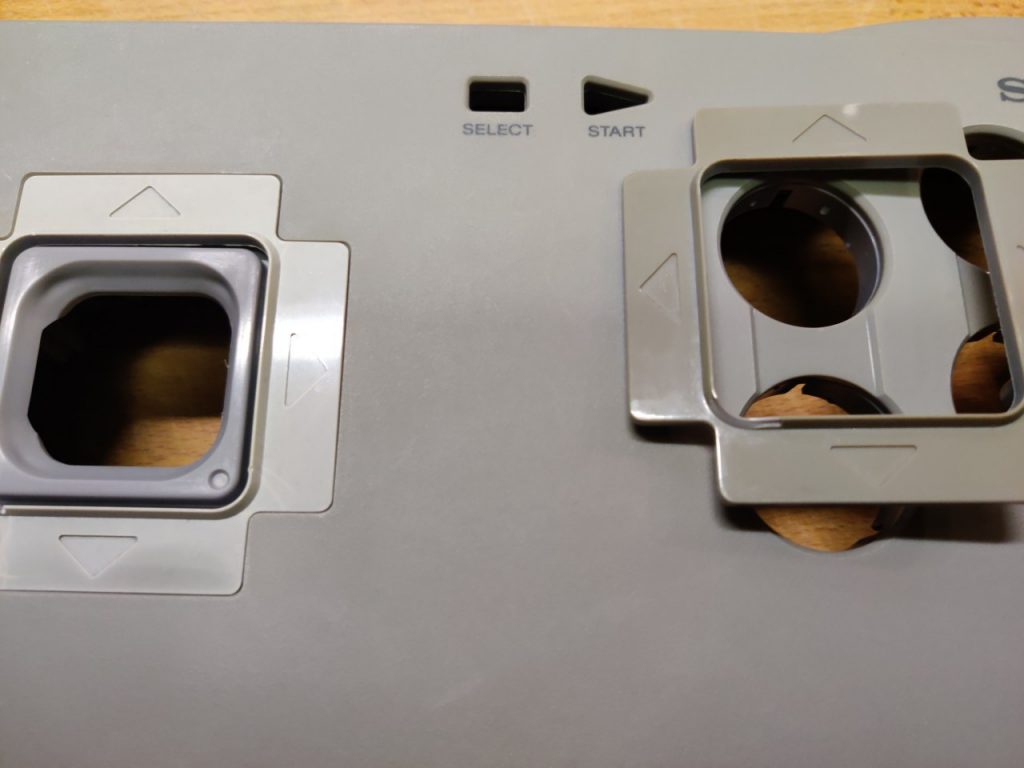
So in go the next parts. Since I had bought only a small bottle of H2O2 (250ml) and accordingly there was not so much liquid in the pot, I first put in only the front sides of the joysticks, since they are somewhat flatter. Important: the parts should be completely covered. After four more hours, I took out the fronts of the joysticks and compared them to the backs.
I treated the backs using the same process, but I had to improvise a bit because I didn’t have enough of the hydrogen peroxide solution to completely cover the backs. So I decanted the solution into the jar and added some more water and then heated the solution by water bath. This time I couldn’t set up the lamp properly, so I left it out.
After another four hours, I got the parts out. The whitening was much less than the other pieces, so I just let them float in the solution for another three hours. Unfortunately, this did not bring so much.
Black gloves = professional.
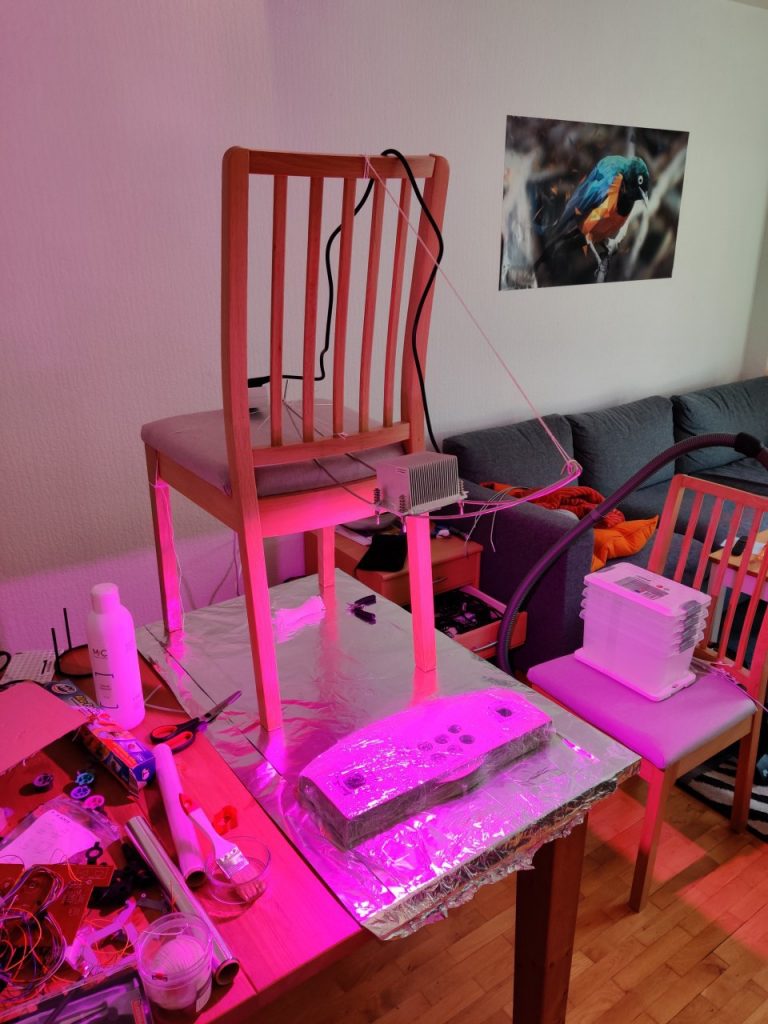
Since the actual controller housing is way too big for my pots, I used a different variant here. For large housing parts, the Internet recommends the use of hydrogen peroxide gel. In this process, hydrogen peroxide is mixed with glycerin (among other moisturizing properties) and xanthan gum (E 415, thickening agent). Alternatively, you can use Oxide Cream from the hairdresser: https://www.amazon.de/Cream-Oxide-1000ml-12/dp/B008F5MIL6/ (see reviews).
The procedure here is as follows: The part to be bleached is evenly coated with the gel and then, if possible, wrapped airtight (zip lock bag or cling film) and placed in the sun or under a lamp for about 24 hours. Wrapping is to prevent the gel from drying out too quickly.
The aluminum foil serves only as protection for the table. Then quickly built a bracket for the lamp 👨🔧.
After about 24 hours, I then freed the case from the cling film and washed it properly. It has become brighter, but unfortunately not as much as the other parts.
BeforeAfter
I also put the backs of the joysticks under the lamp overnight. In the morning, the parts looked like this: