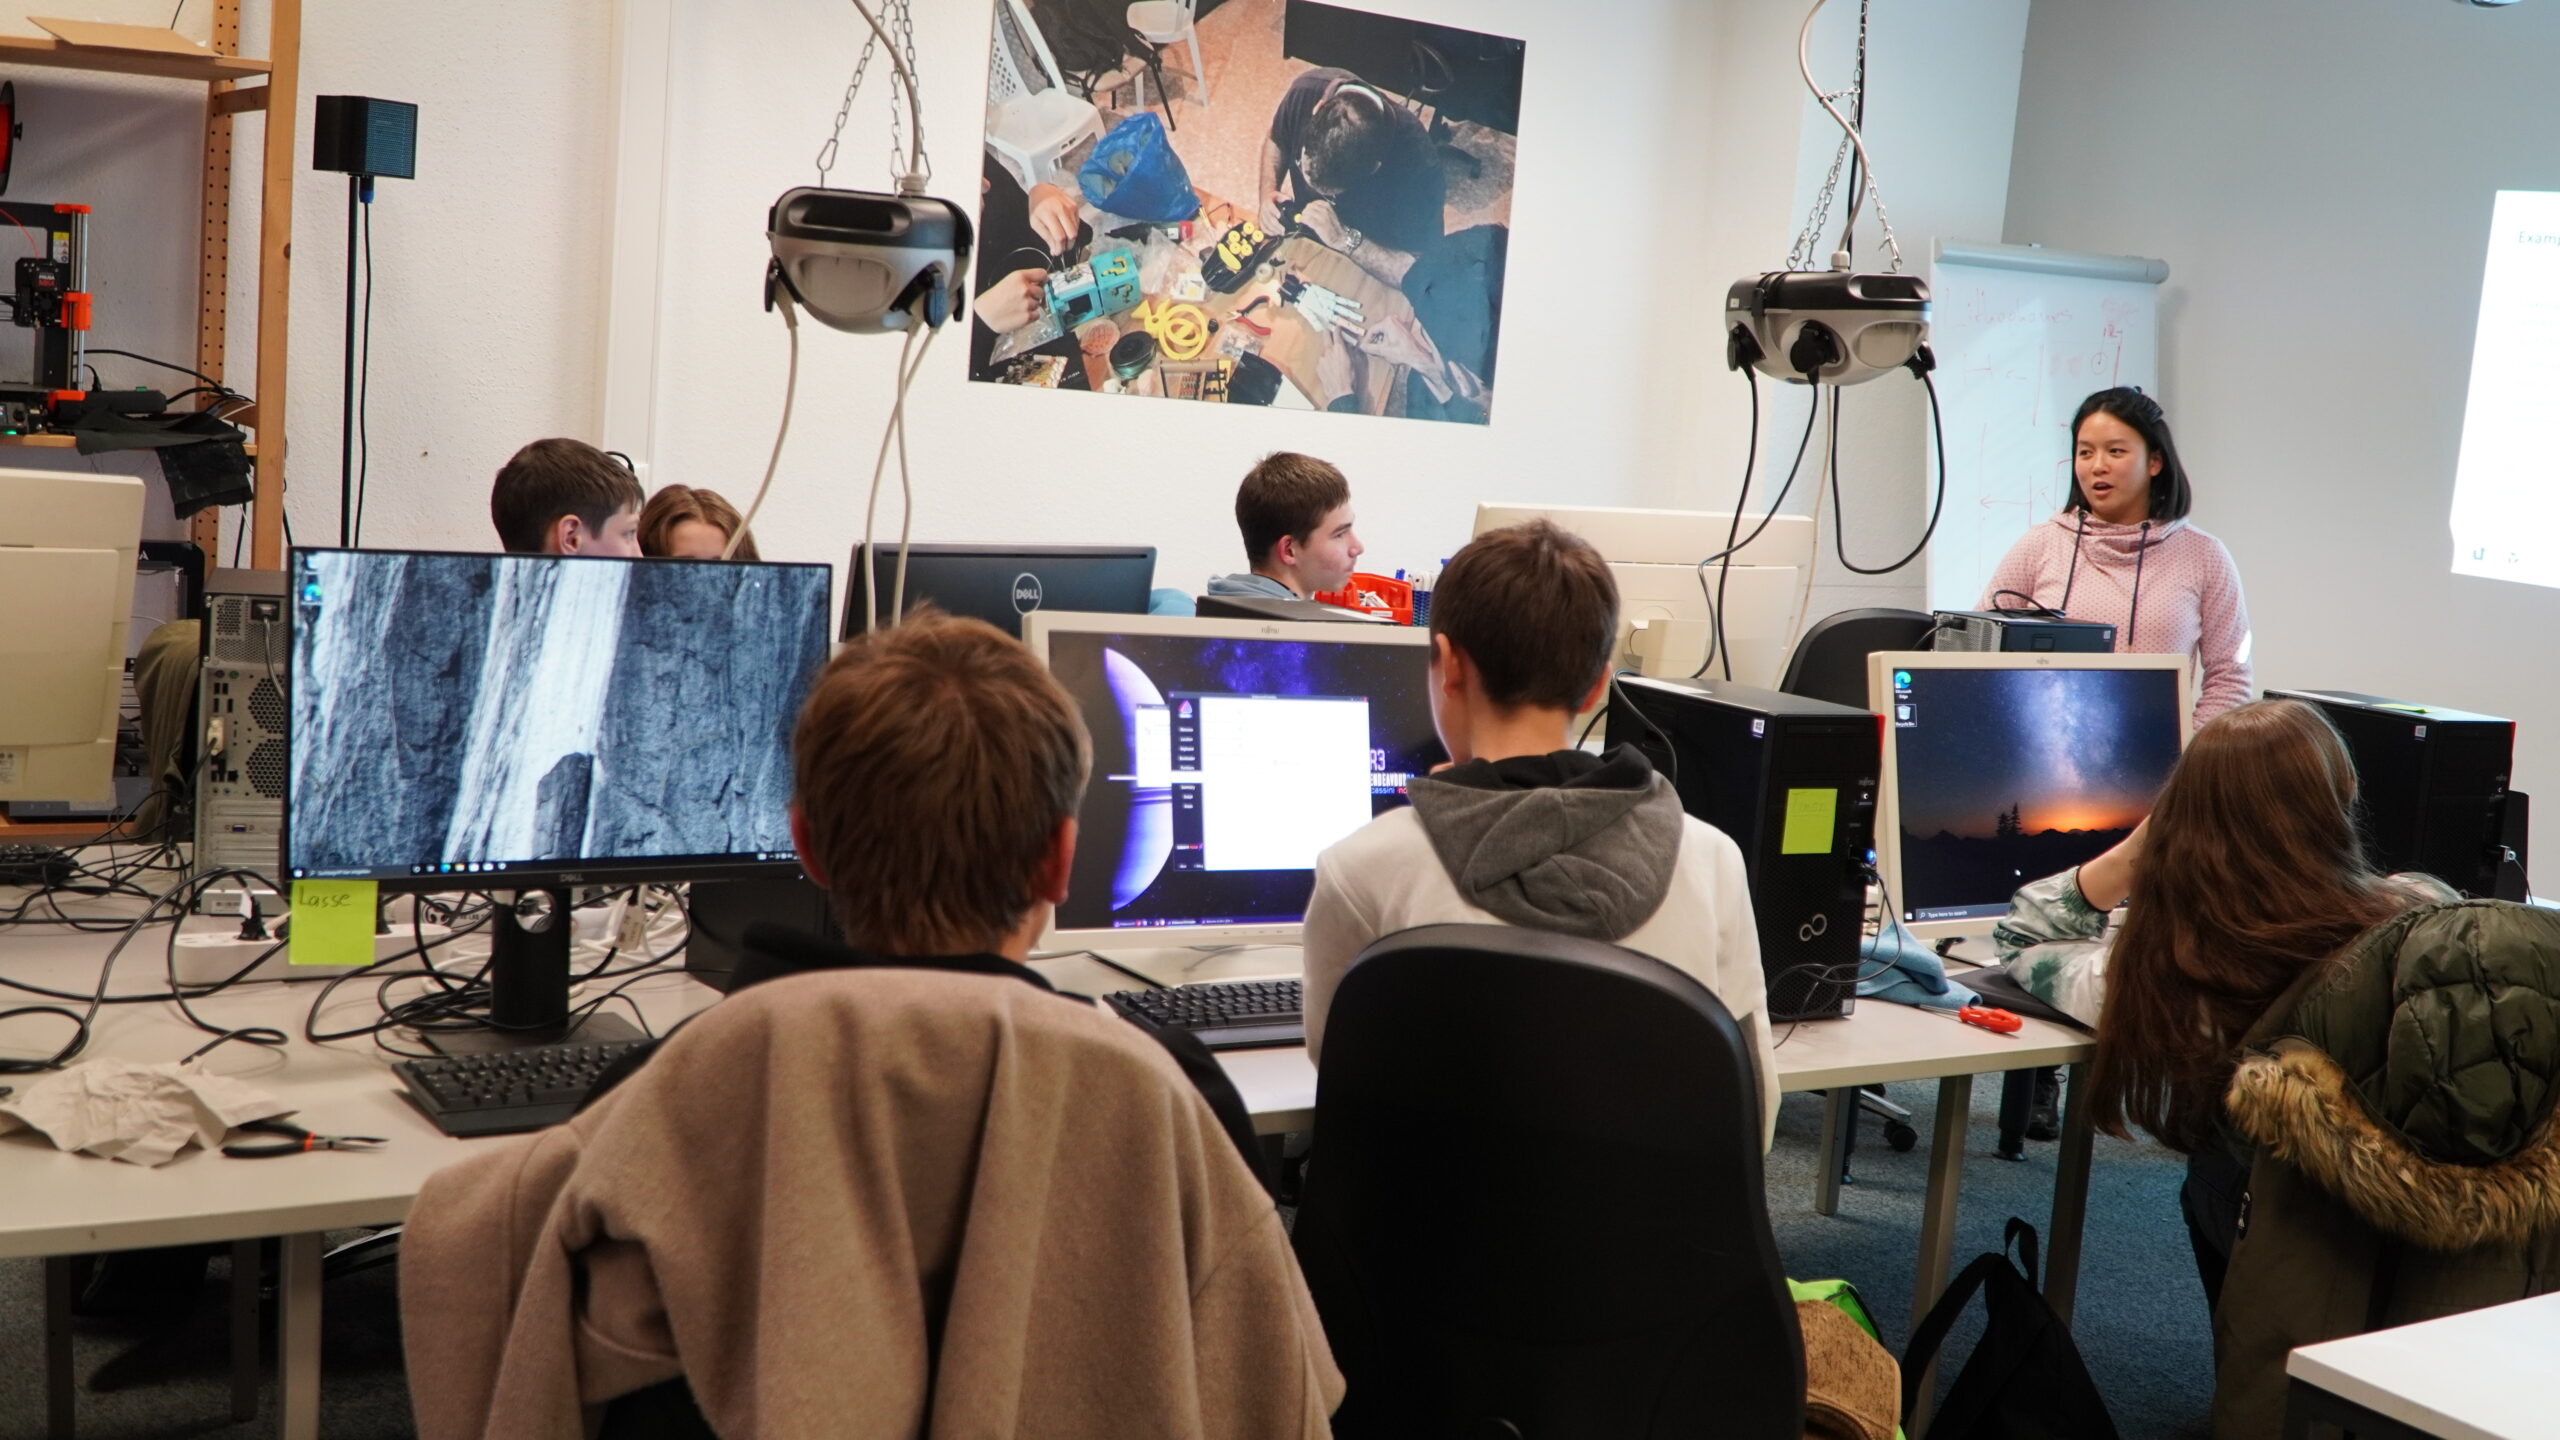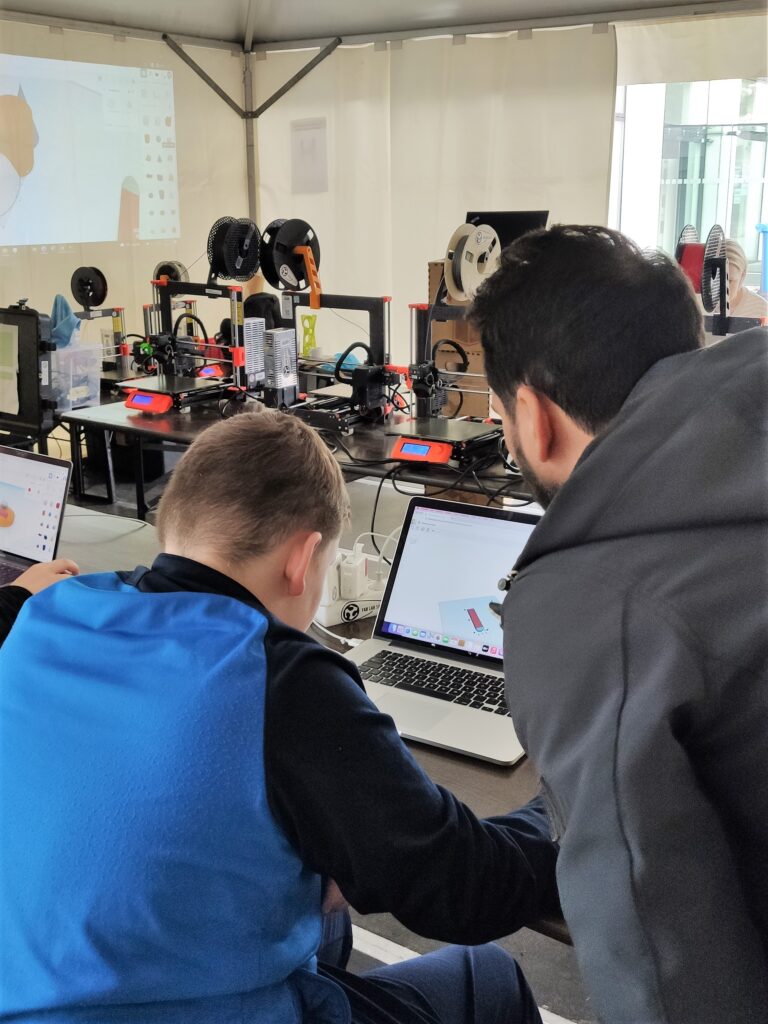
Fab Lab Siegen is not only a space for creation, but also for knowledge transfer. In our Fab Lab, we want to give everyone access to technology and knowledge. Since mid January 2023, we have been welcoming young refugees from Ukraine once a week (fridays from 4:30 pm to 6:30 pm).
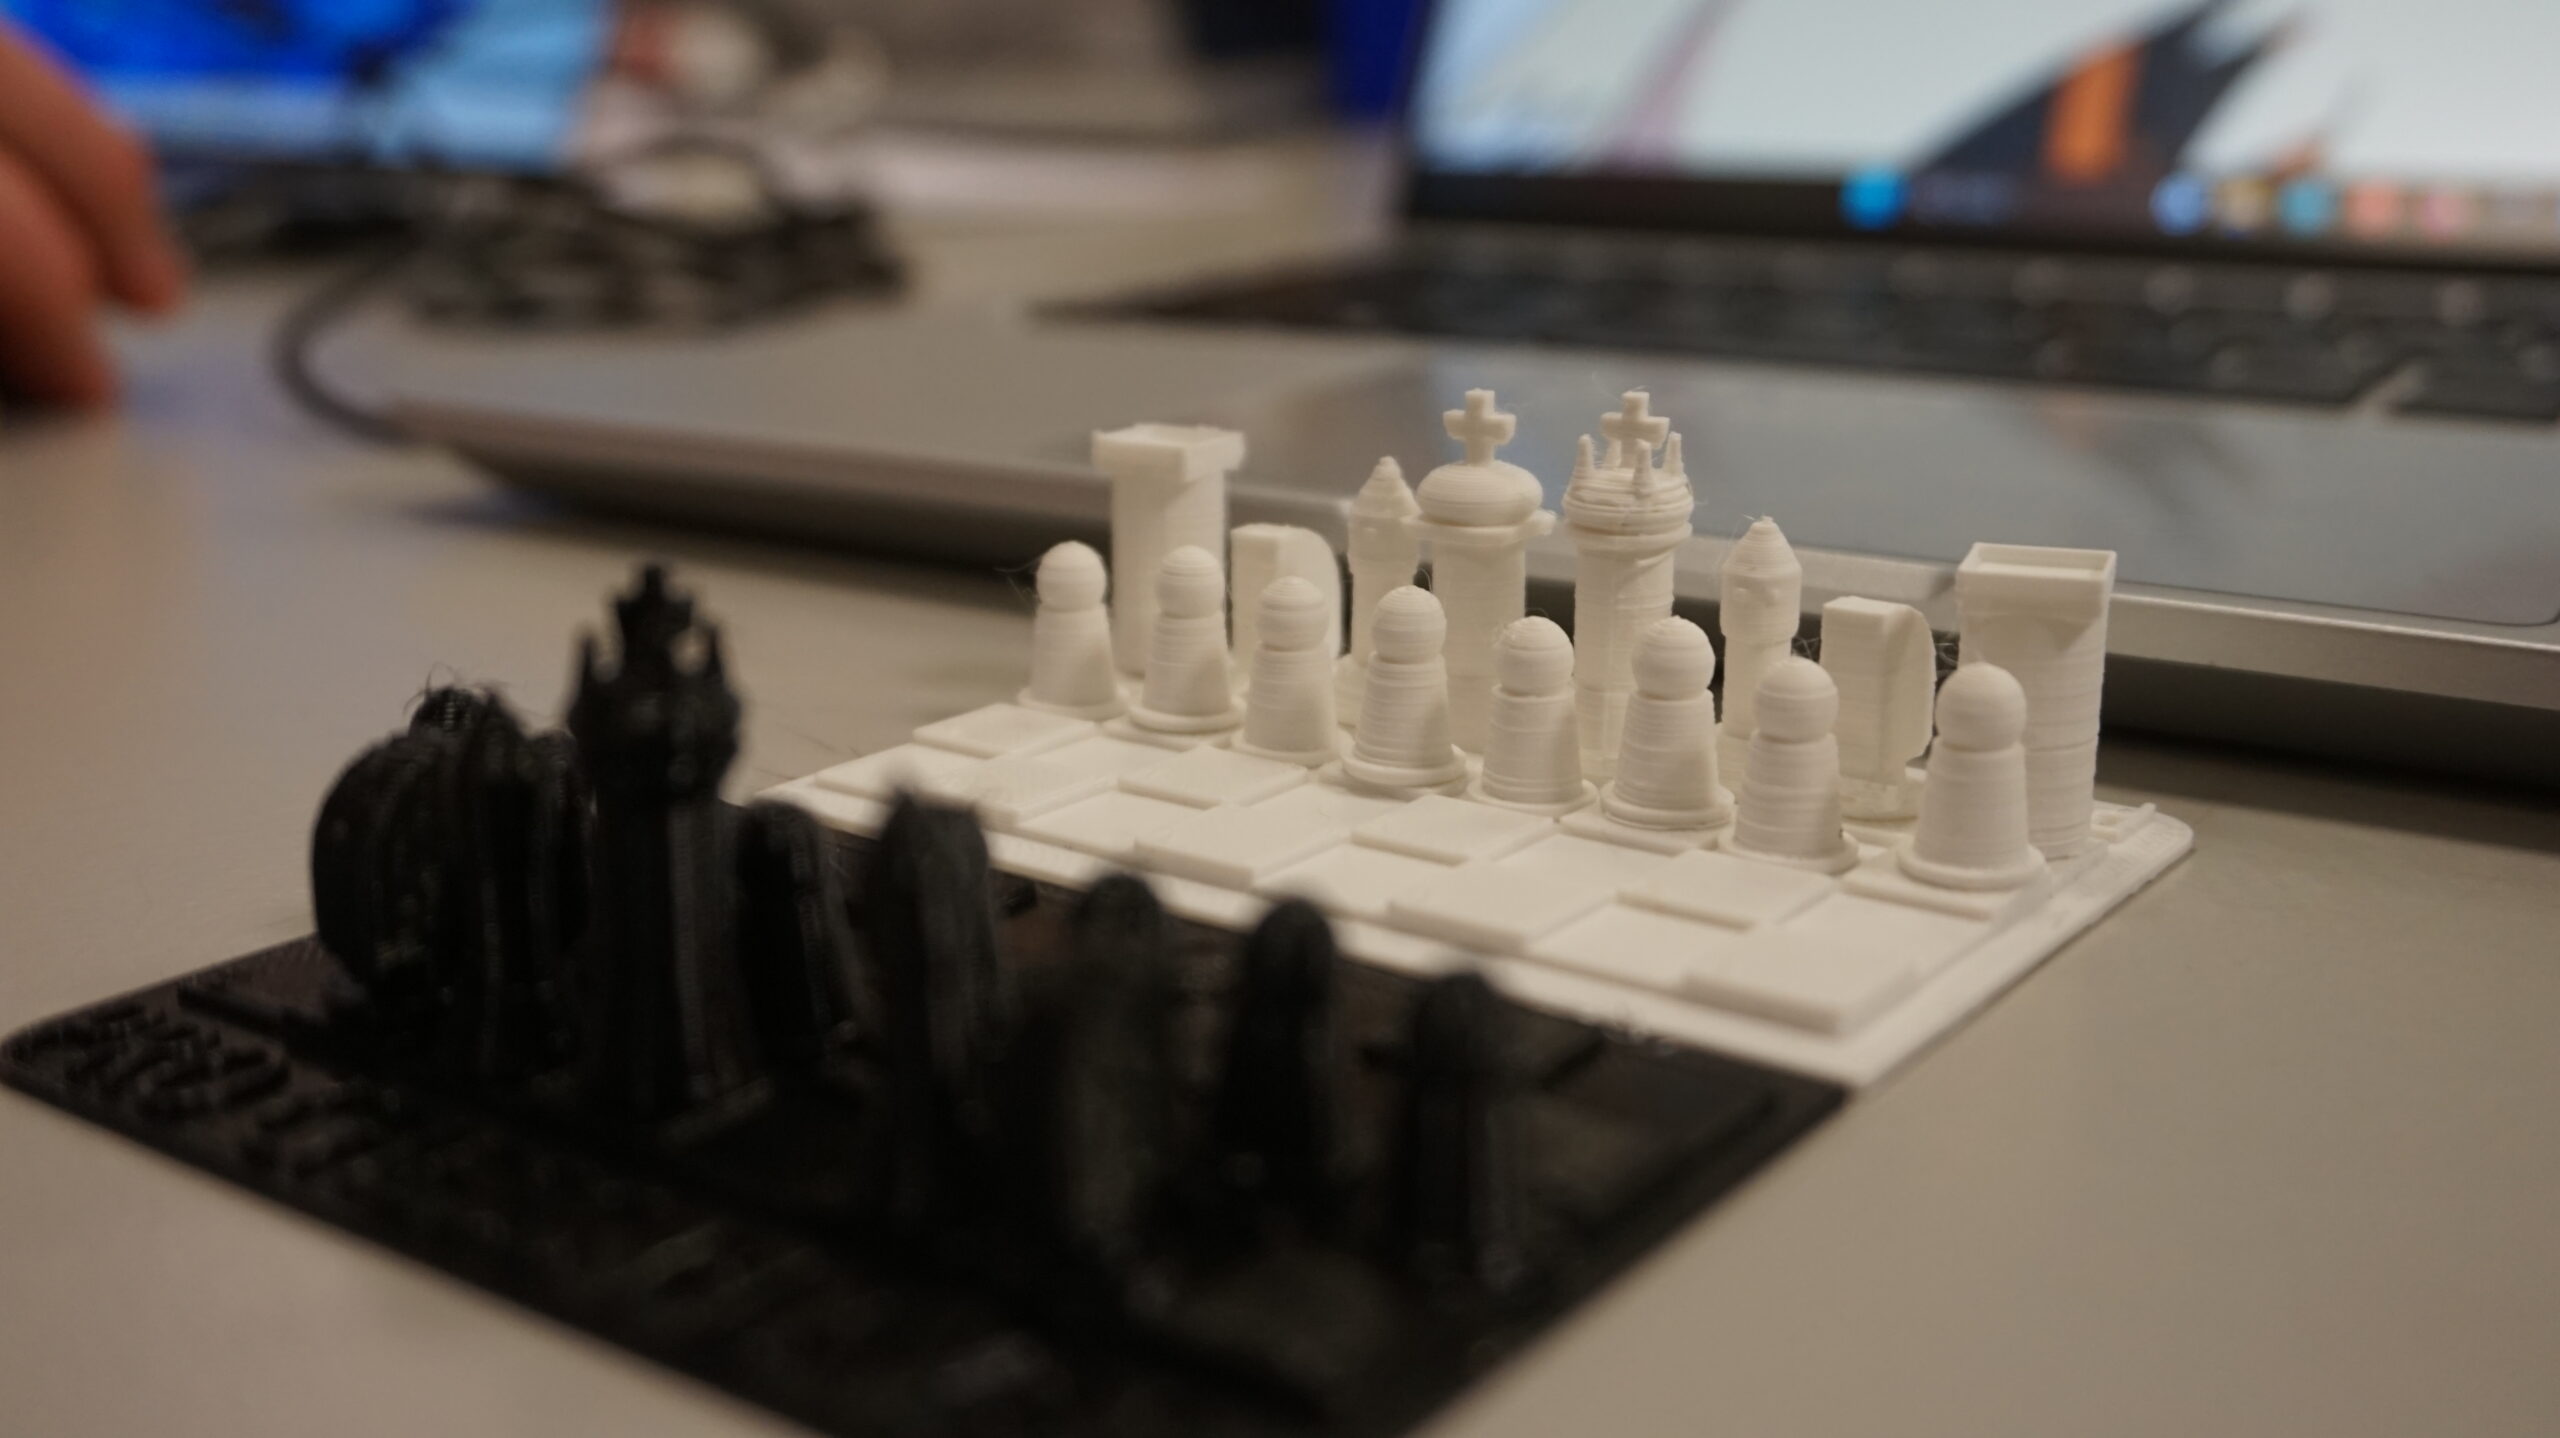
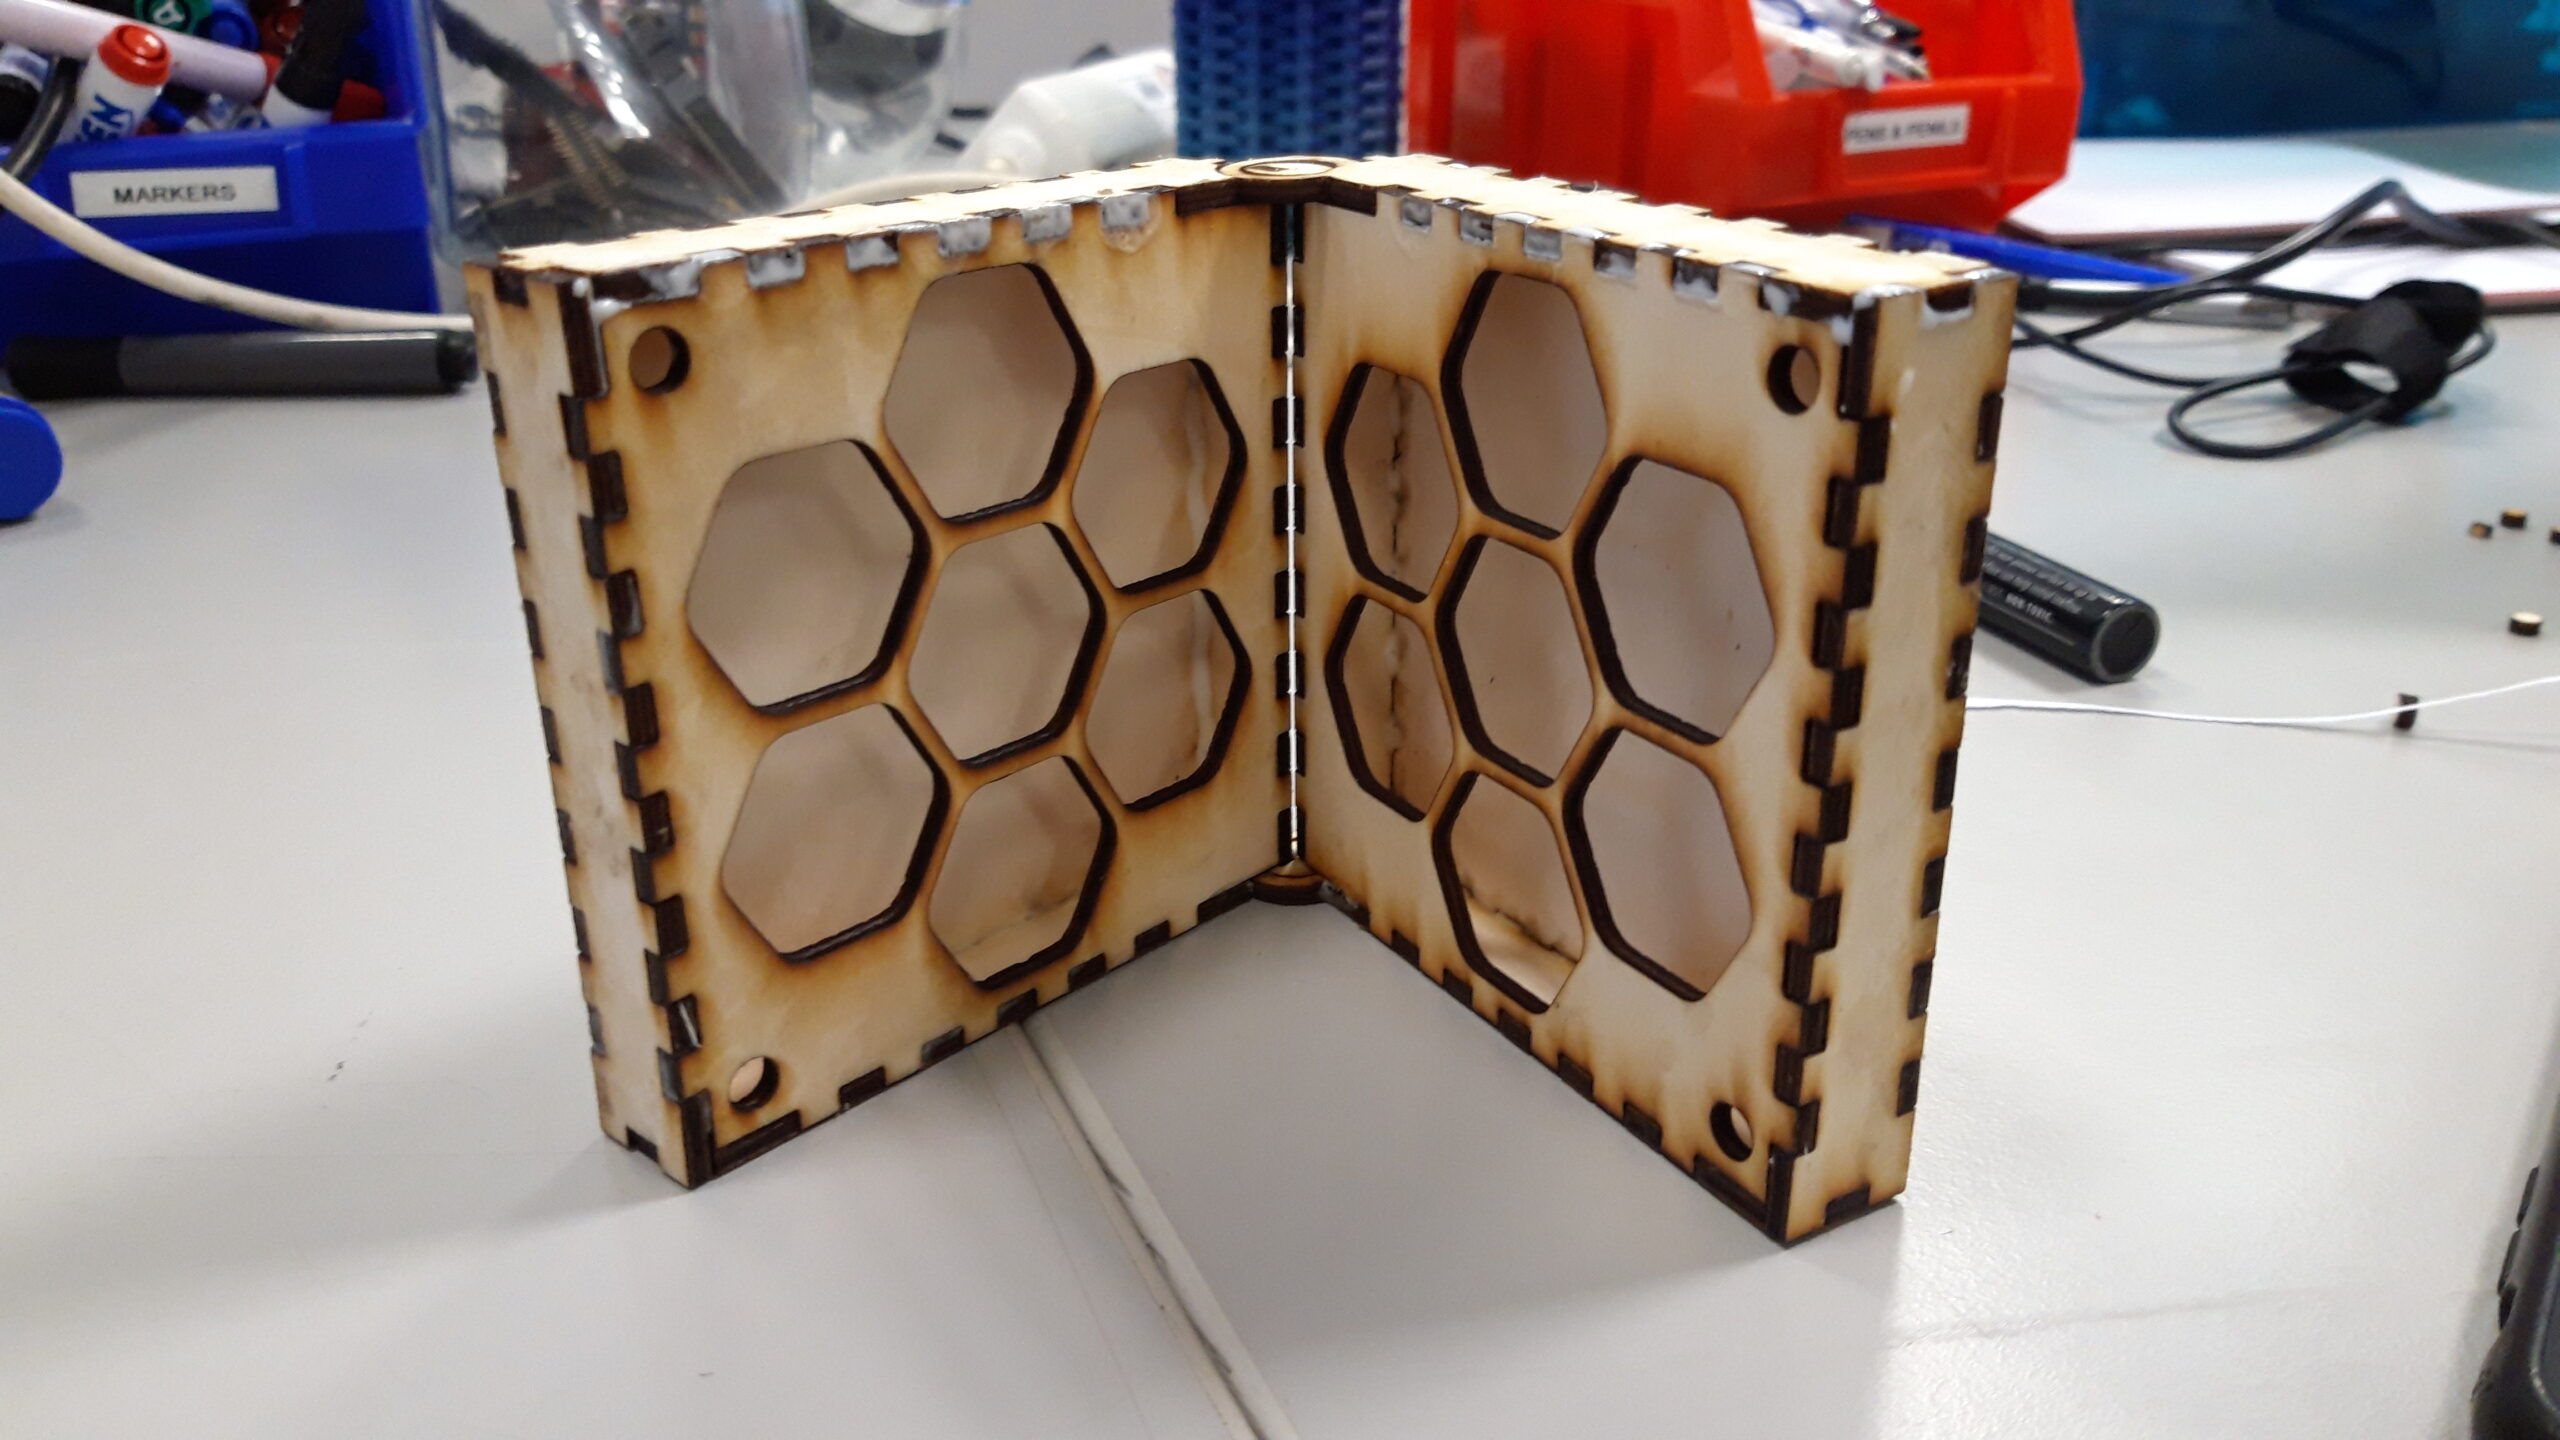
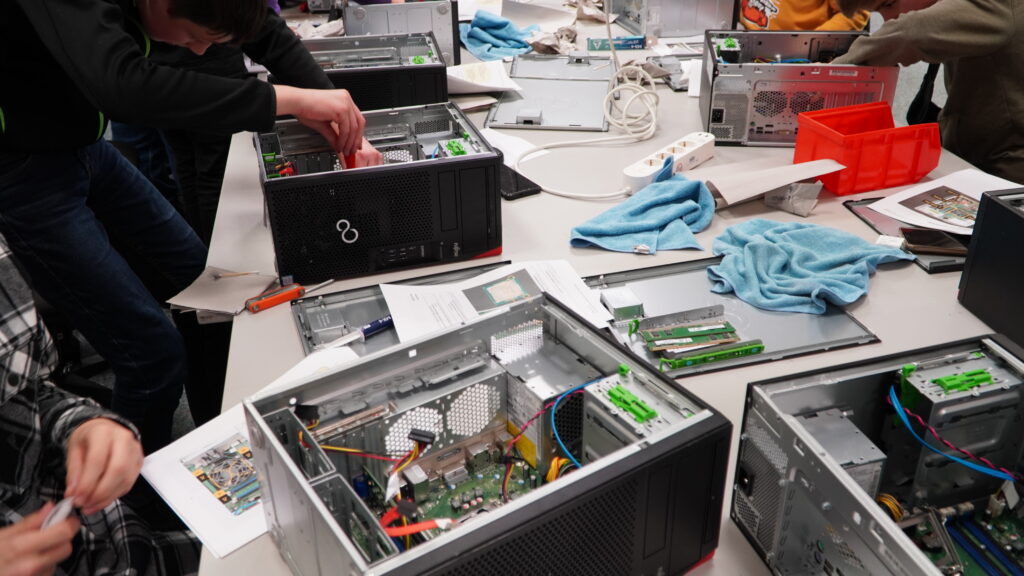
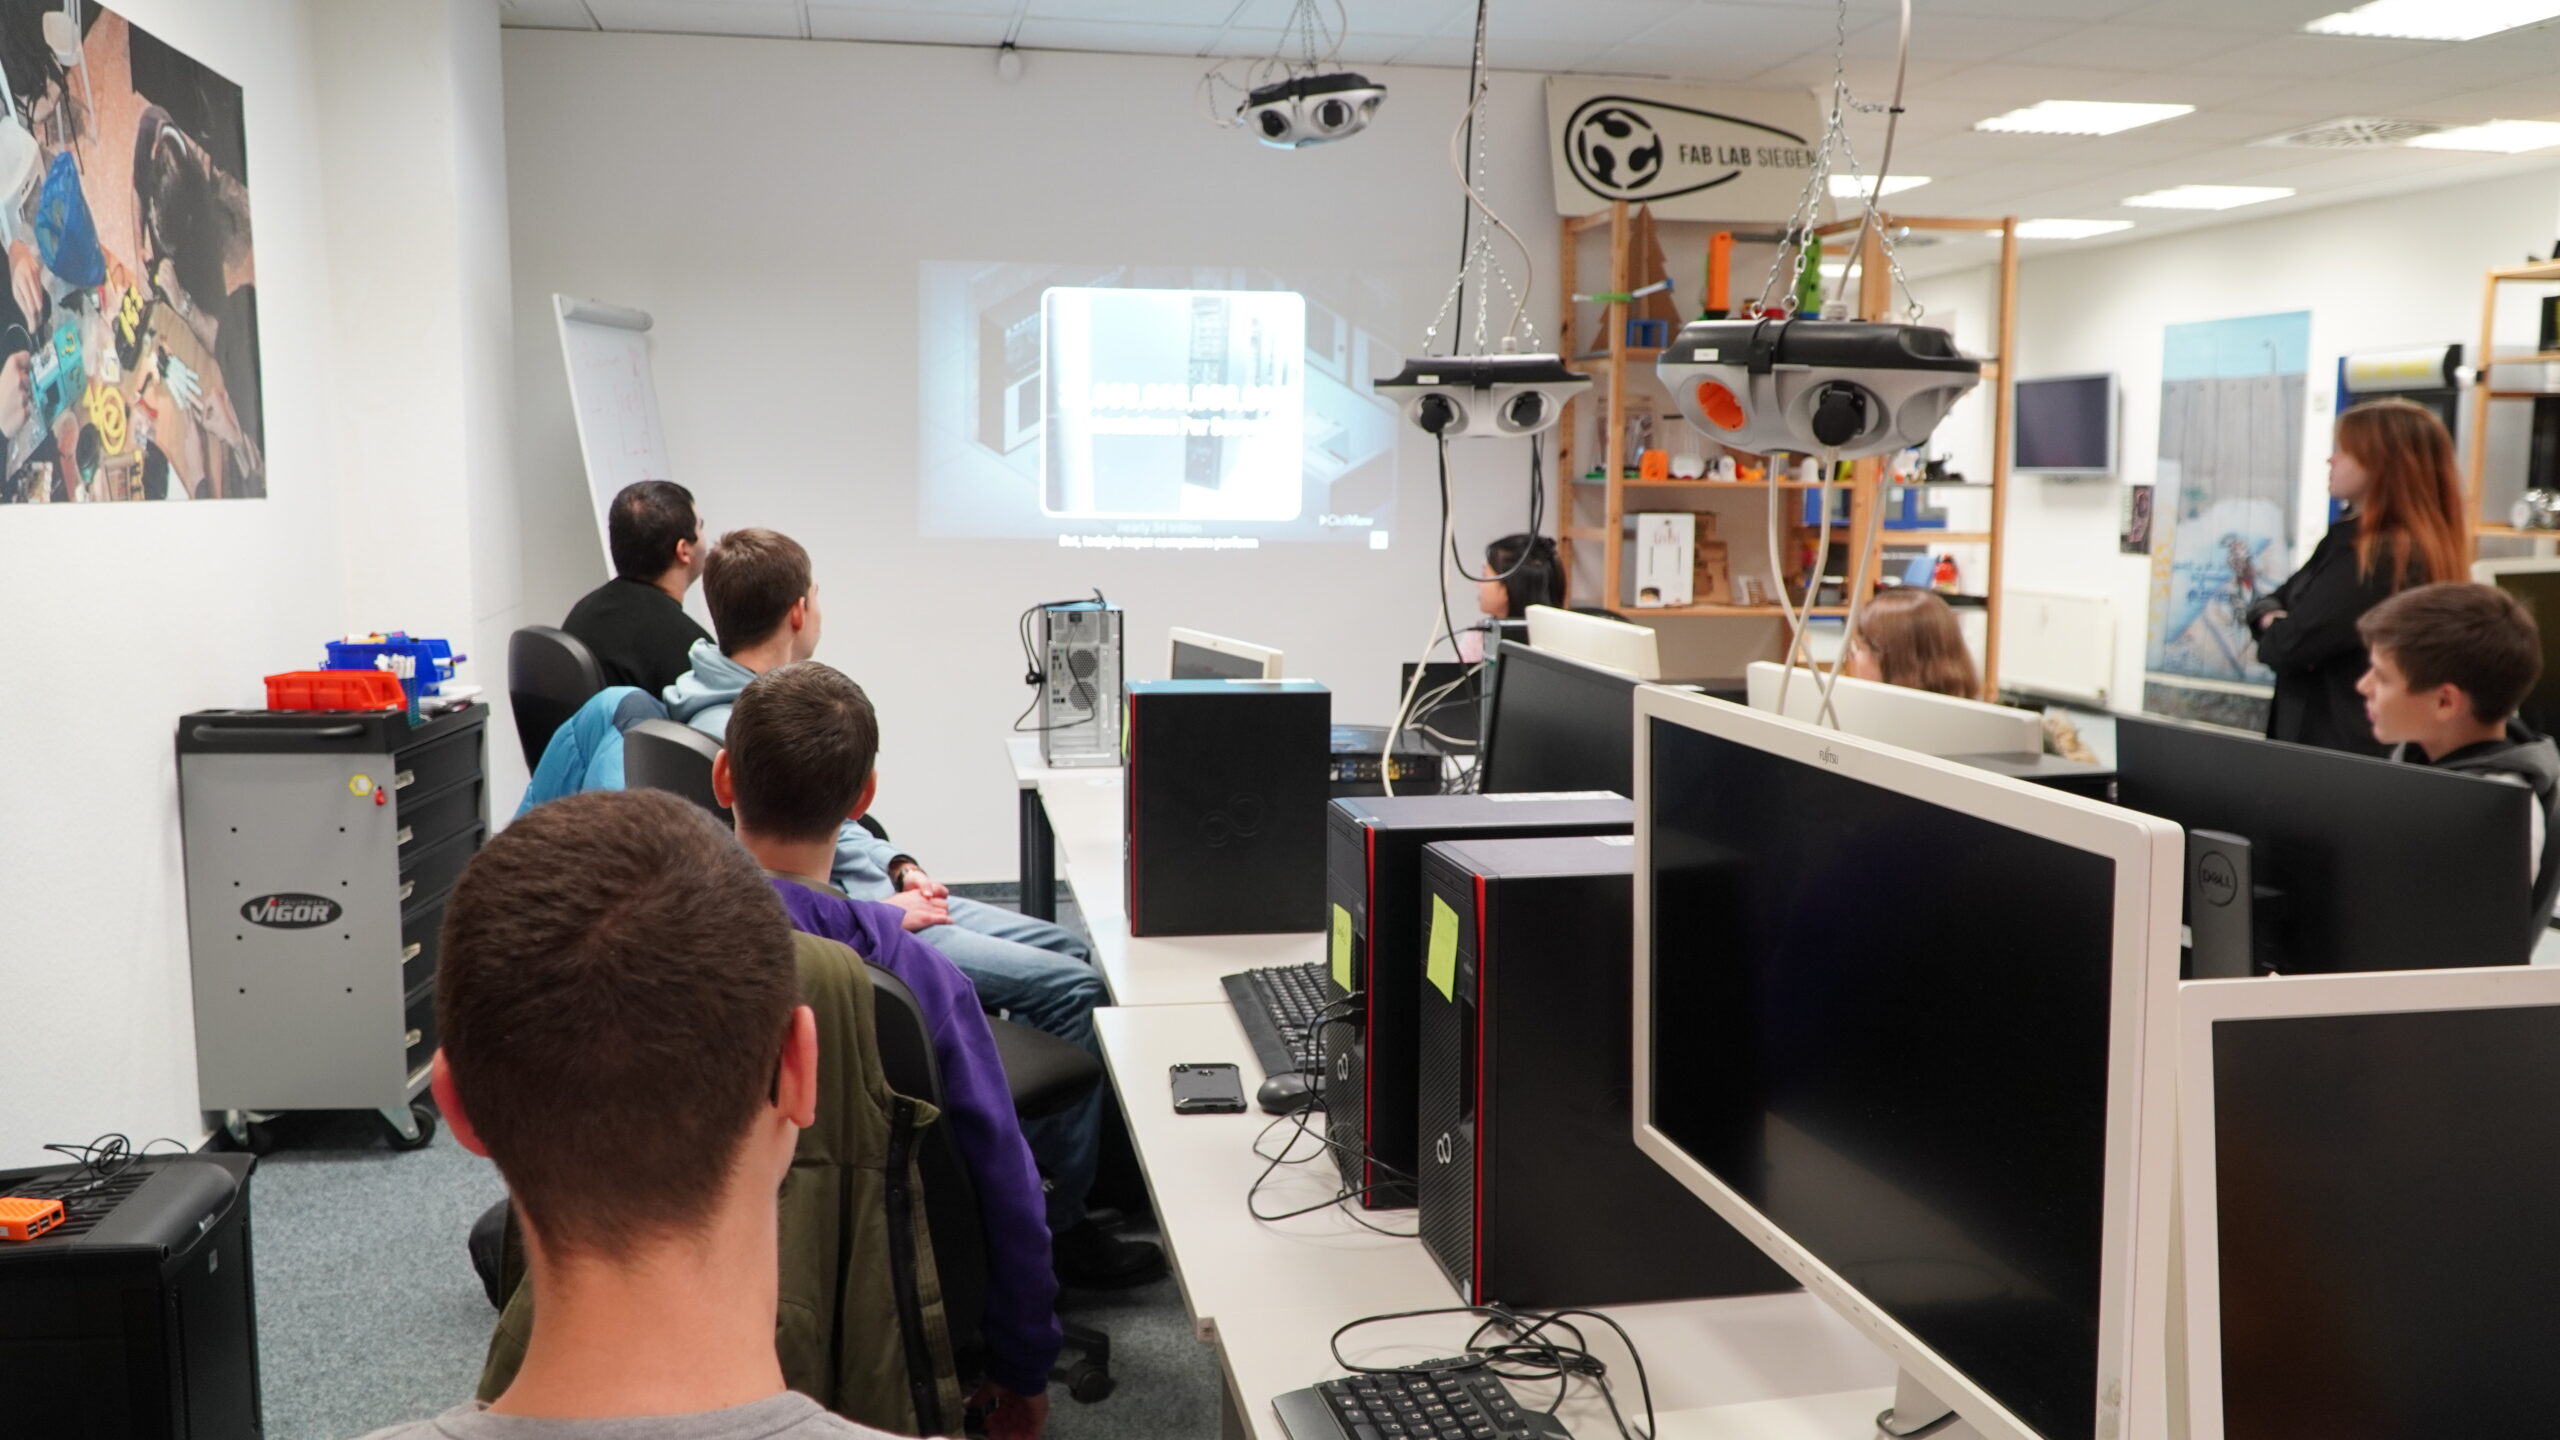
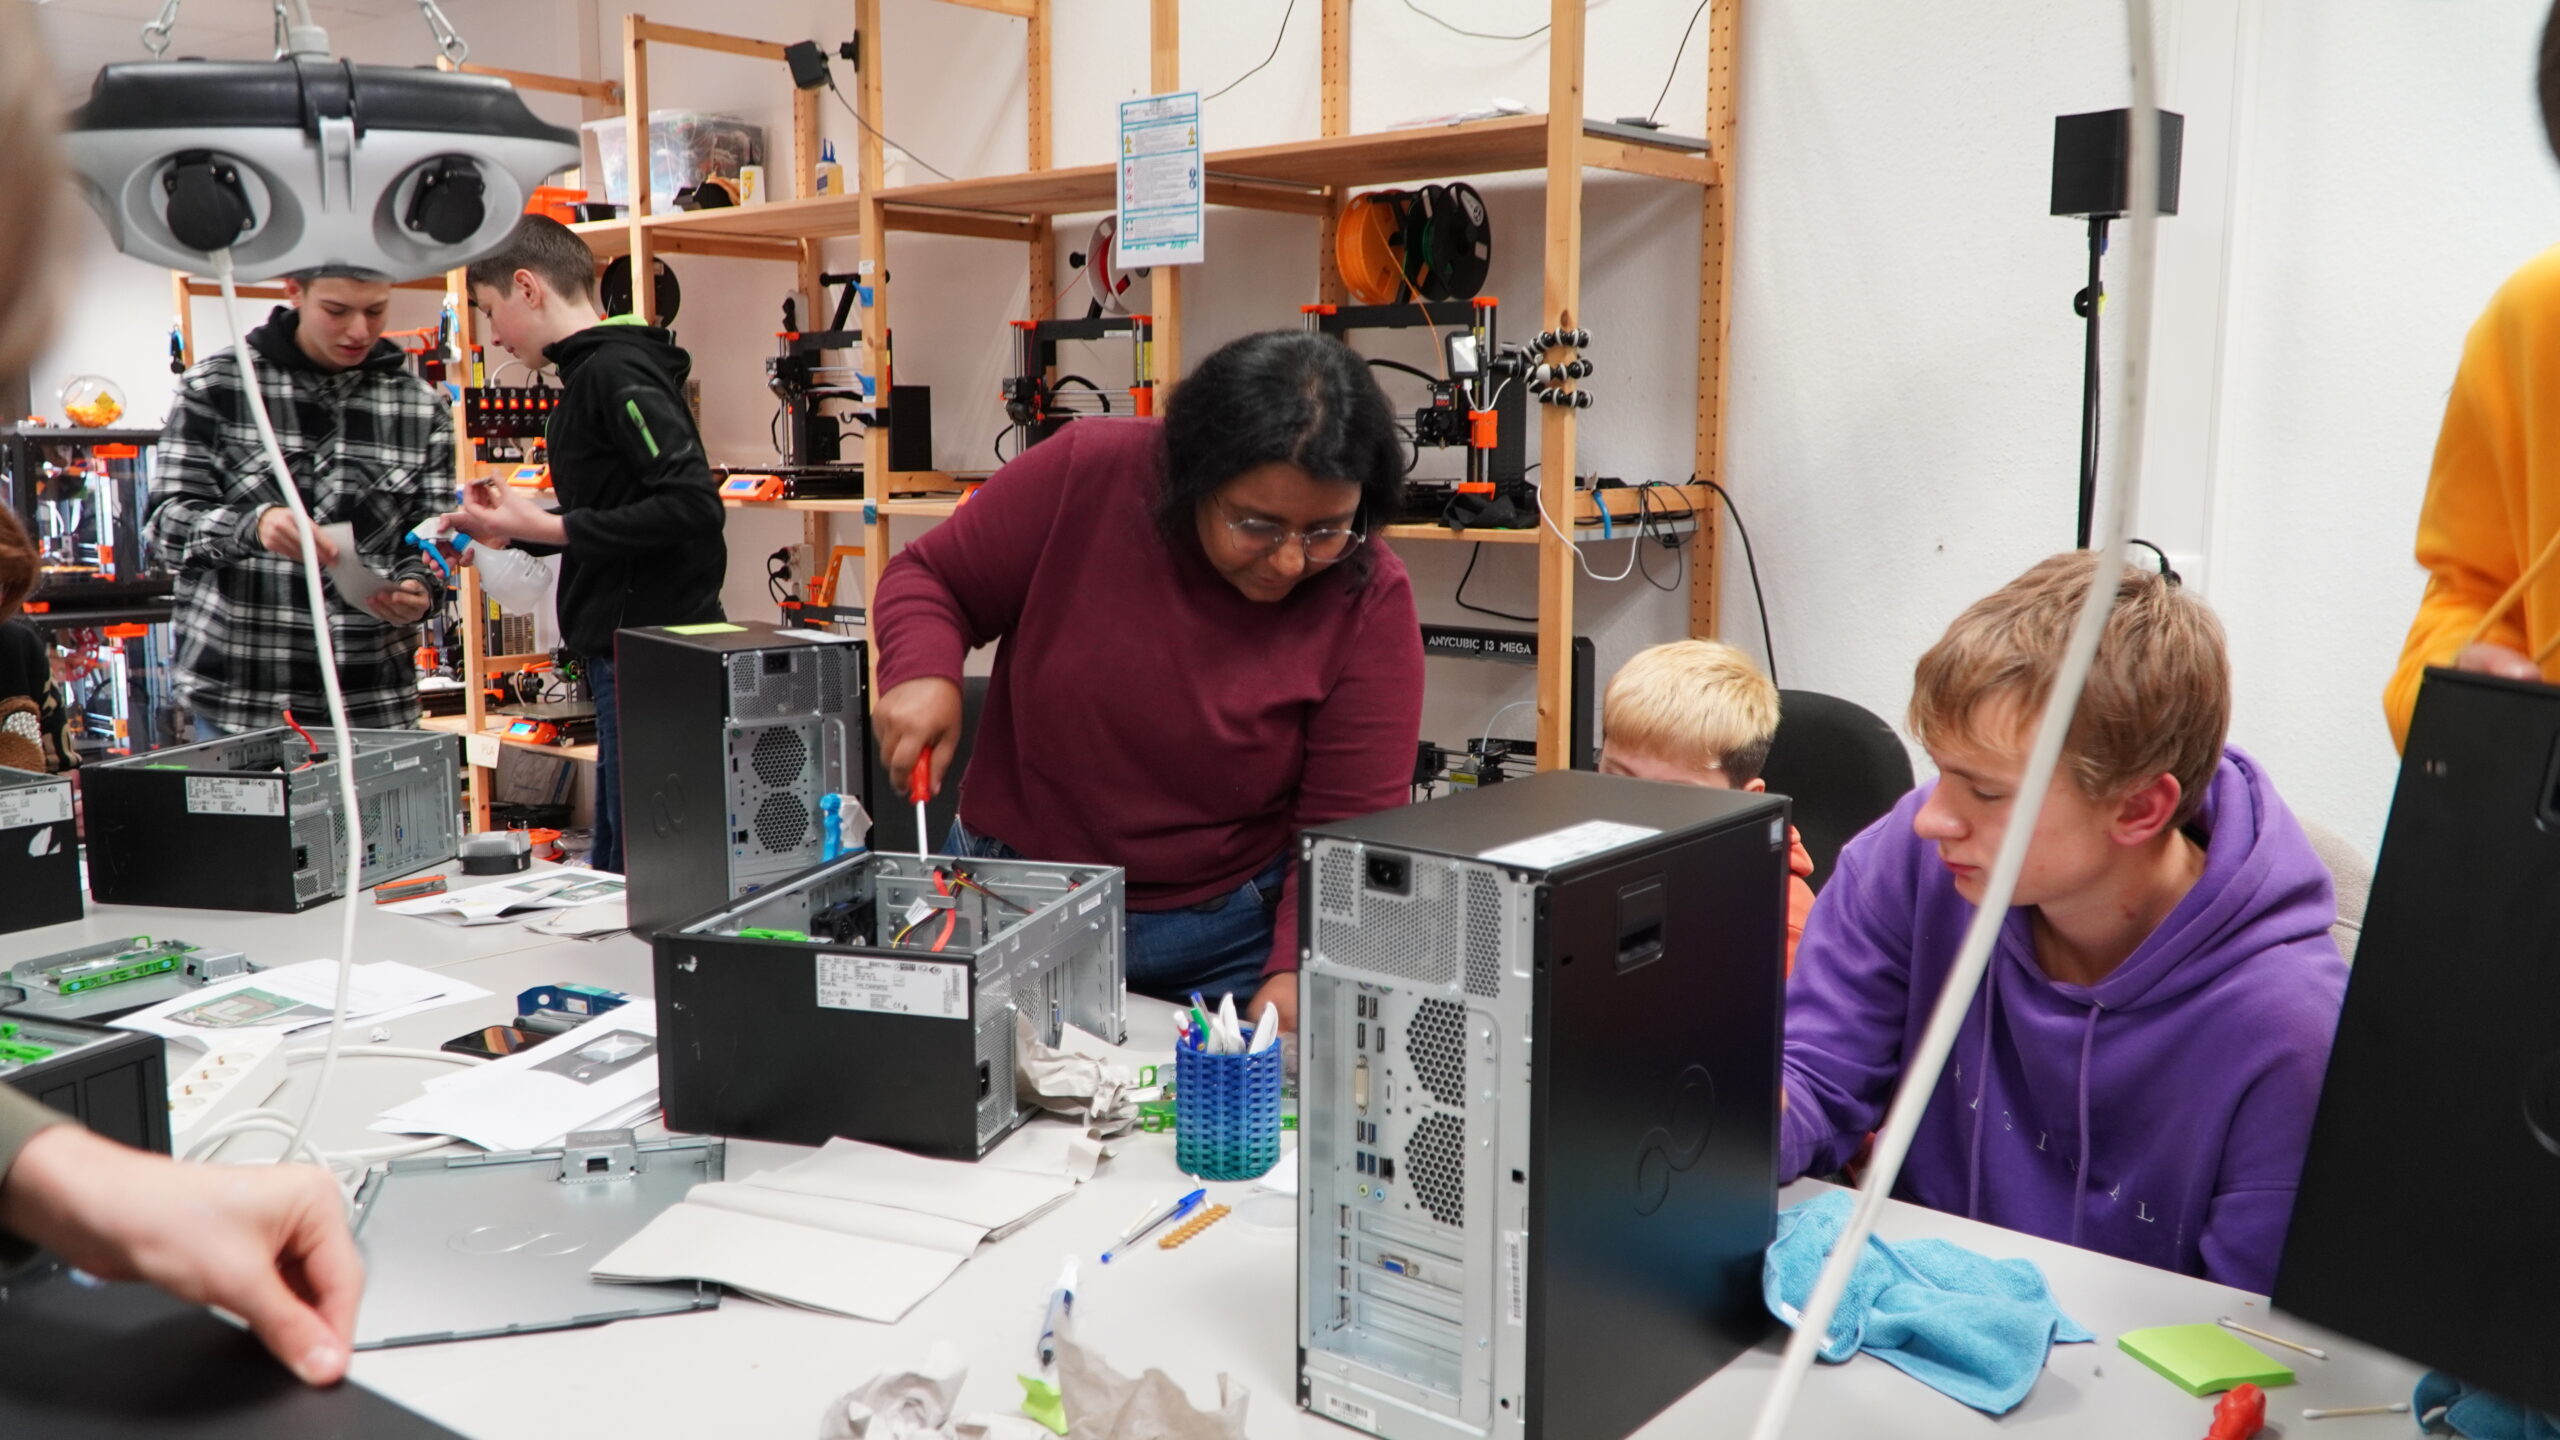
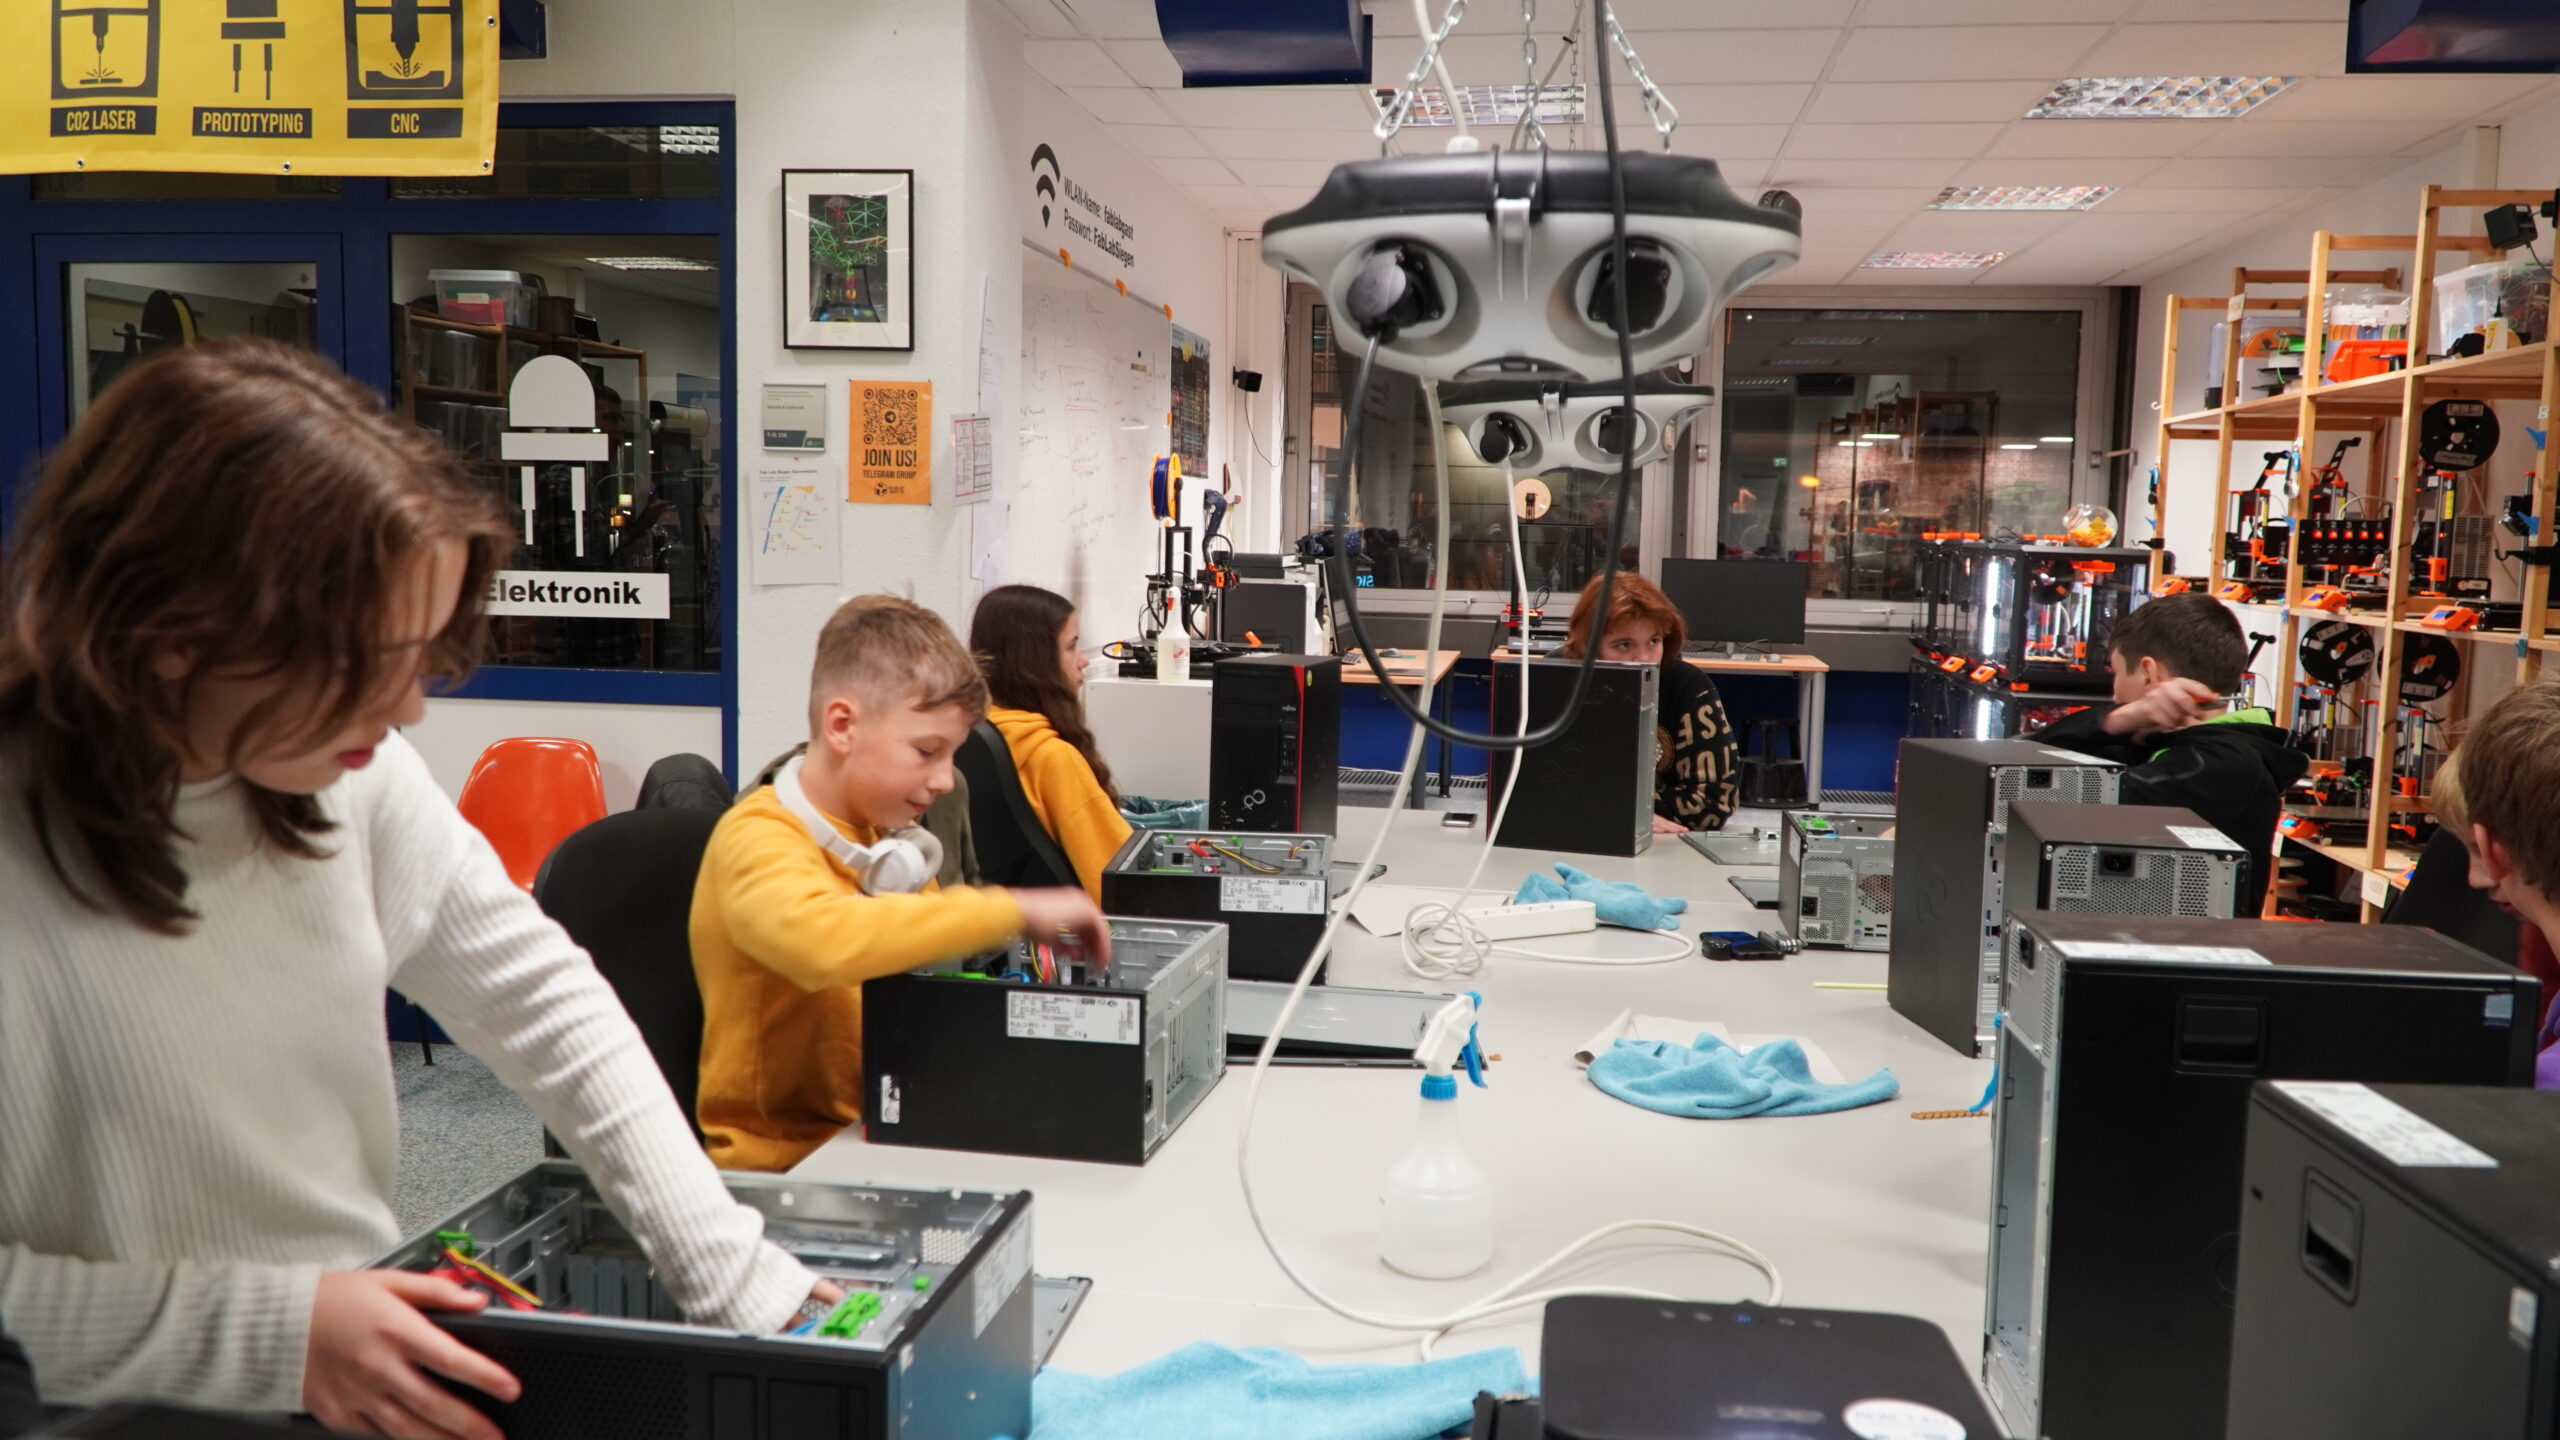
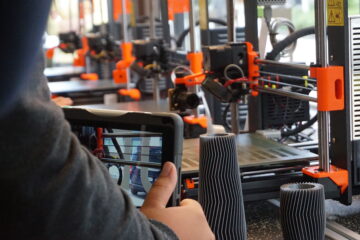
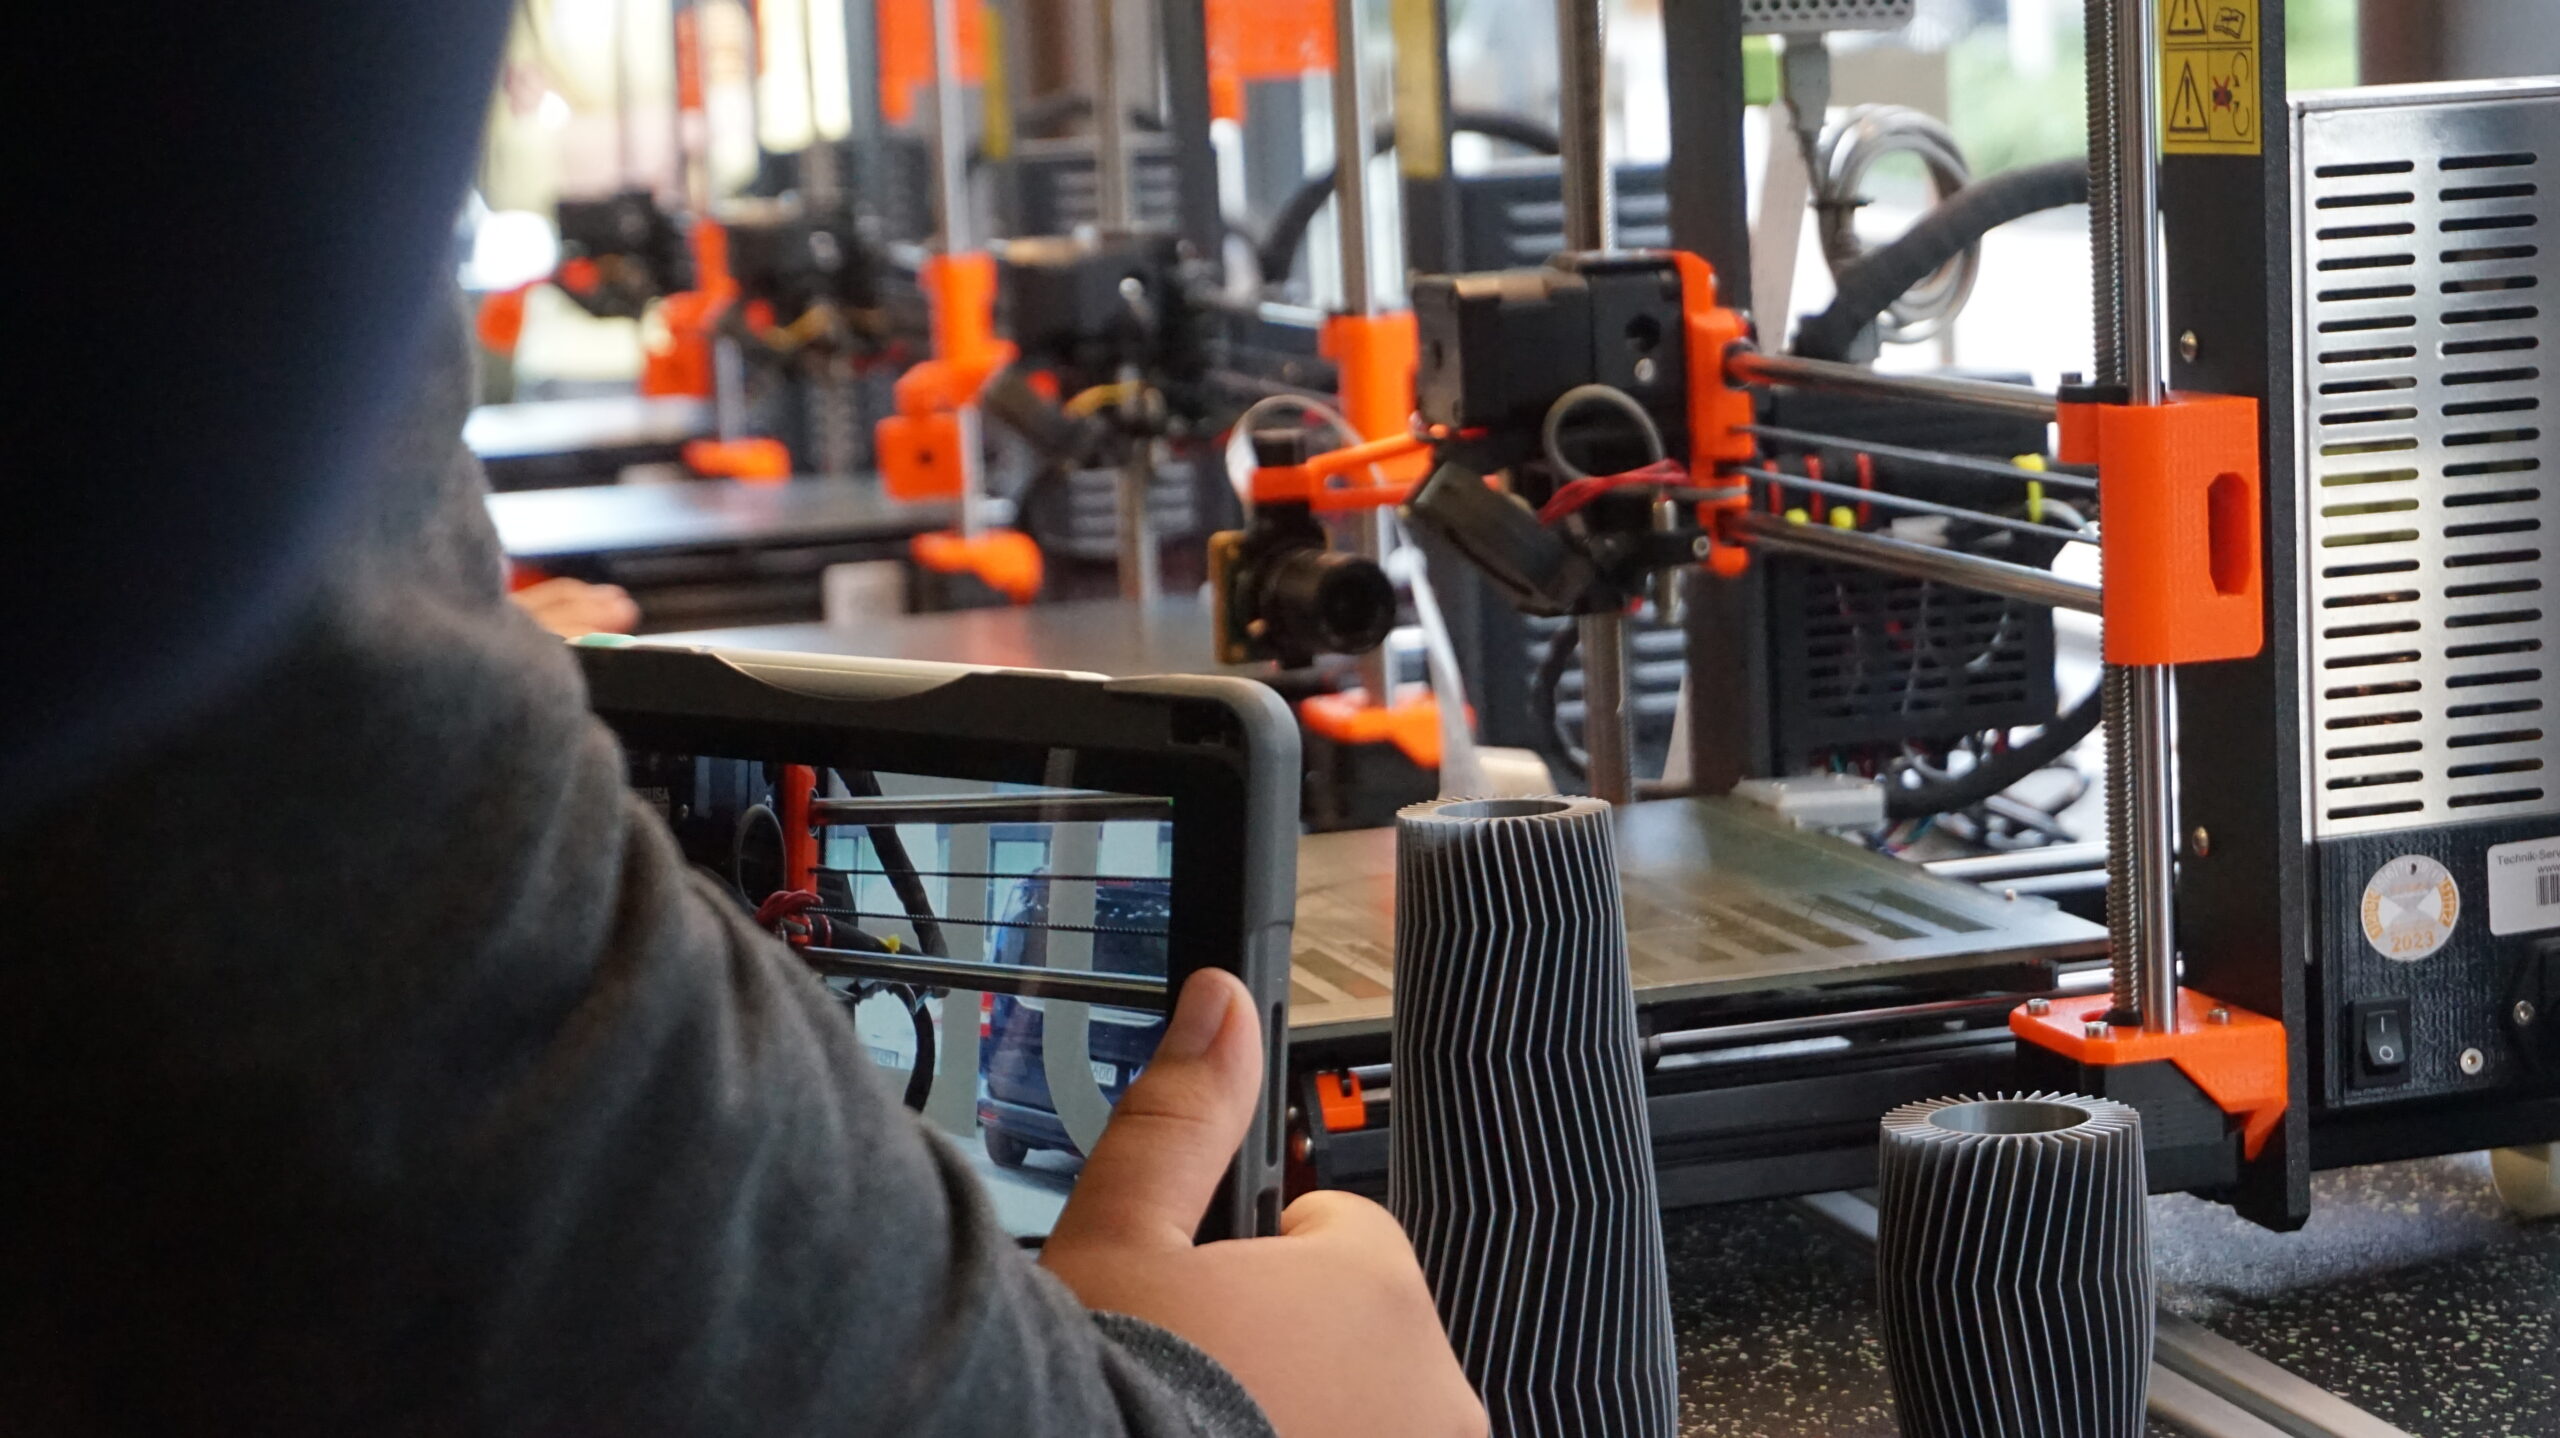
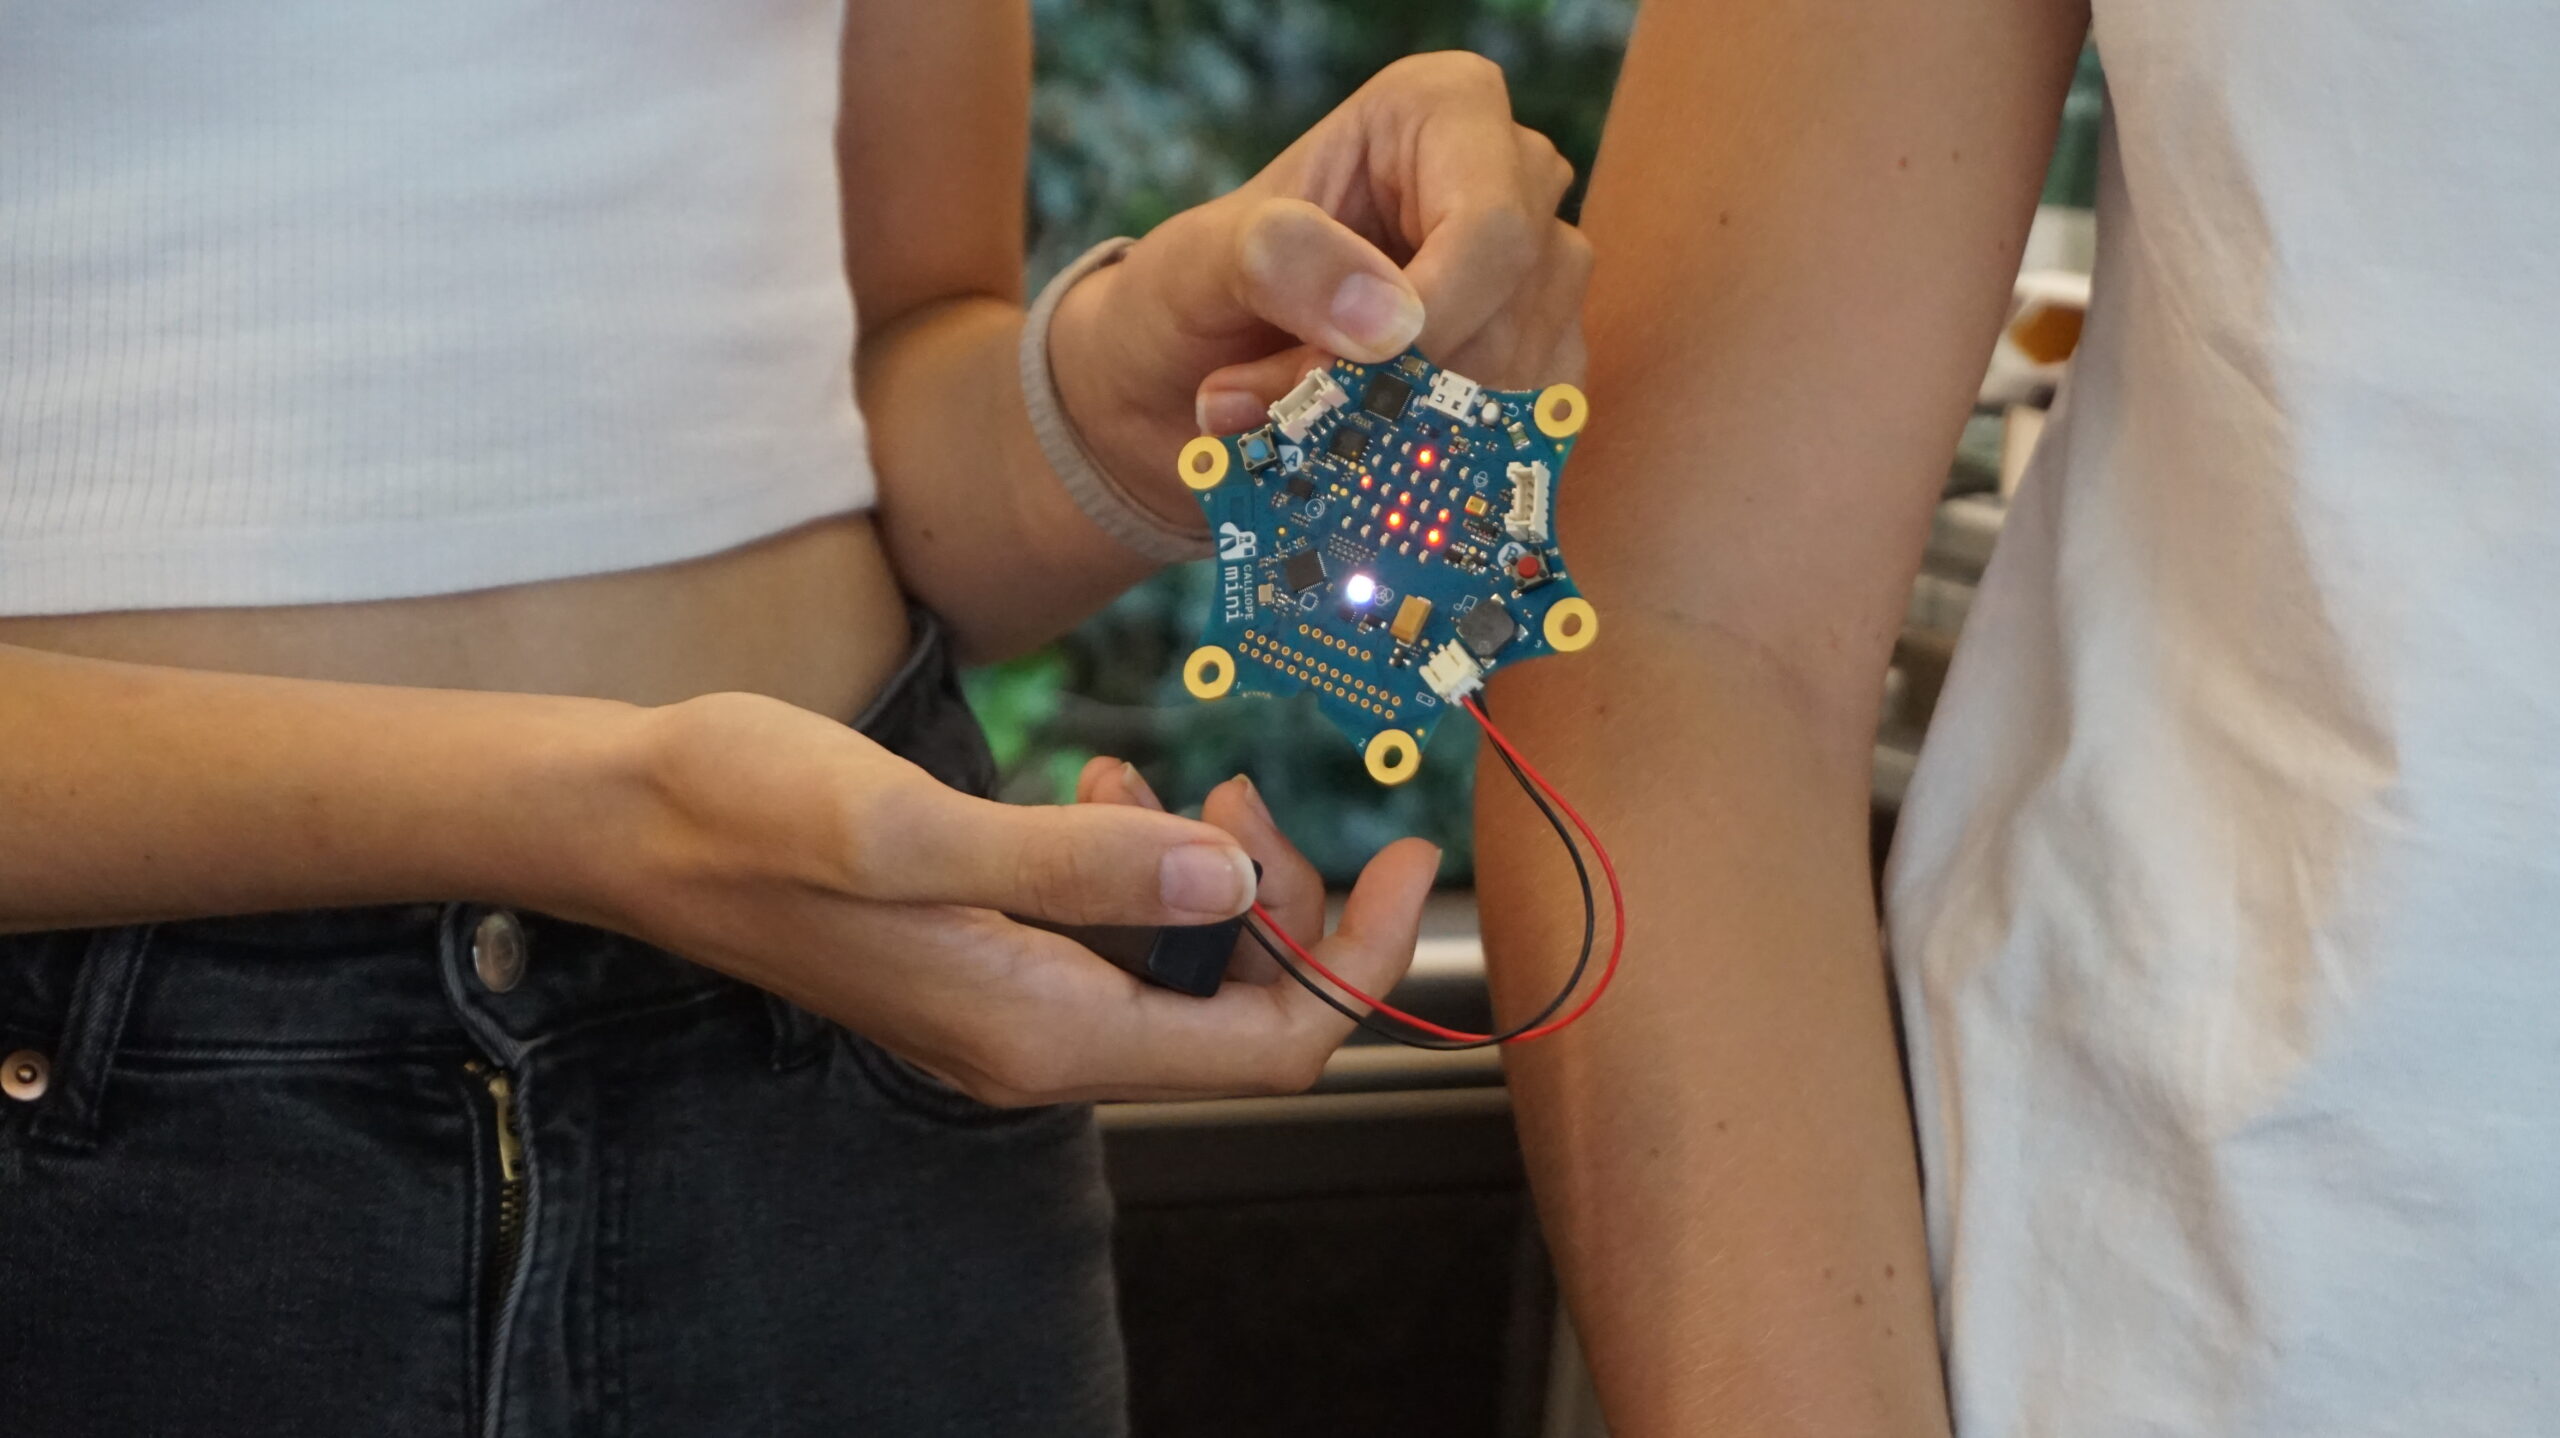
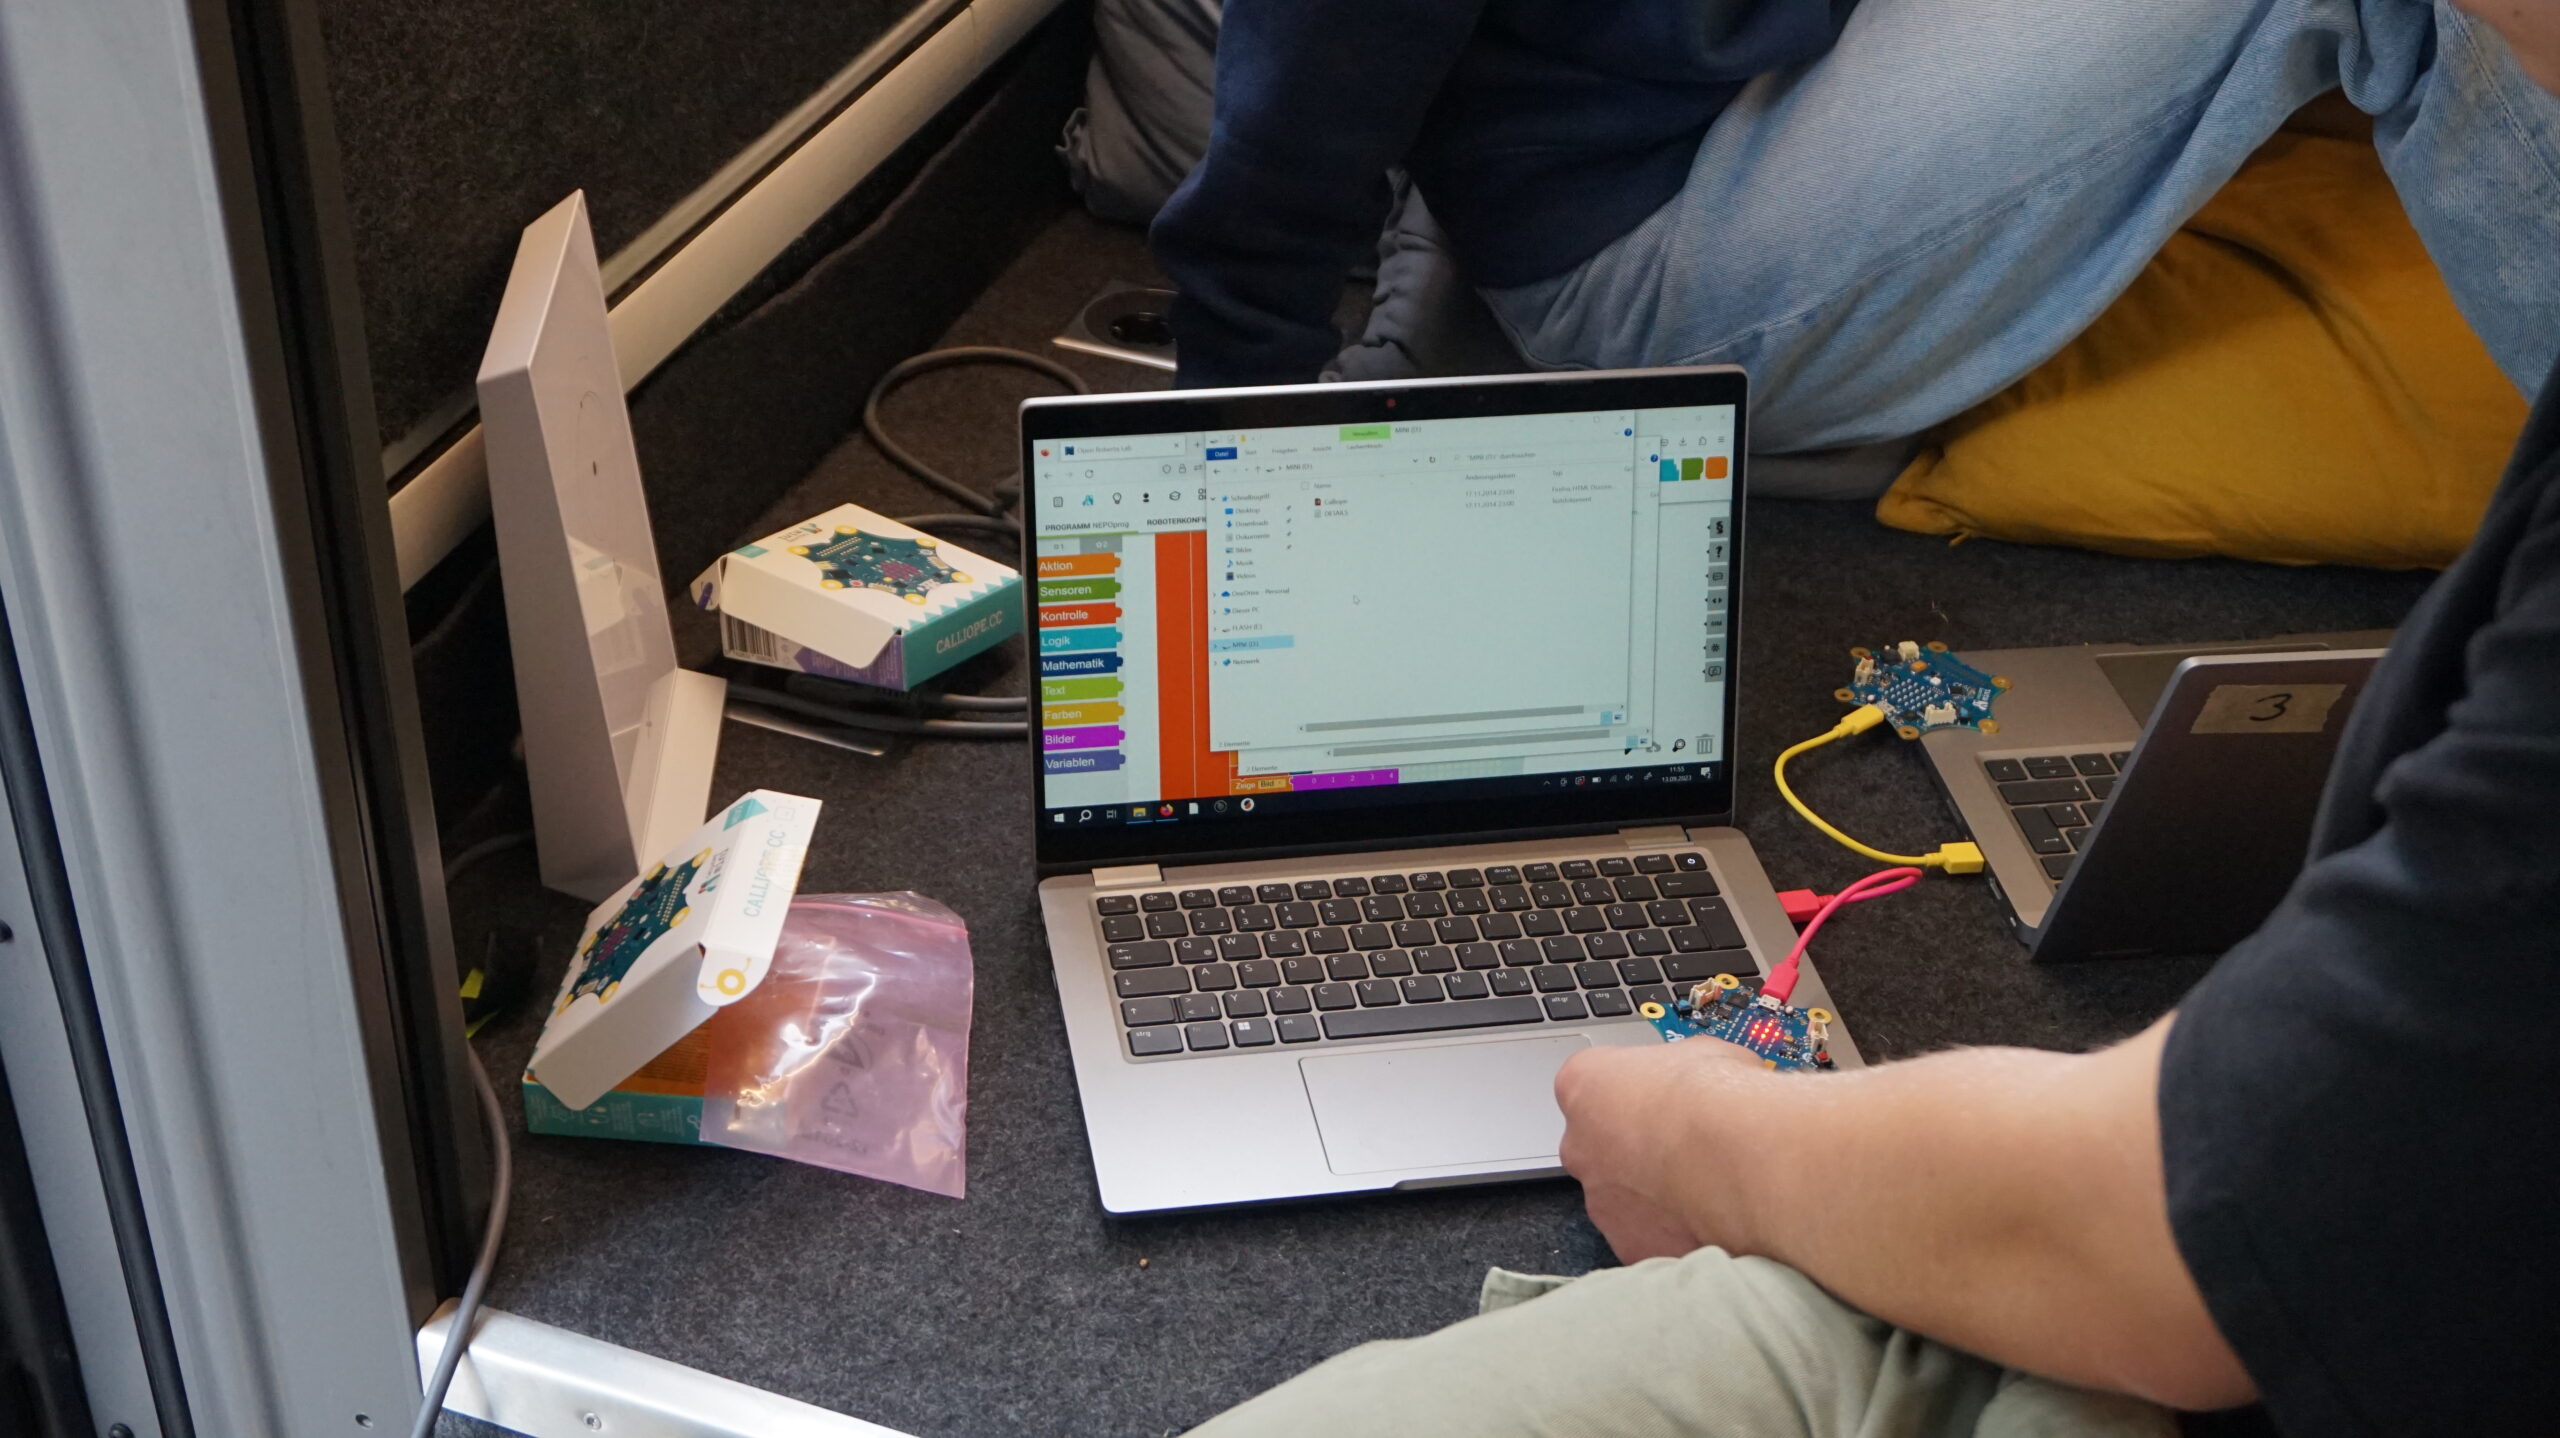
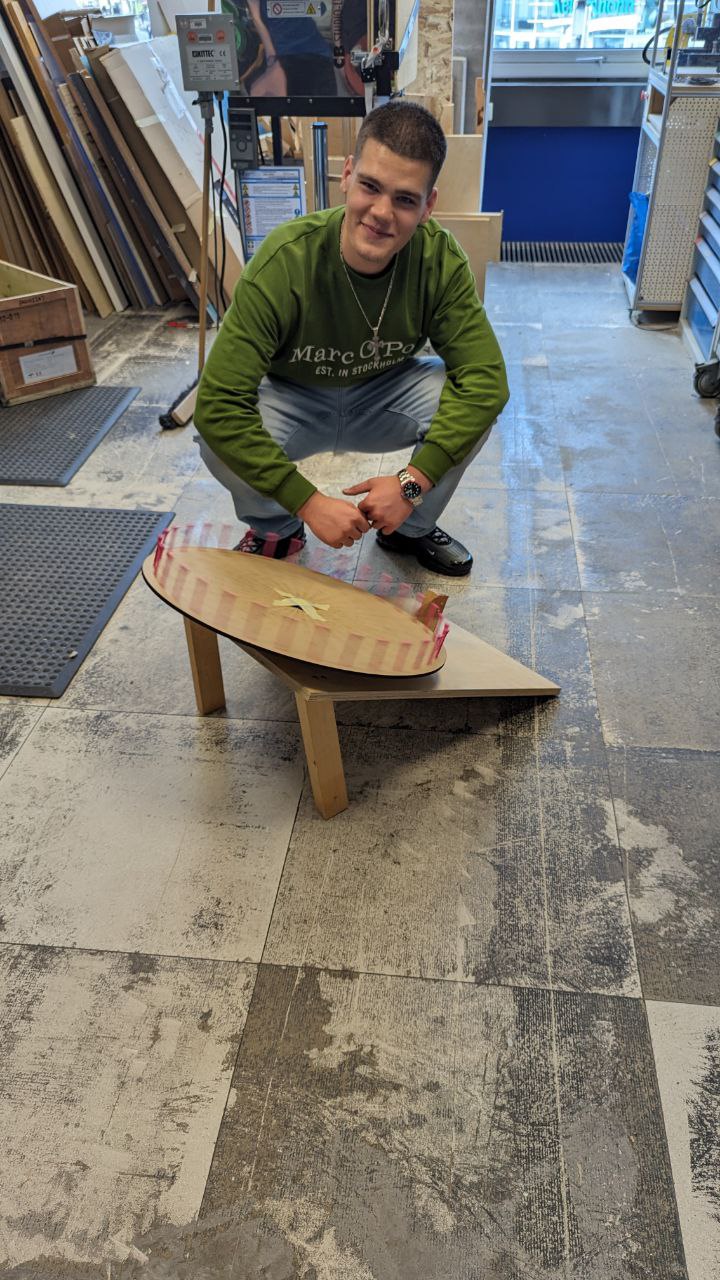
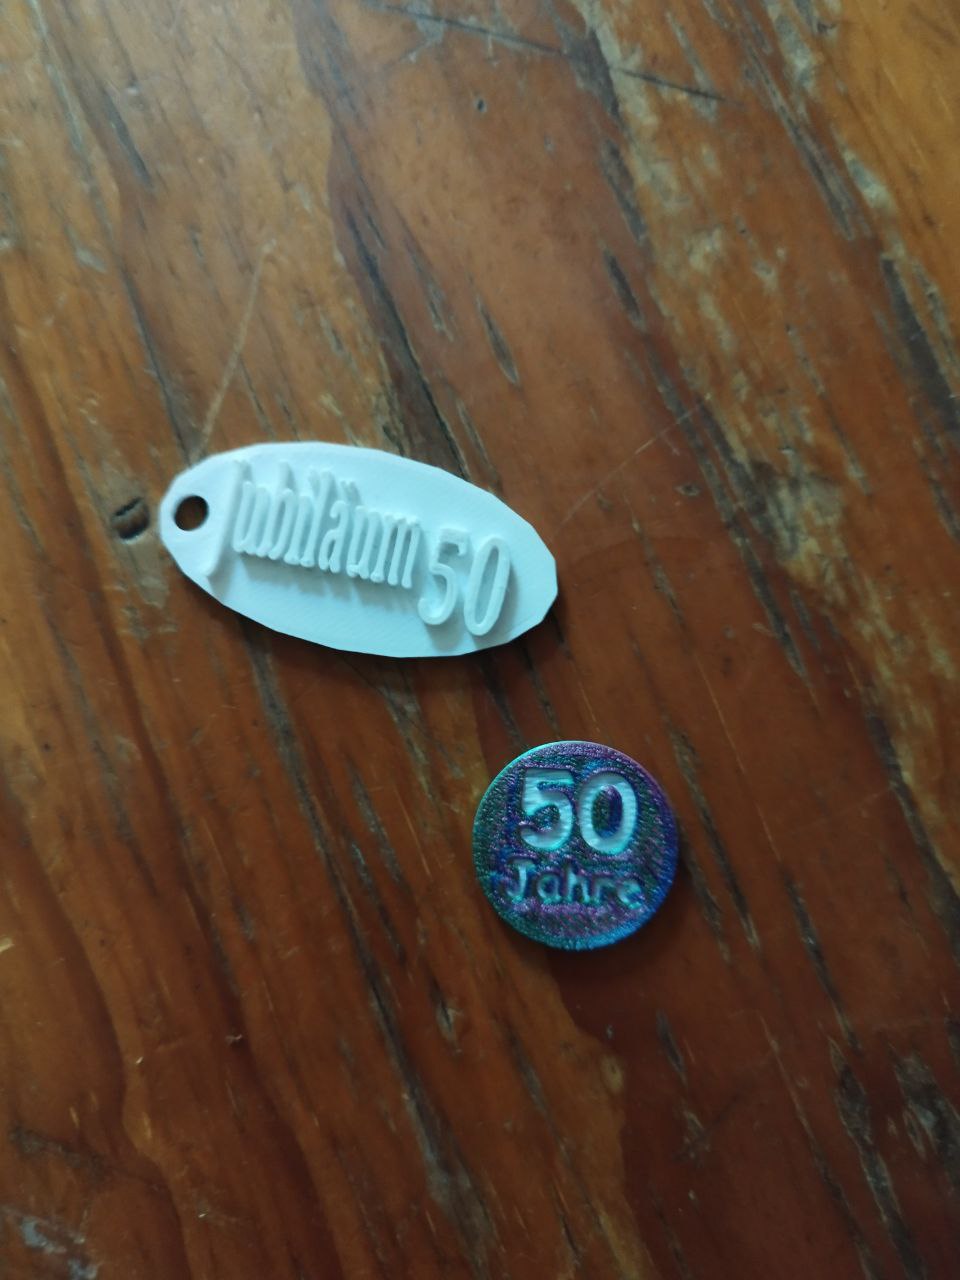
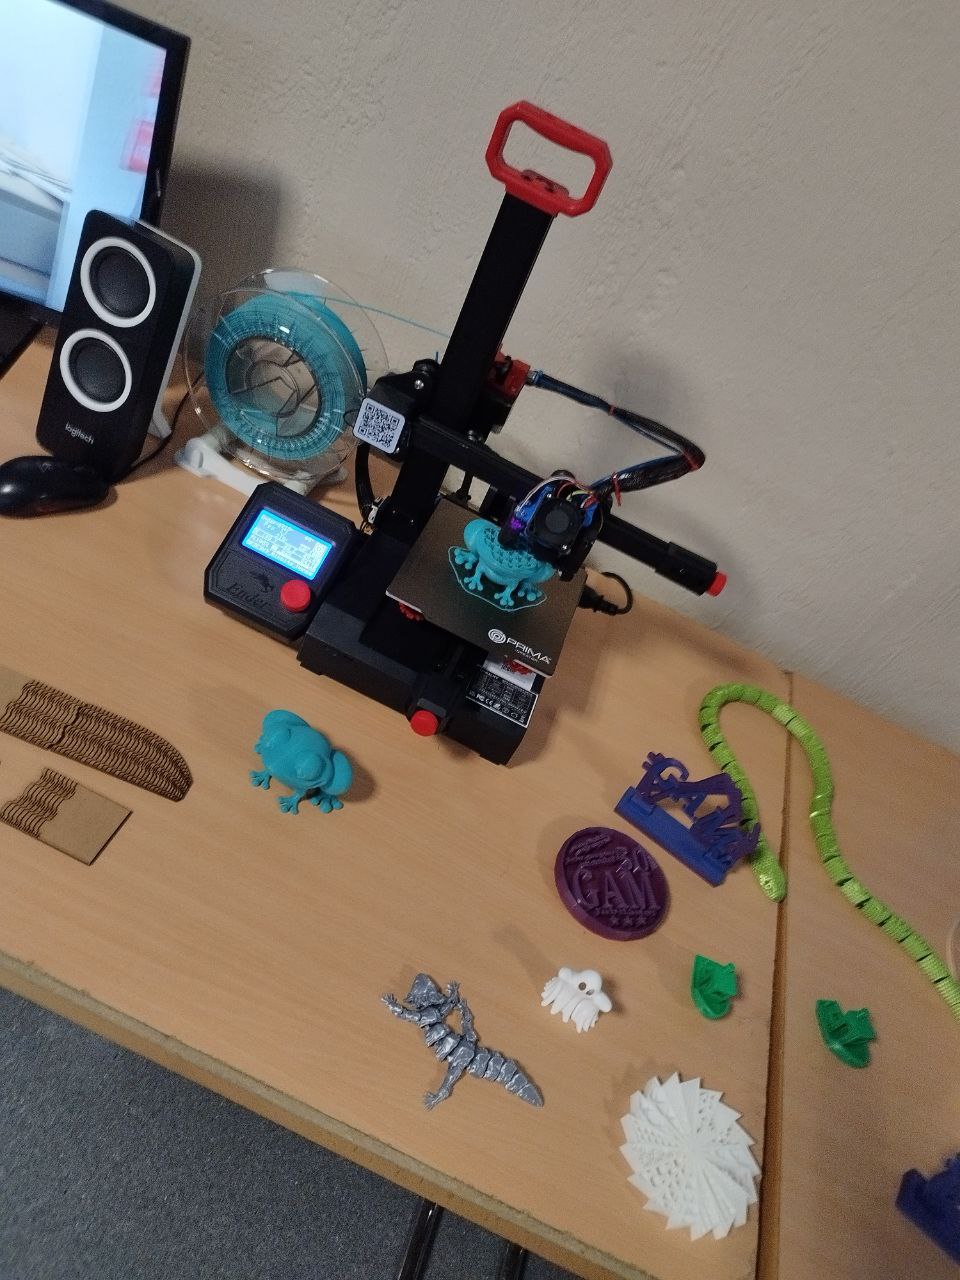
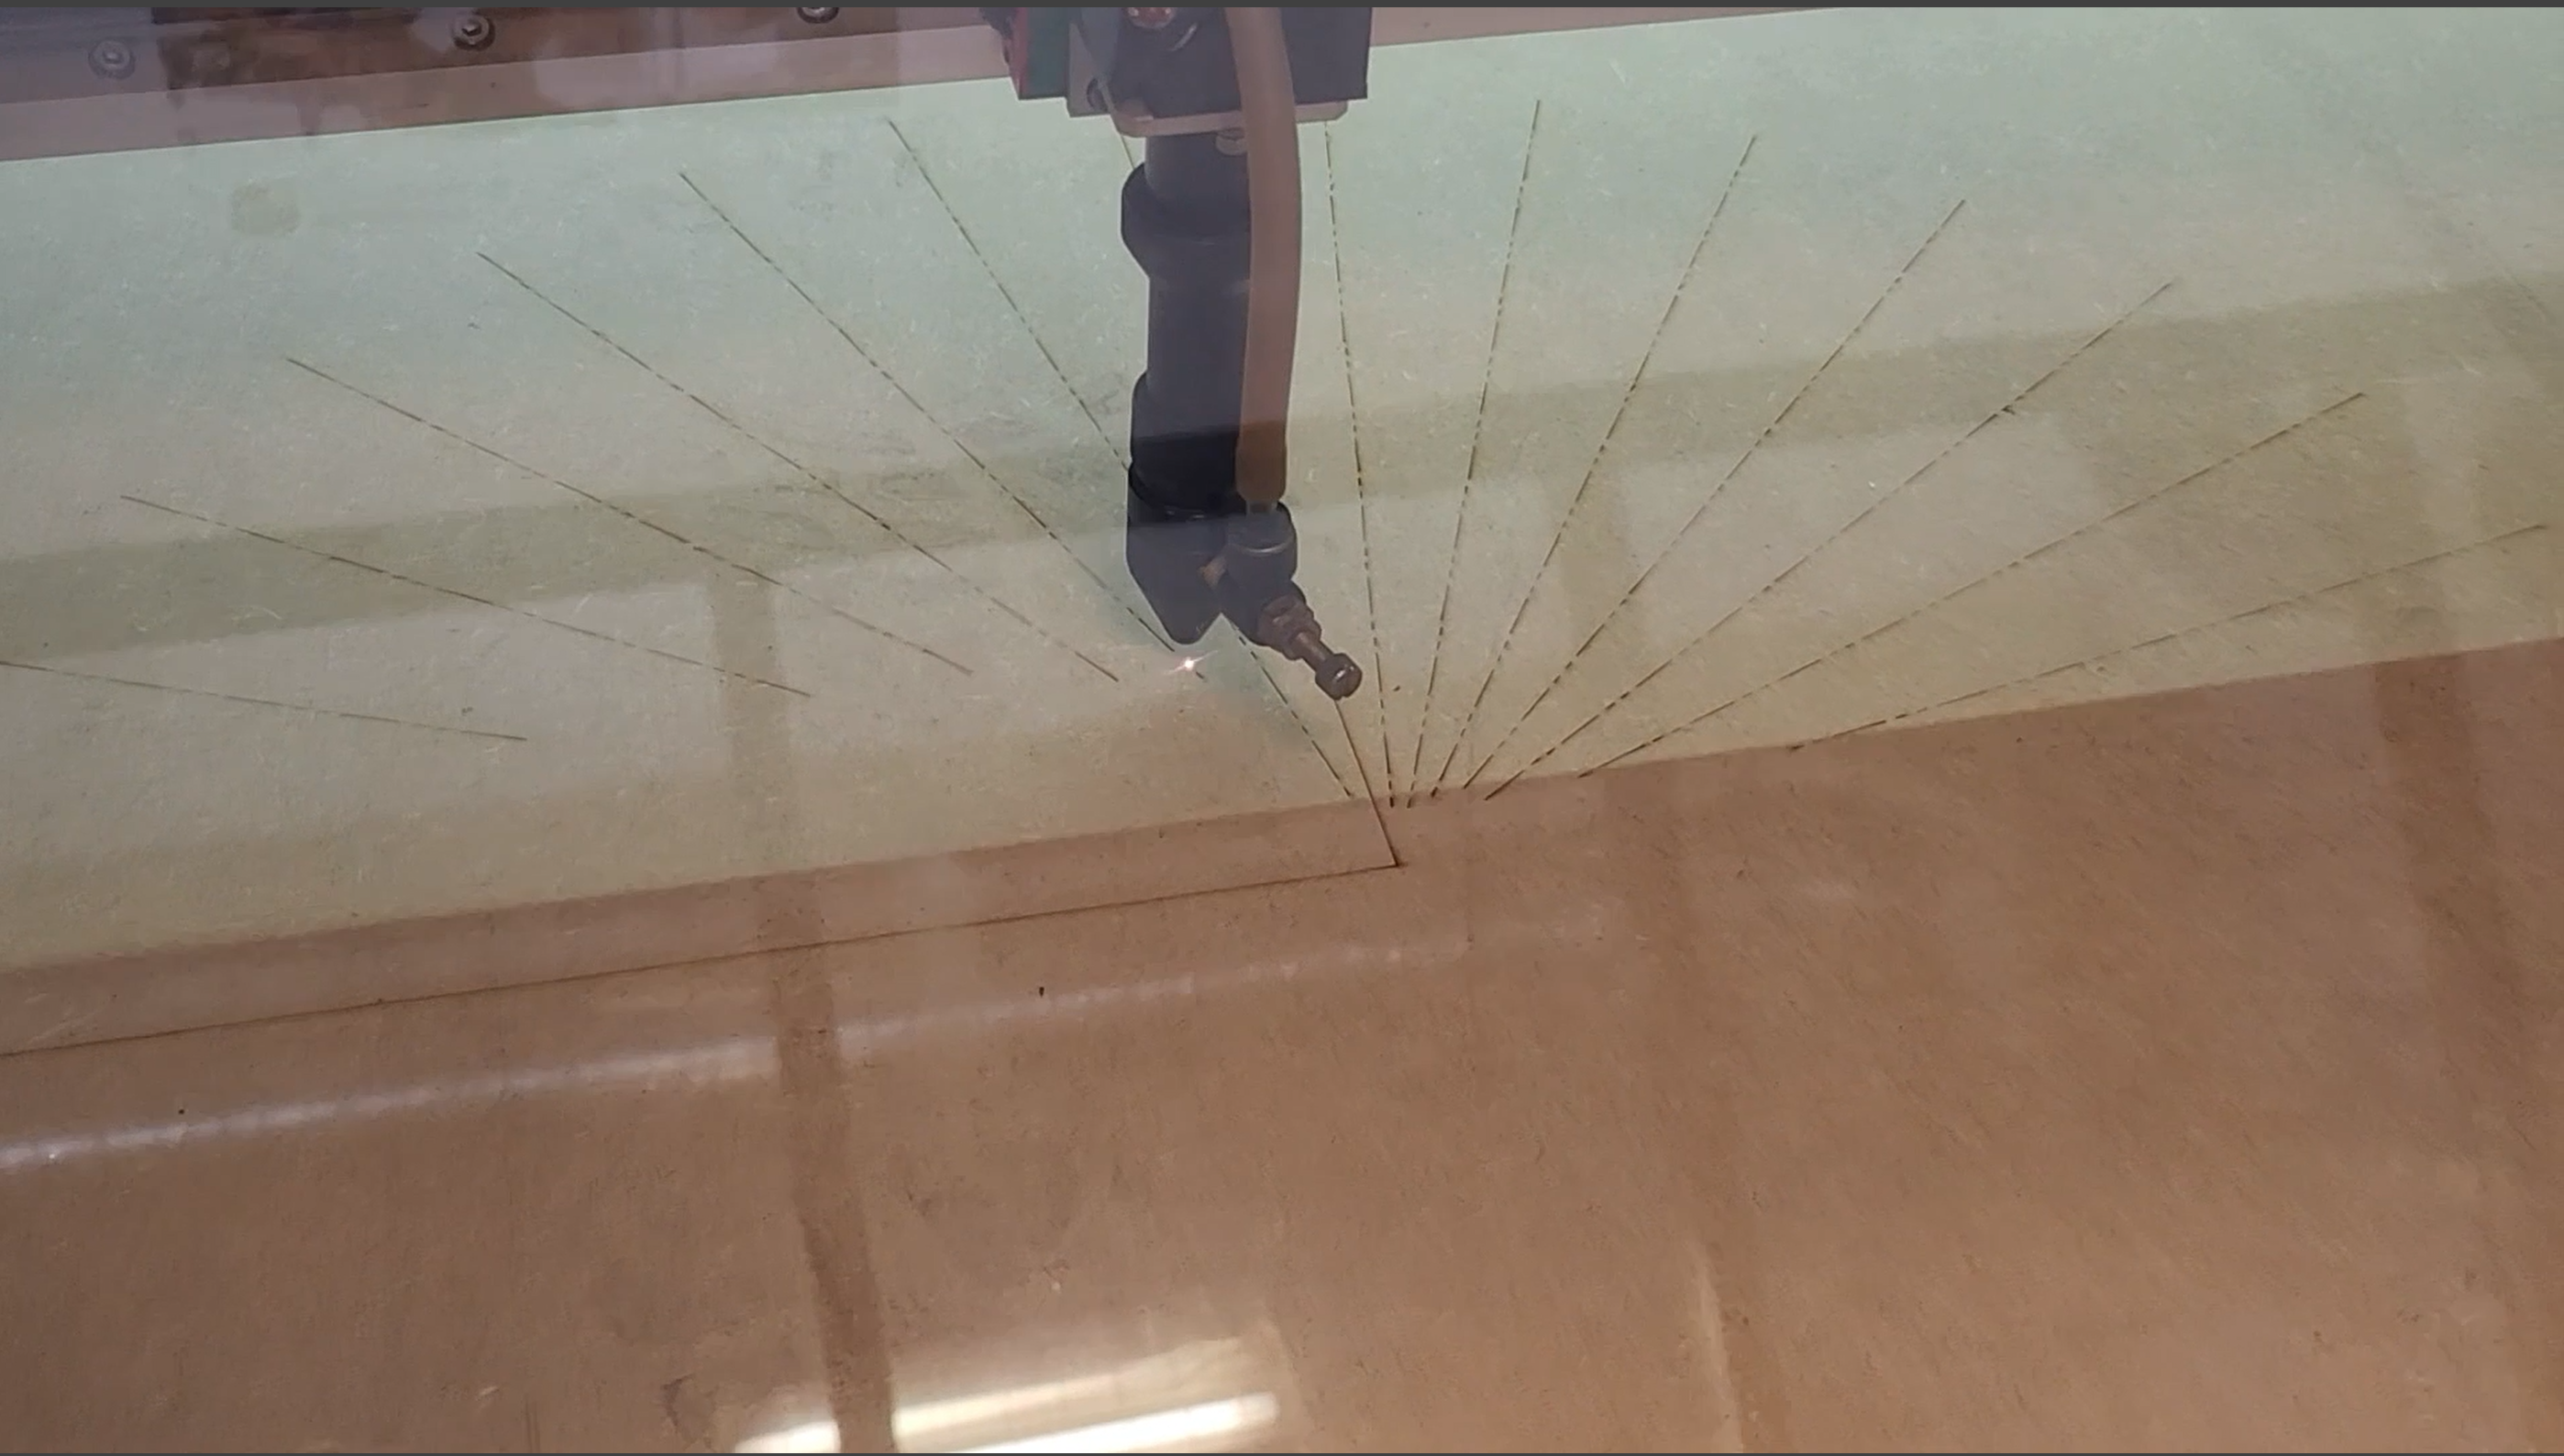
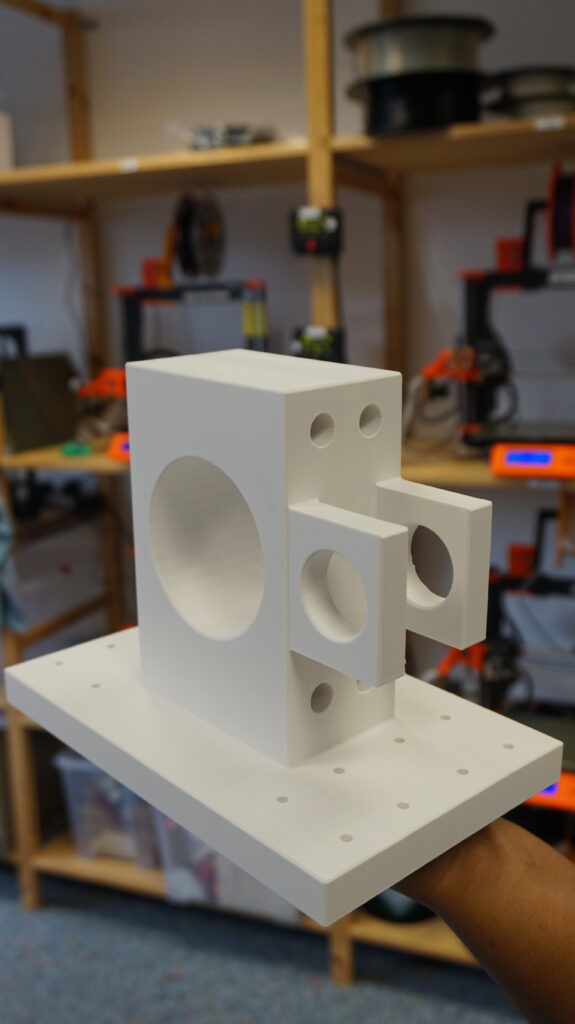
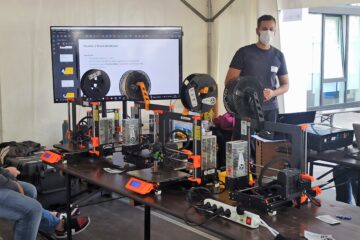
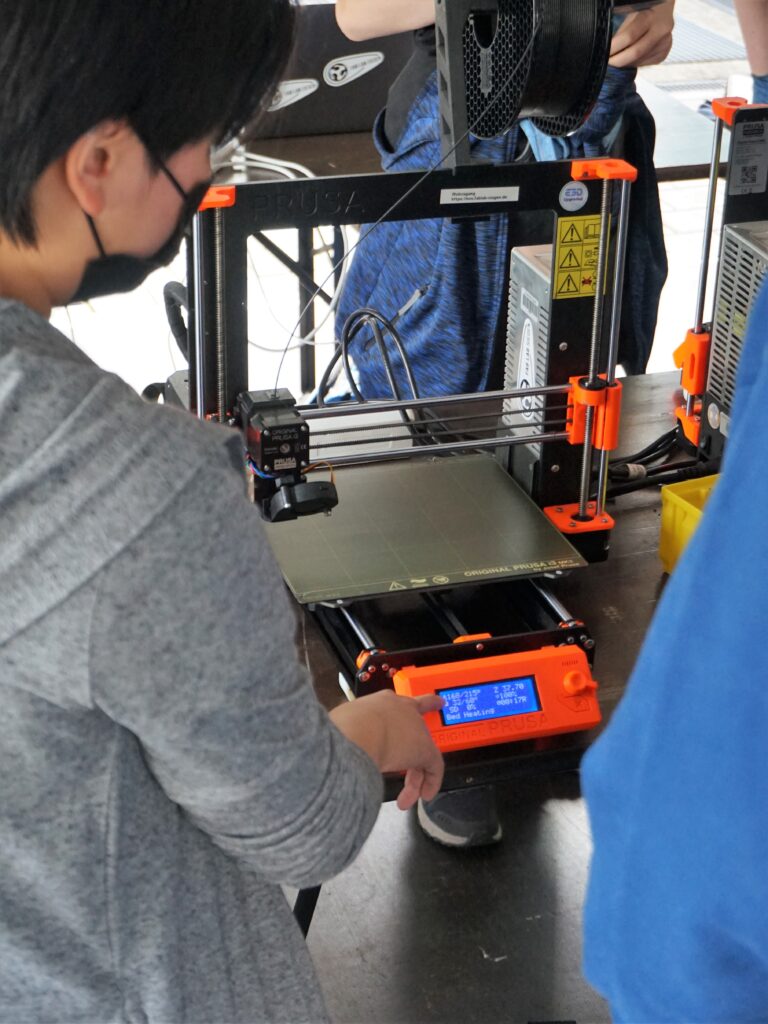
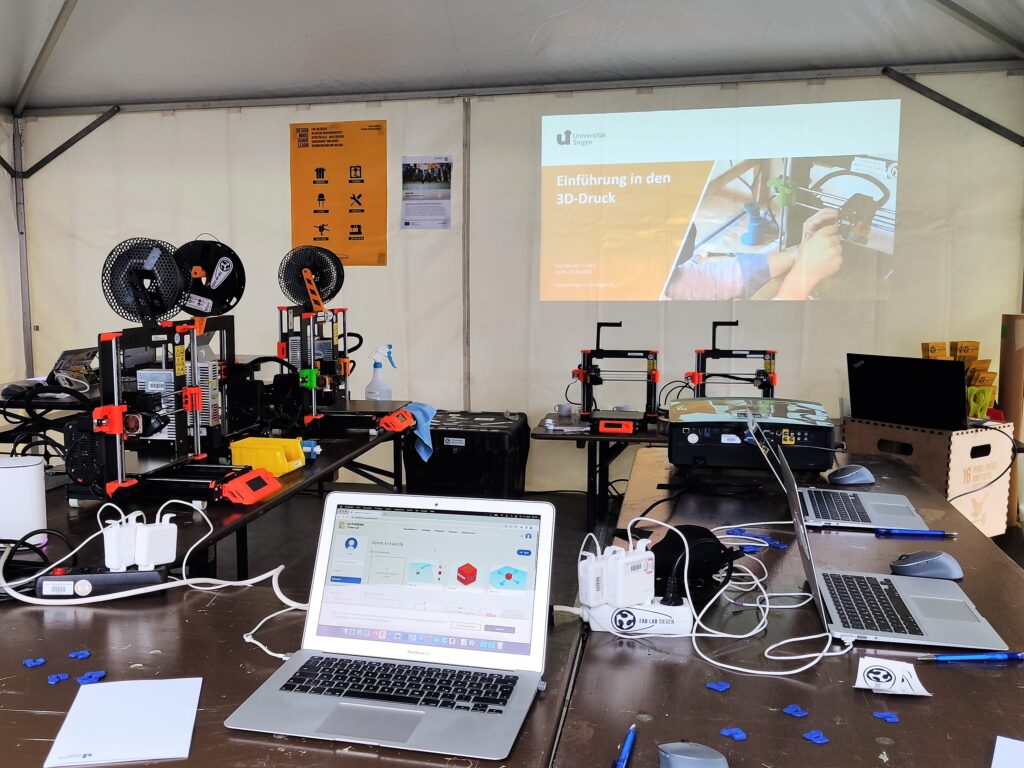
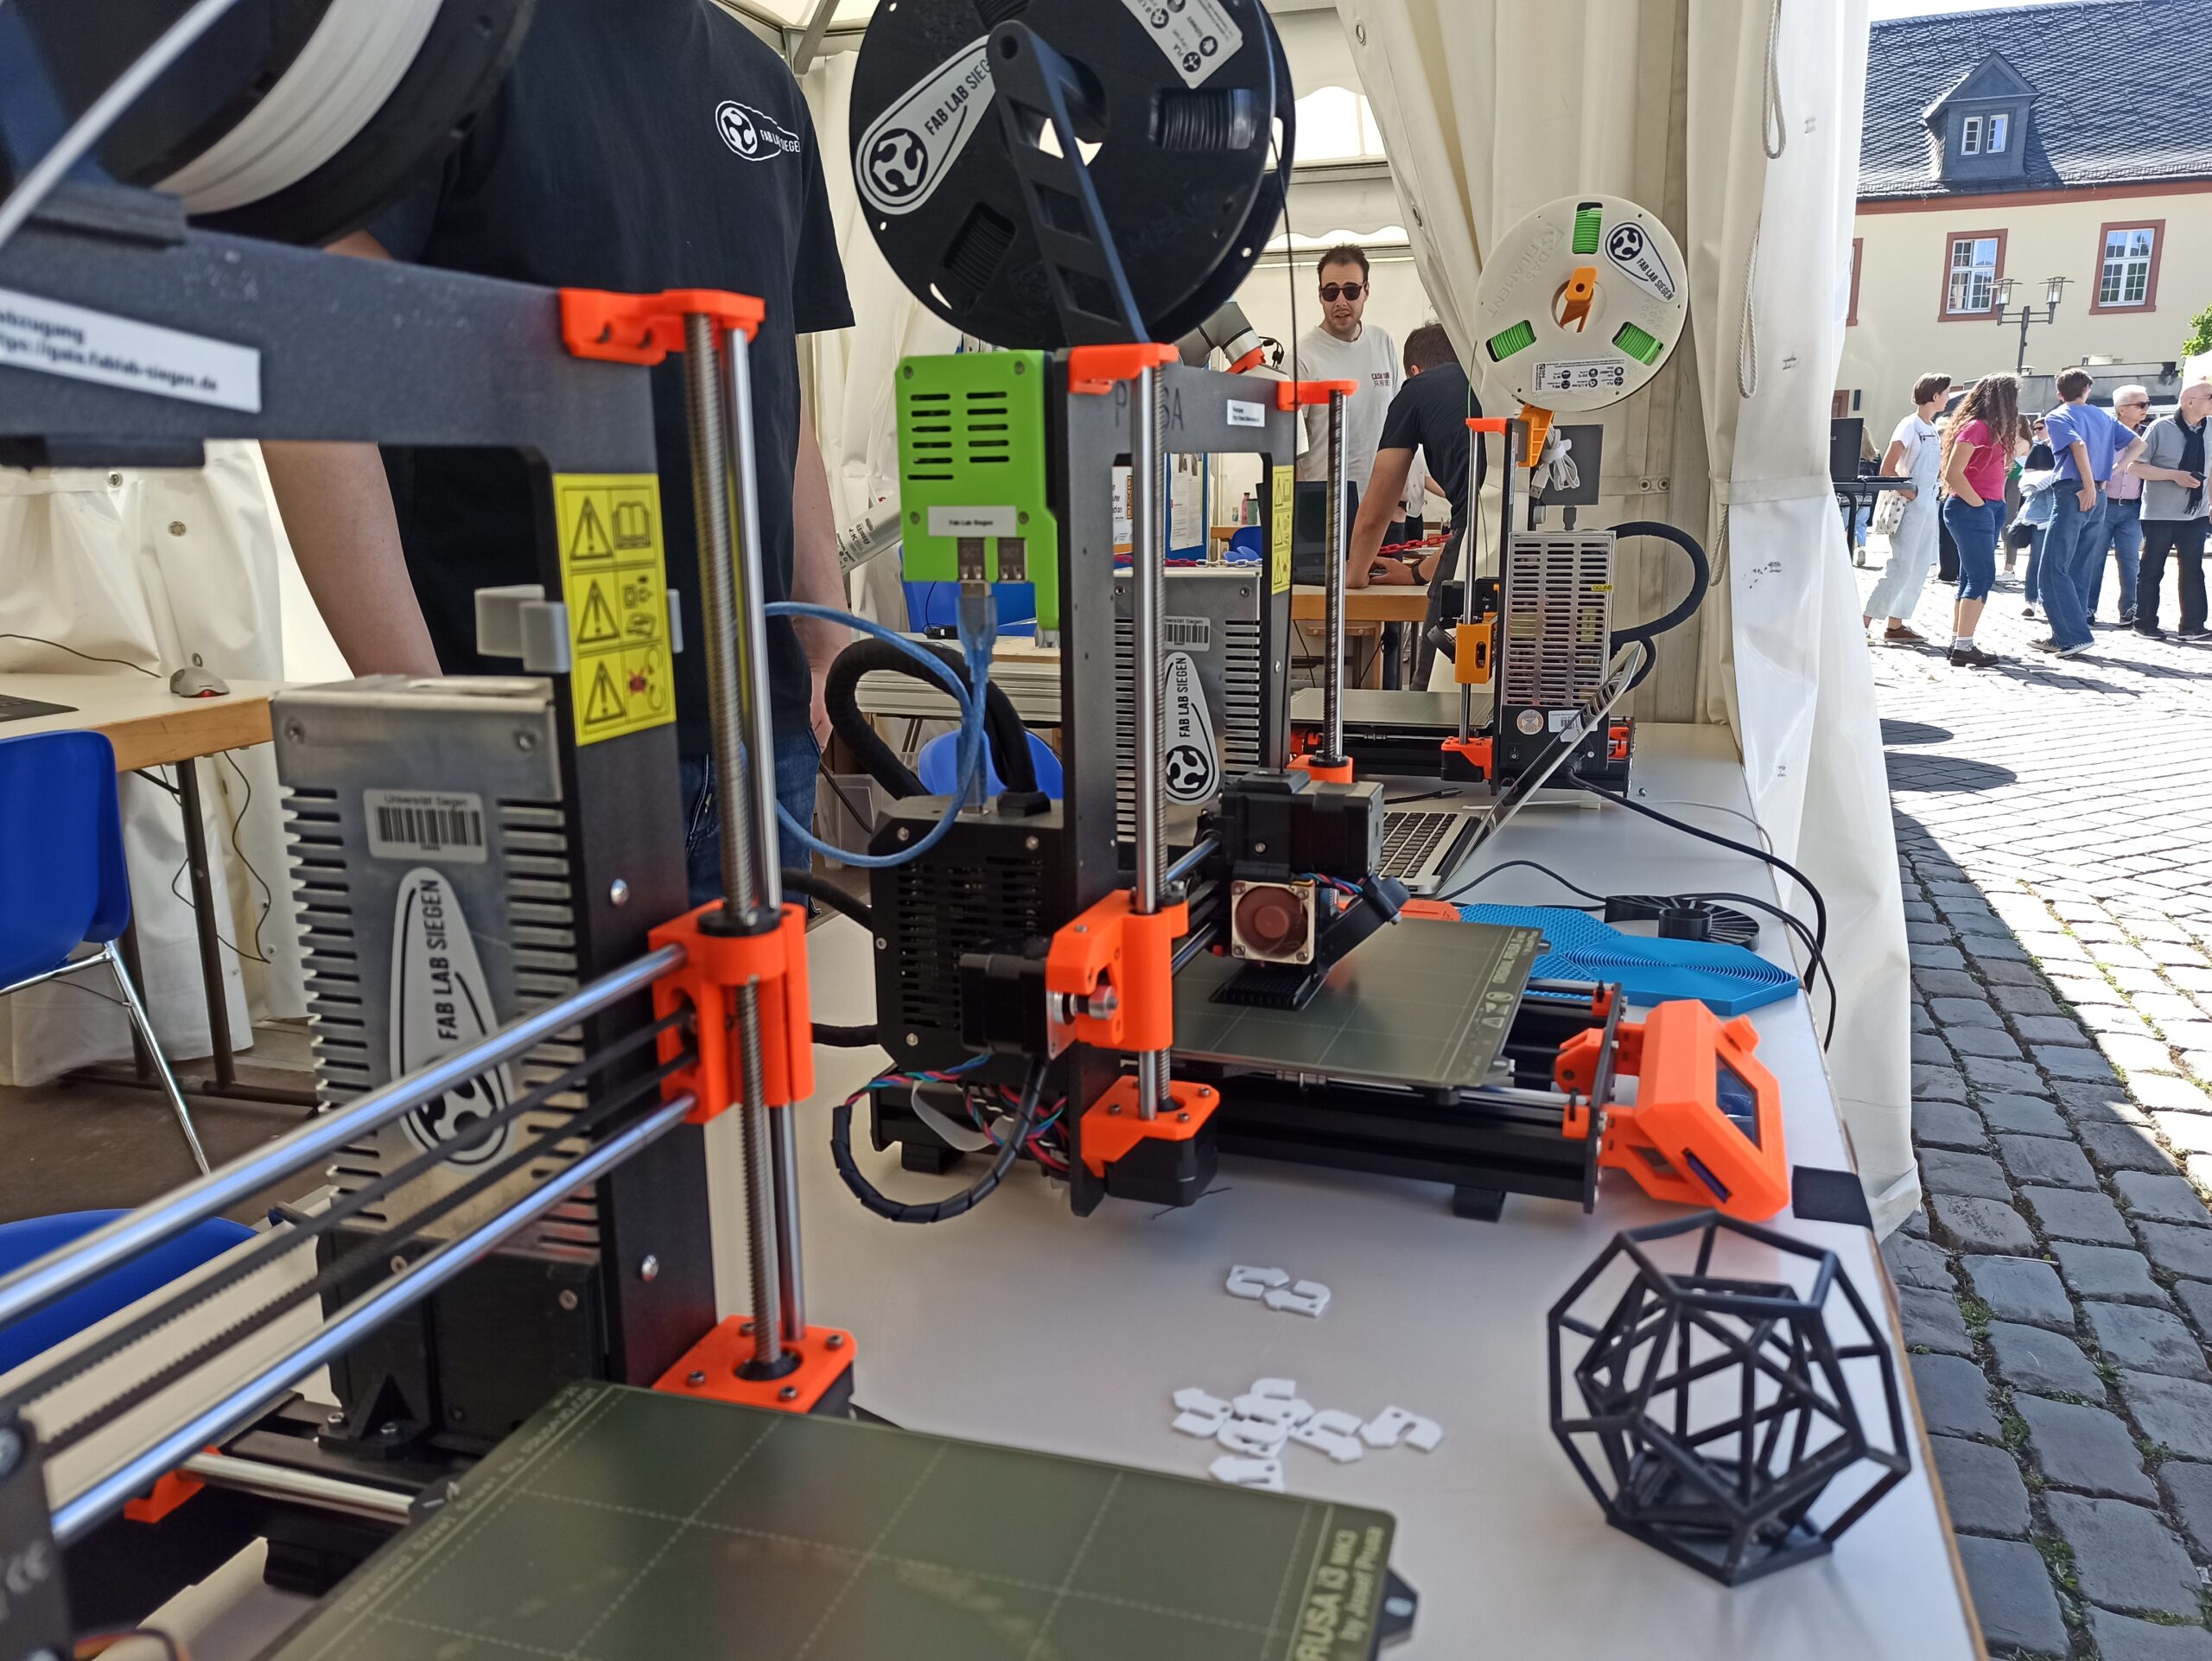
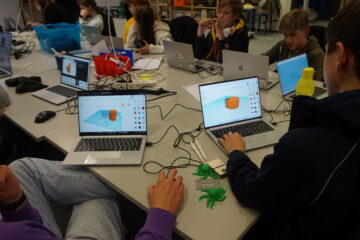
Together we try out different technologies. So far, we were able to get to know 3D printing, laser cutting and robotics as well as programming with the Calliope Mini. We also held a PC-builder workshop where the participants were taught how to dis- and reassemble a computer. Through hands-on activities including play-doh modeling, Tinkercad design sessions and 3D printing projects, participants can bring their ideas to life. The creations span from protective cases for the Calliope mini microcontroller, Batman-themed rings and stylish key chains, all the way to meticulously crafted miniature cars.
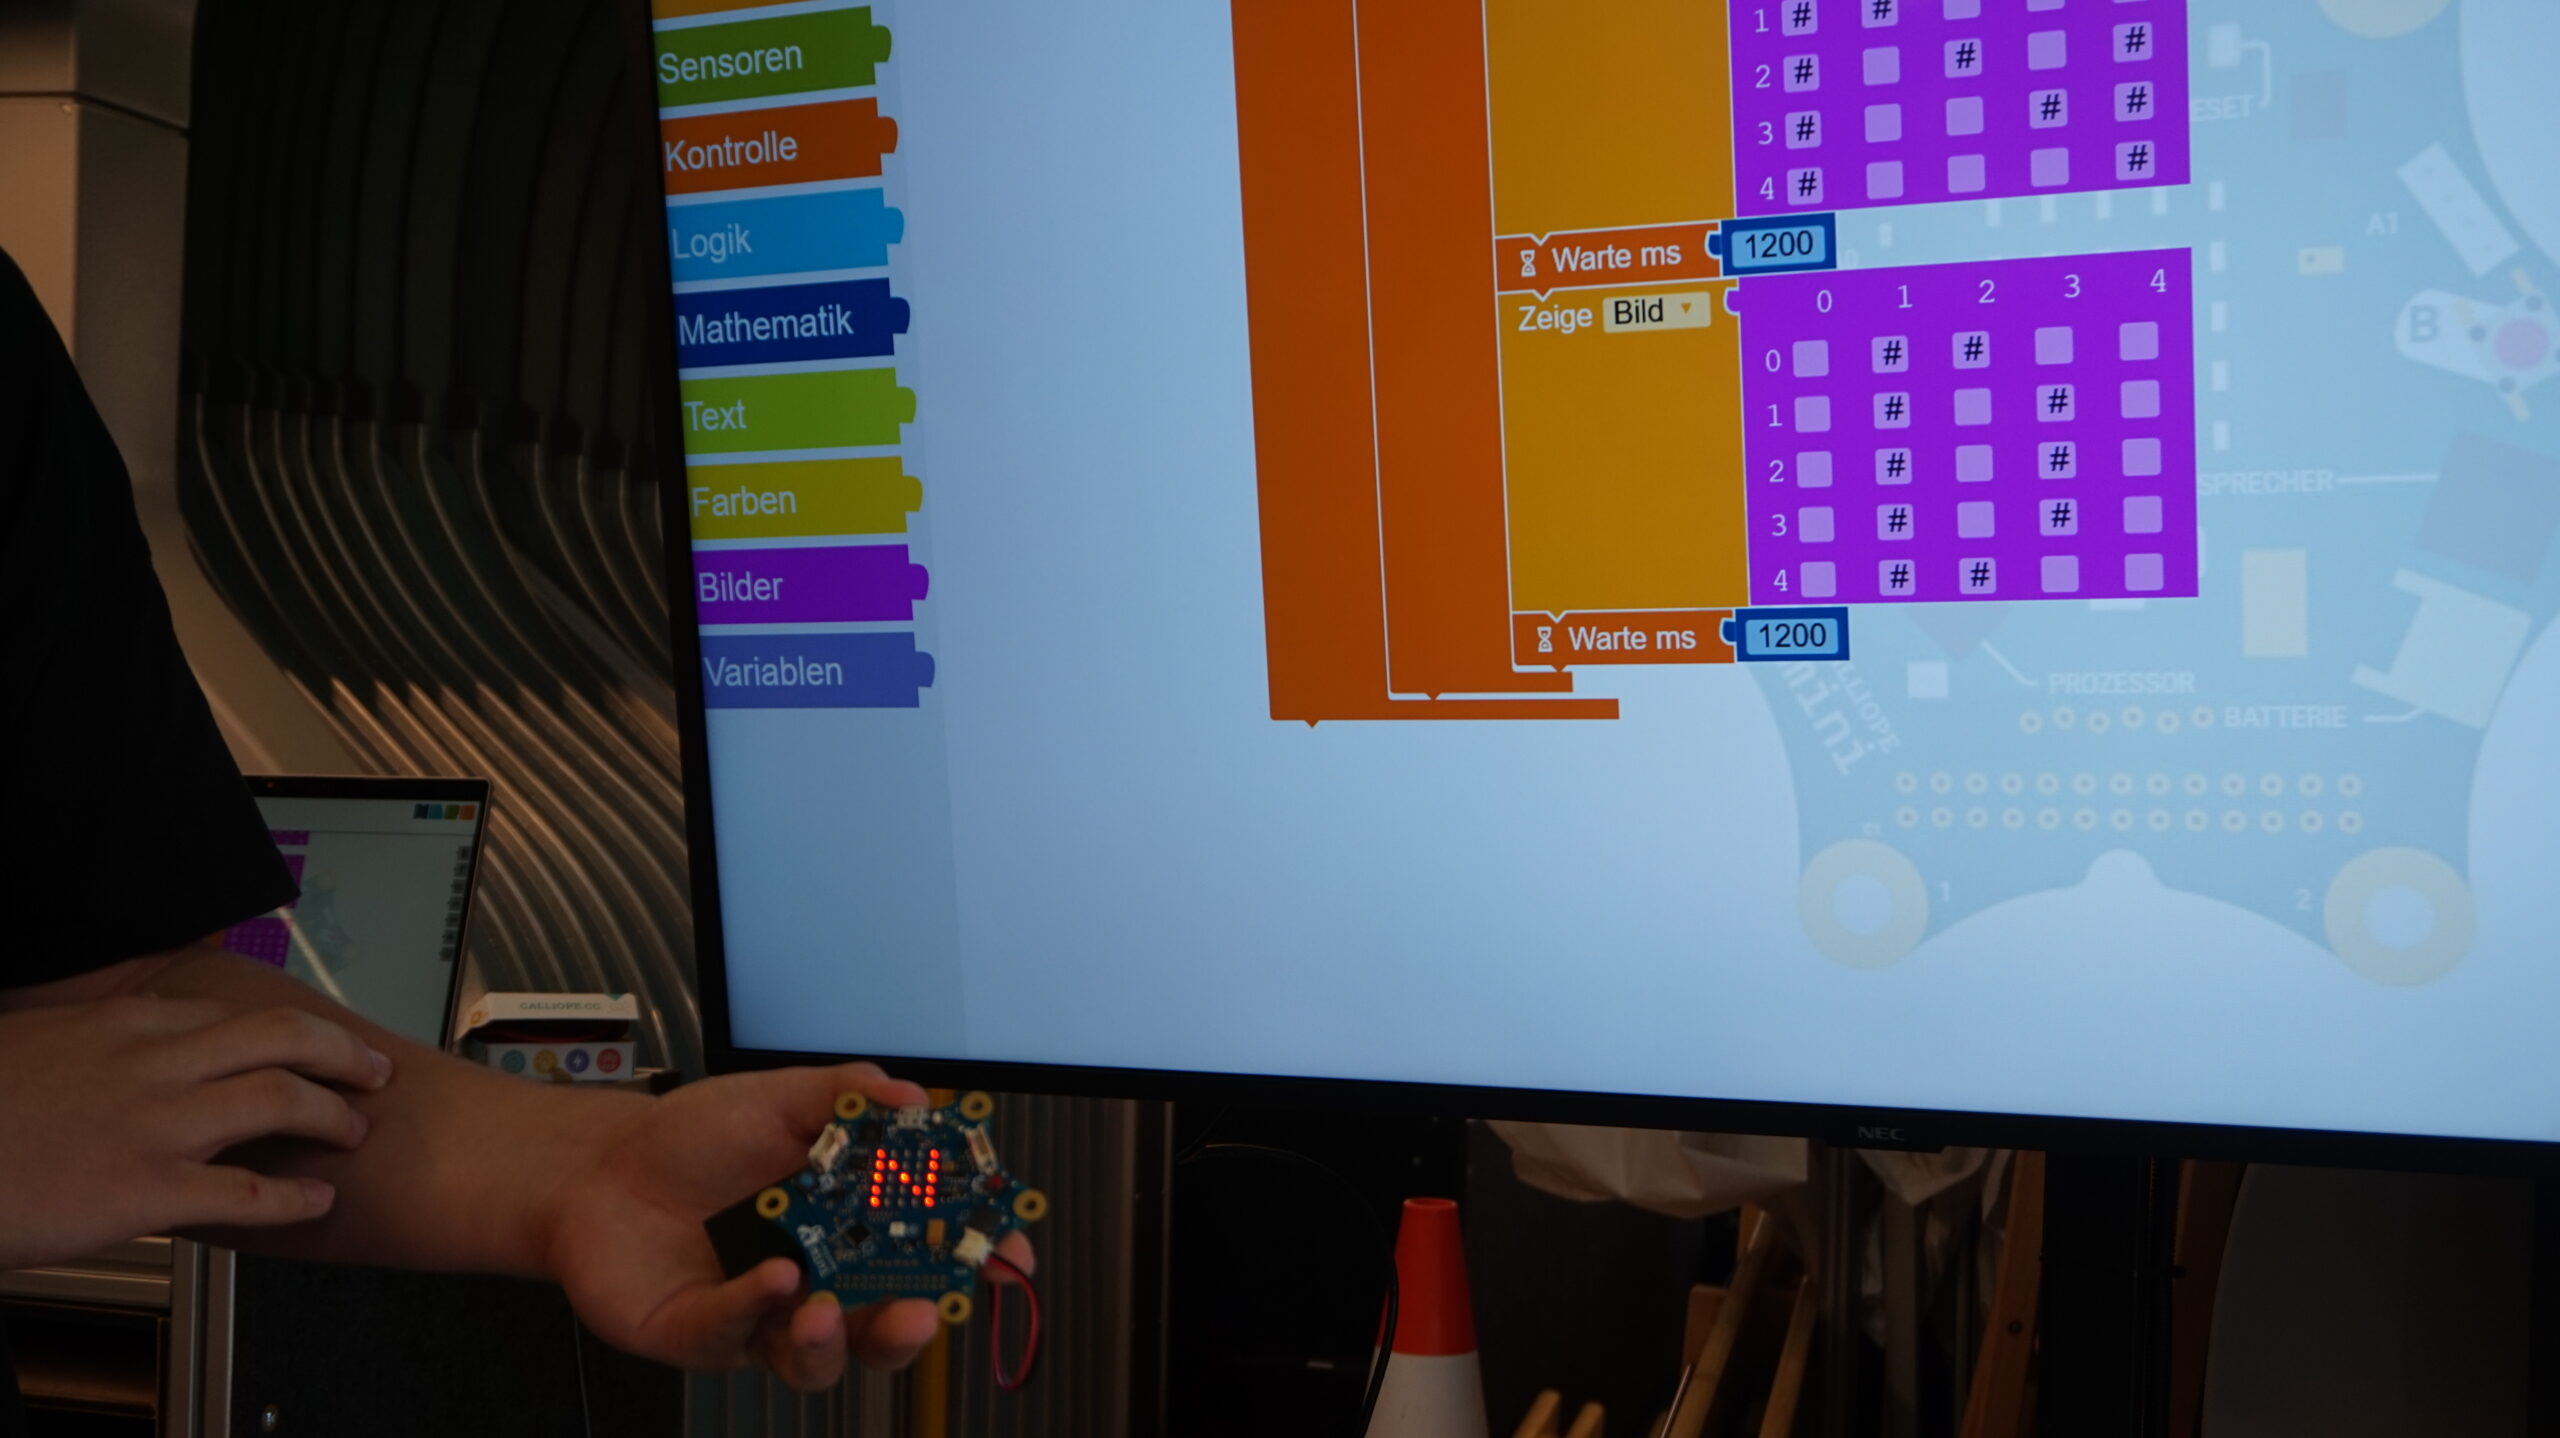
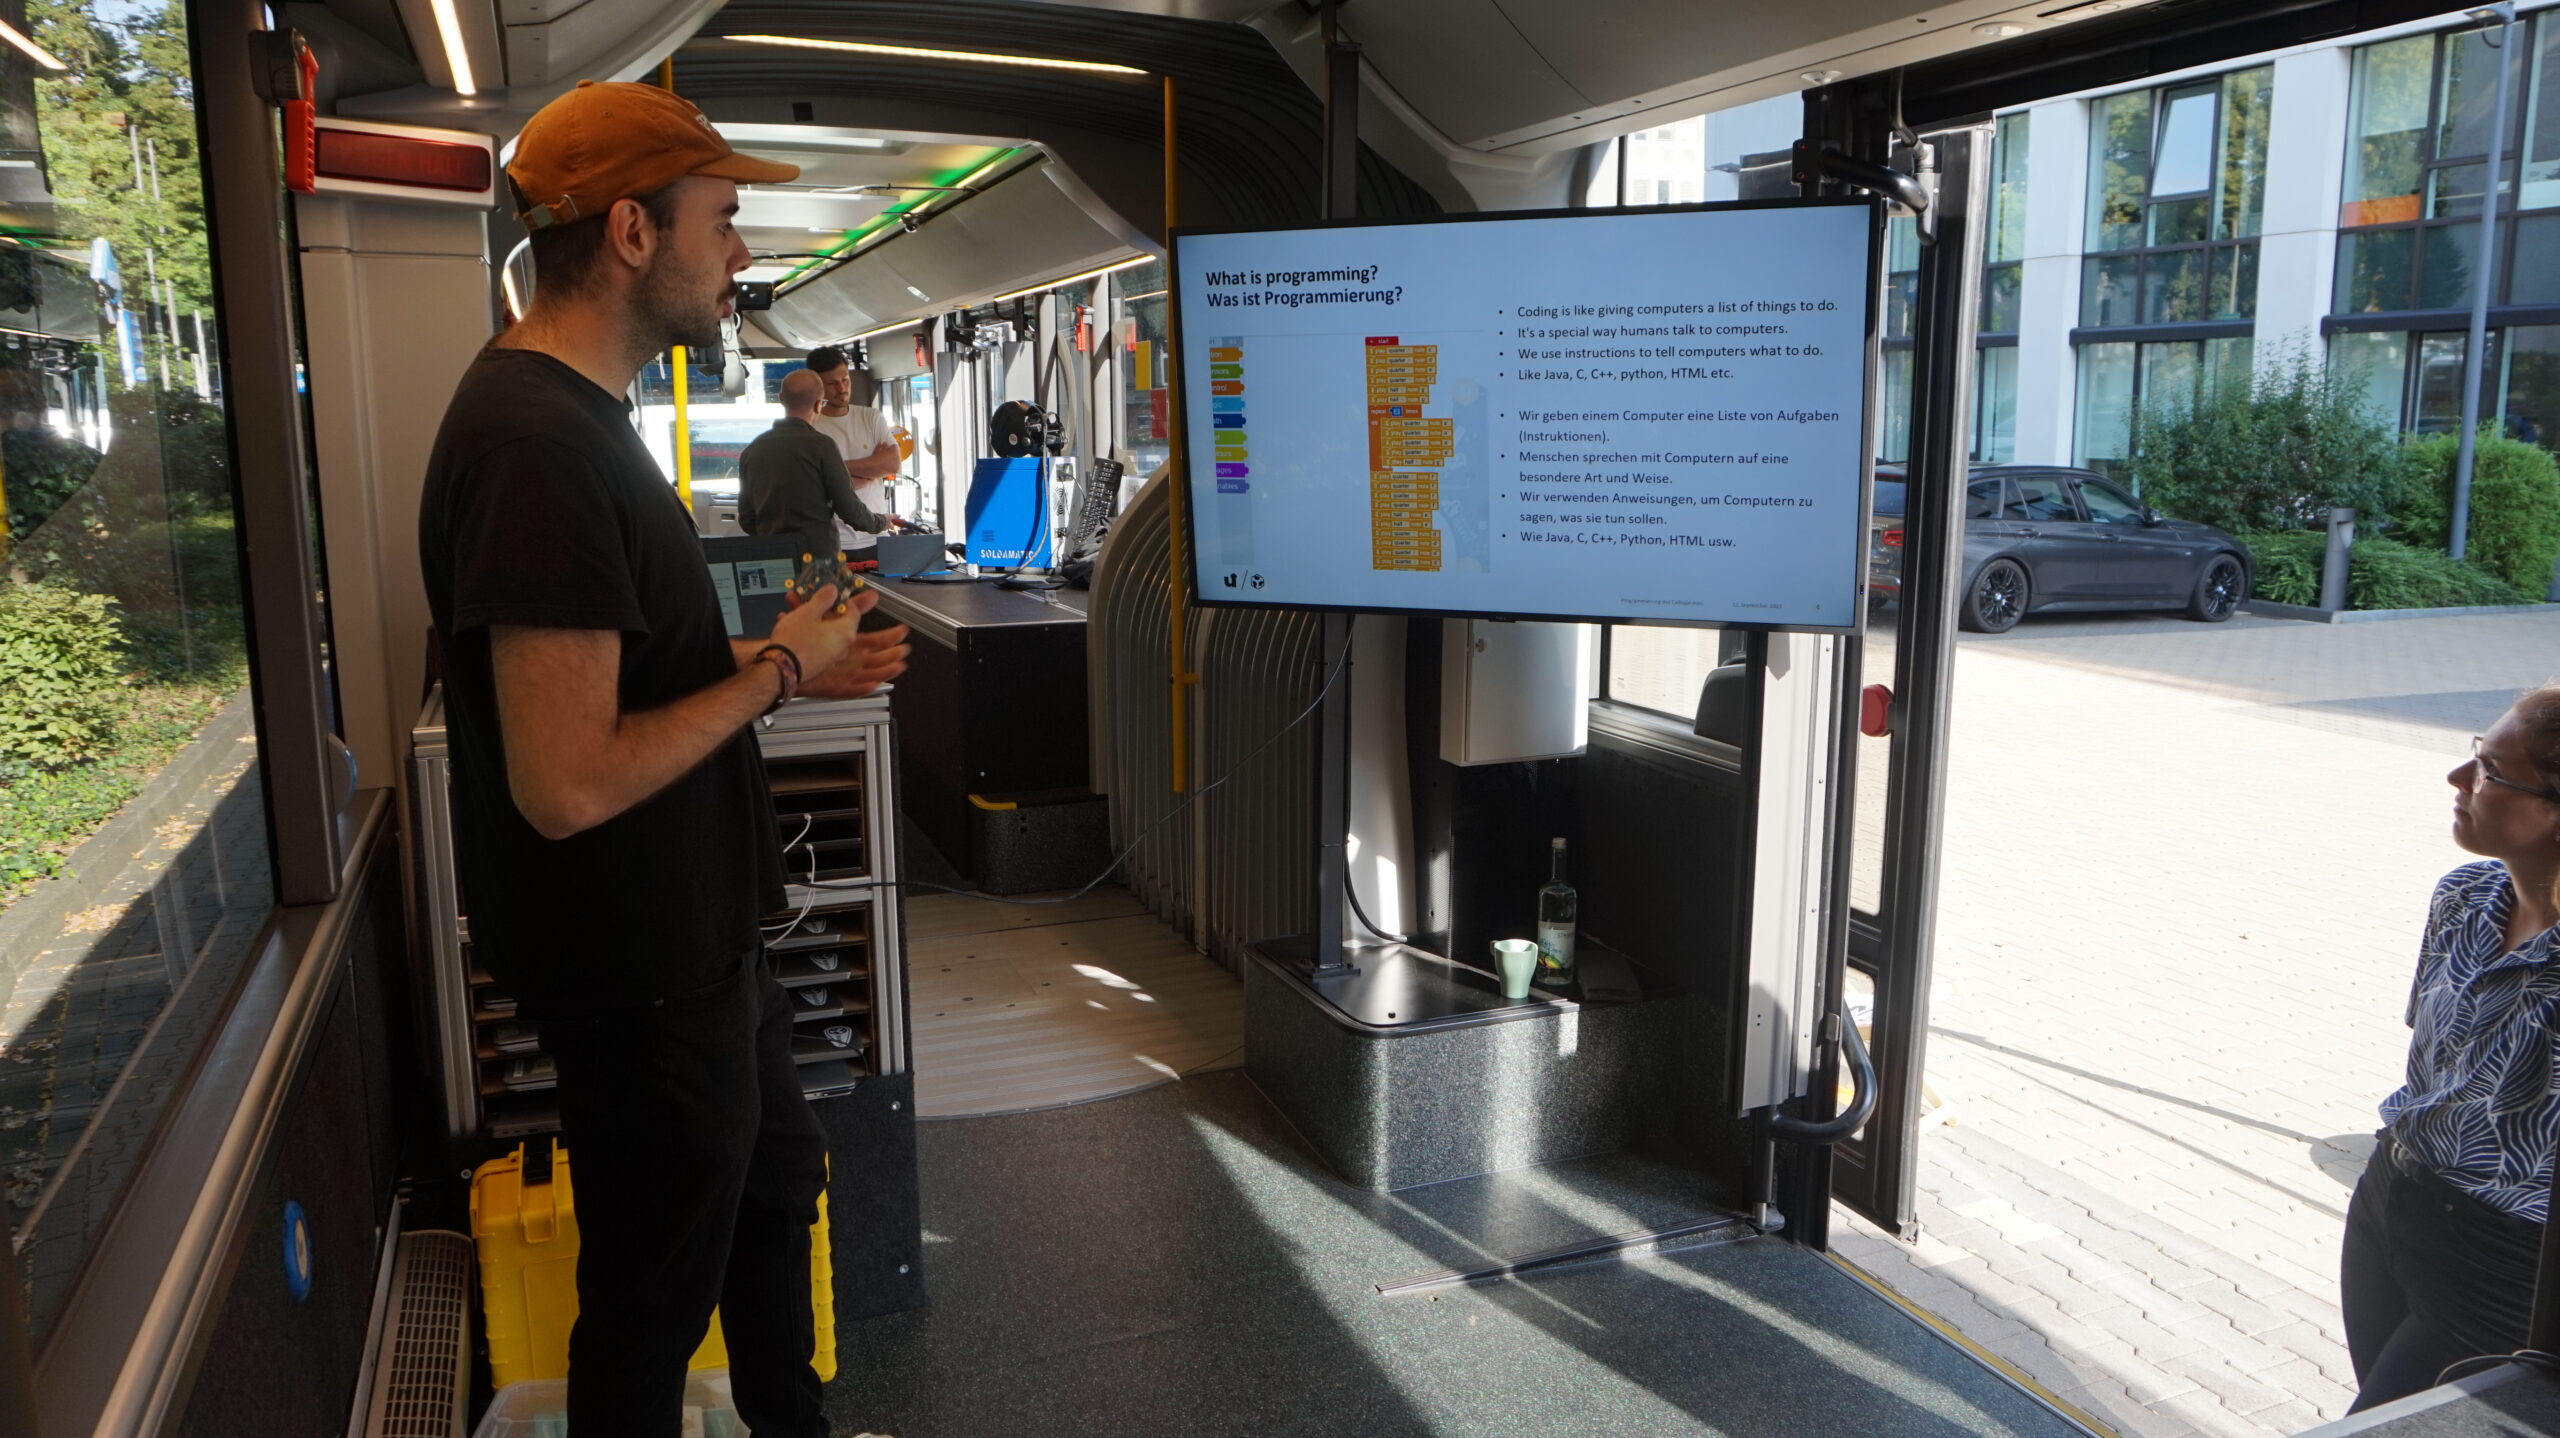
Using a digital hangman game, developed by Hina Firdaus, we were able to teach the children fundamental programming skills. These first experiences paved the way to showing them further programming concepts like loops, conditional statements and variables.
With this knowledge we were able to realize exciting projects, e.g., a light sensor-equipped scooter, a functional traffic light simulation and even a miniature piano that responds to its programming inputs.
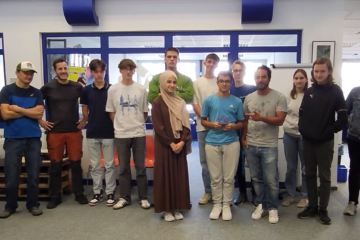
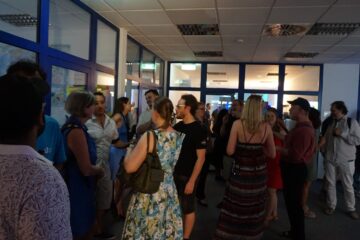
Thanks to funding from the Bürgerstiftung Siegen, we were able to organize and run this series of workshops in close cooperation with the DRK Kreisverband Siegen-Wittgenstein e.V.. So far, we have held more than 35 sessions, teaching more than 20 enthusiastic participants about the technologies in our Fab Lab.
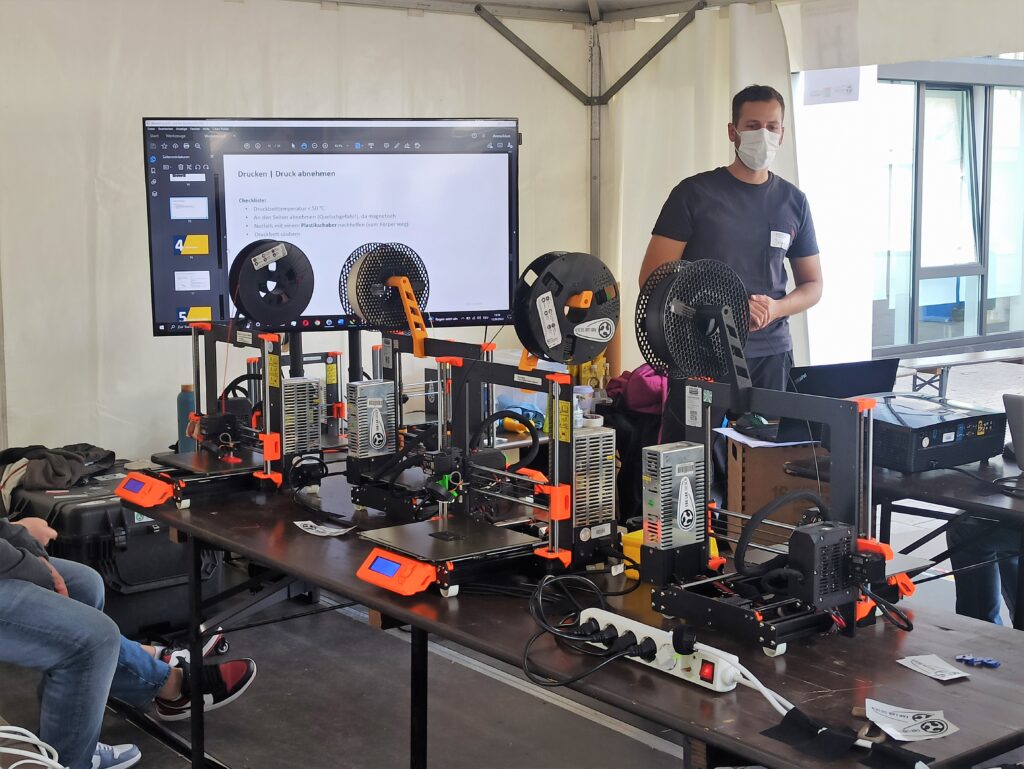
The workshops are led by our team, especially Hina Firdaus and Marios Mouratidis. In addition, we have dedicated volunteers, including among others the honorary translators Anastasiya Nazarava, Gkiorgki Tataridis and Sonal Seth as well as technical support from Florian Anderes and Mallikarjuna Reddy. All of them support our workshops, ensuring that participants have an enjoyable and inclusive learning experience.
In our Fab Lab, we are committed to creating a safe environment where people can learn and grow together with us.
We’re looking forward to the upcoming weeks! If you are interested in helping, feel free to contact Sara Schneider via E-Mail (). We are still looking for more helpers who would like to shape the program with us.