Soviet hand drill repair

Pre Story

My father bought the thing at the flea market sometime. The price of 5 rubles (Ц. 5Р.) is incorporated in the handle, because at that time in the Soviet Union there was the planned economy and you could get a pack of butter for the same price in the big whole country.

Problem

The drill always did its job. It is particularly suitable for small jobs and you can dose the torque manually. Only at some point the drill got stuck somewhere and my father exerted too much momentum on the big bevel gear until a few plastic teeth sheared off, rendering the thing useless. The old bevel gear consisted of two parts: The front side with the teeth was made of a plastic casting and the back side was made of some kind of metal, which was somehow connected to the plastic (unfortunately no photo). So a new bevel gear was needed.

Solution

First, the teeth of the bevel gear had to be counted. There are 60 teeth. The driven bevel gear has 15 teeth, so there is a ratio of 1:4. In addition, all dimensions, such as the height of the teeth, their width and the bore diameter of the bevel gear had to be measured with a caliper gauge. The problem: the teeth are not simply arranged in a straight line, and their “focal point” is somewhere in the air. They are also wider at the outermost diameter than at the inner diameter of the bevel gear. So the geometry is a real challenge and you can’t just build the thing with a CAD program if you’re not a professional.
But what to do? Fortunately, I happened to come across a solidworks tutorial on the internet. It shows how to create configurable standard parts using the solidworks (SW) design library. And that worked well!

Procedure

Open Solidworks, open any assembly and throw out all the parts. Somehow it didn’t work out any other way for me. Then, on the right side of the screen, open the construction library and shimmy through the tree. Toolbox, ISO, power transmission, gears, degree bevel gear (driving).
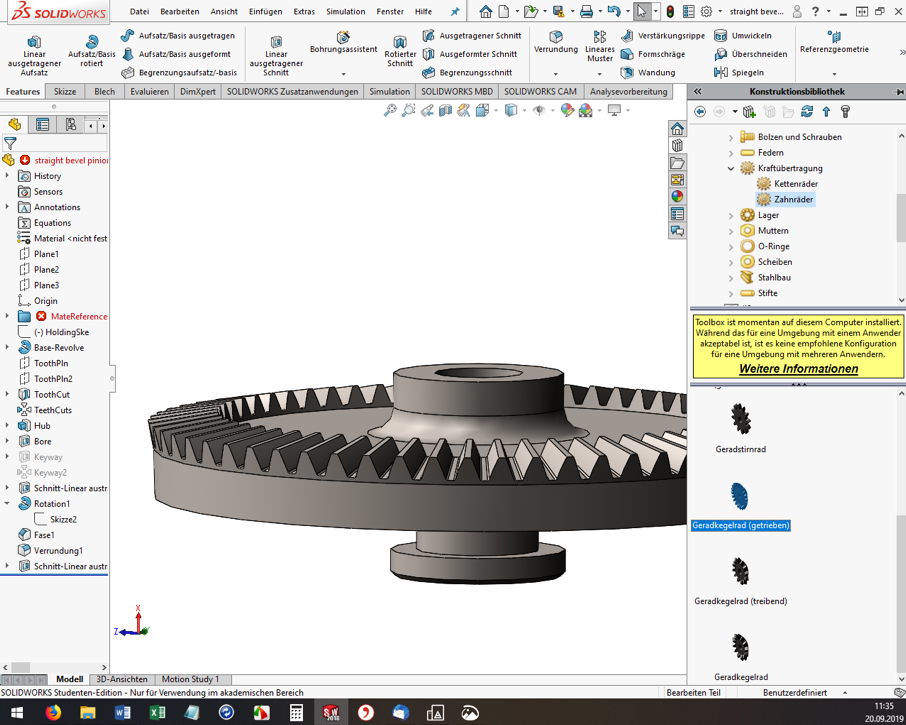
Solidworks

For me, the ISO standard matched well with my Soviet part. Then the “Degree bevel gear (driving)” must be dragged and dropped into the assembly window. Now the “Configure component” dialog opens on the left. The module, the number of teeth, the pressure angle, etc. can be set. Here you have to experiment, have the bevel gear with the green check mark built again and again and measure it. (Tip: If you click on a component edge, the bottom info bar of SW conveniently shows the measured length directly).
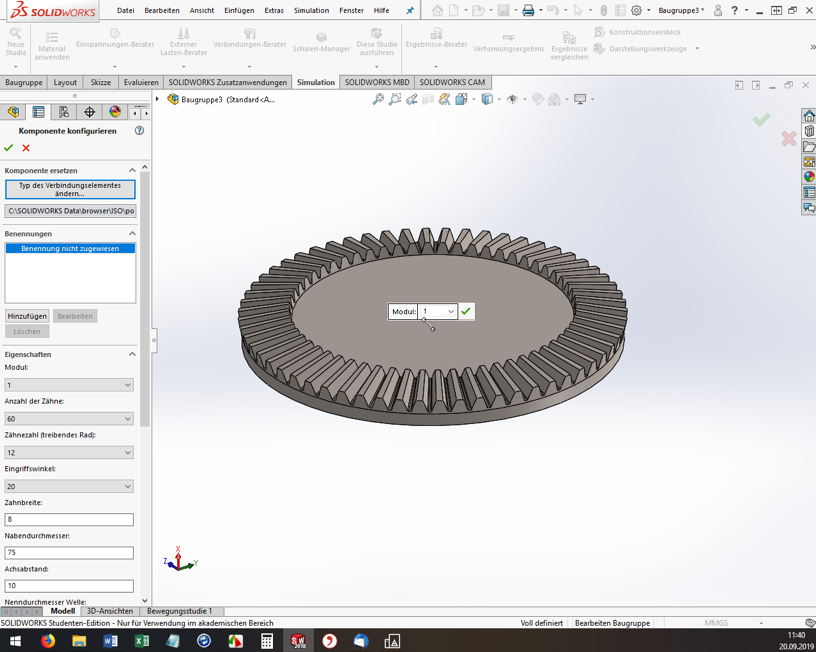
SolidWorks-2

However, you cannot specify all dimensions and geometry properties in the configurator. And here’s where it gets a little tricky. If the tooth geometry of the blank created fits so far, the rest must now be added manually. I used the function “Attachment/Base rotated” to build a created sketch as a body of rotation to the blank (see screenshot). Again, I had to measure the old bevel gear over and over again.
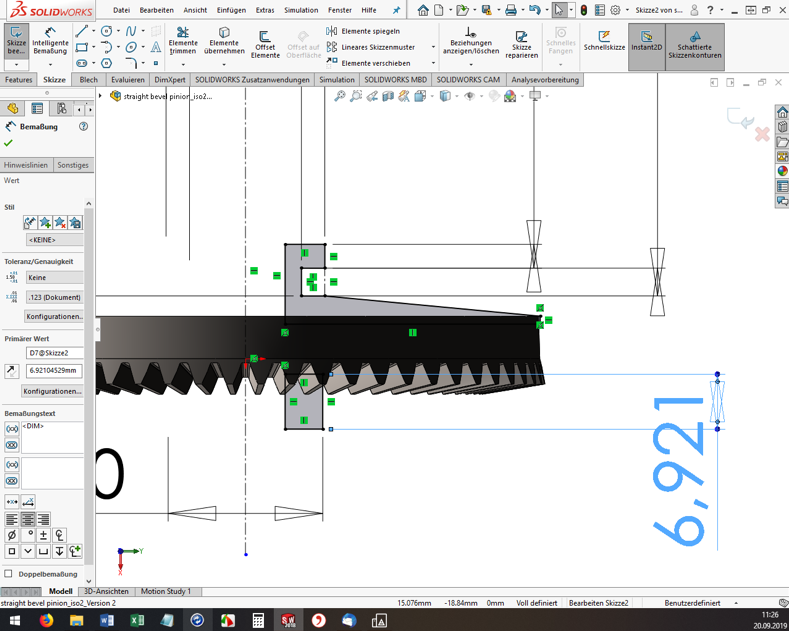
SolidWorks-3

Once you are satisfied with the part, you need to export it to *.STL format for 3D printing. And off we go to the Fab Lab Siegen! Here Fabian helped me out, showed me the 3D printers and started the printing. Thanks a lot! 😊

Result

The first print was unsuccessful (of course). In 3D printing, for example, the holes are always slightly smaller compared to the model. The teeth were also too small, so that they could not engage deeply enough with the opposing teeth. These teeth also sheared off during initial attempts. In addition, the bracket for the crank was a bit too thin and is therefore broken off.

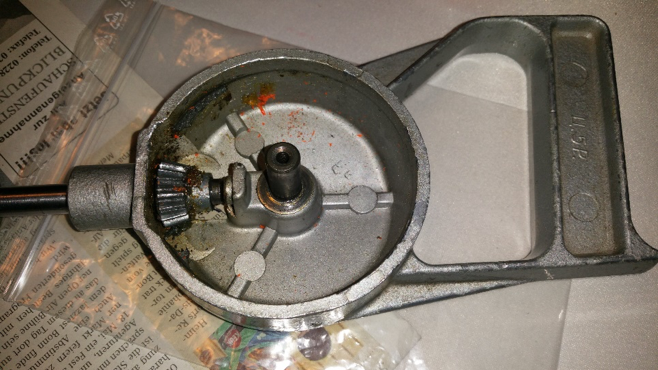
Gears printed

Drill machine open

But now it was possible to measure the printed bevel gear and improve the dimensions in SW and finally start a second attempt. However, the second time it went better than expected and the bevel gear installed beautifully. The hand drill runs very smoothly and if any problems should occur in a few years, I’ll just print out the bevel gear again 😉 .
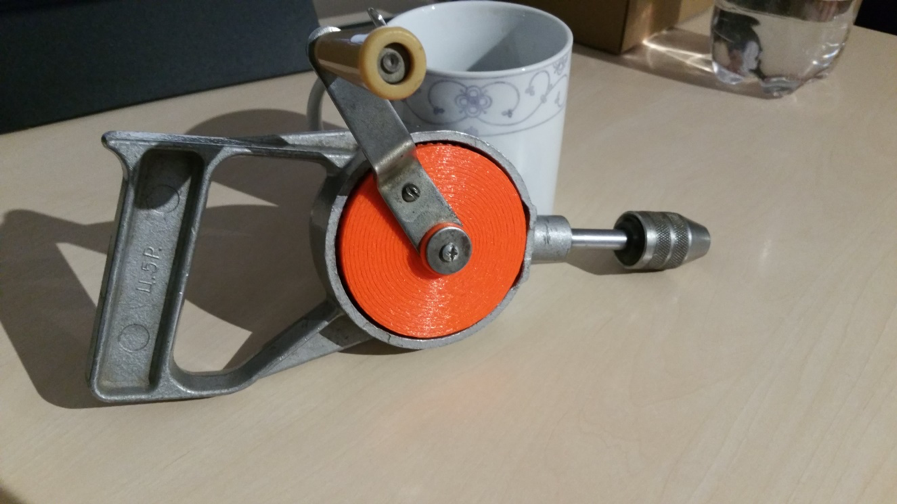
Drill-machine-composed-1

Drill-machine-composed-2

Face Visors Against The Virus

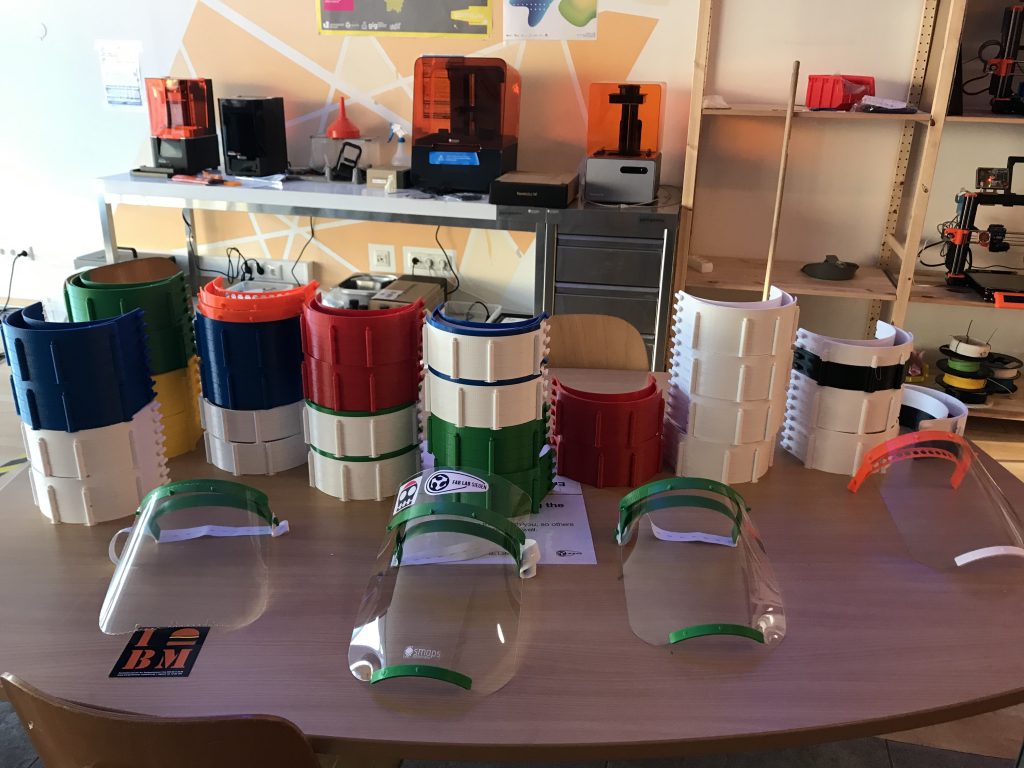
After the closure is before the start of production. After all, we, like many other public institutions, had to cease our operations on March 16. Now there were a dozen 3D printers standing around unused. MakerVsVirus and other ideas and projects that developed online in the following days invited us to do something against the virus.

Well, to make a long story short, we are now producing facial visors to reduce the risk of infection to medical personnel and other at-risk groups(the hip girls and guys also call them covid shields). The visors are given free of charge to medical facilities.

Our dear colleagues from the press office have also enriched the whole story with a little more detail and written it down here: Fab Lab of the University of Siegen prints face visors.

What Can I Do?

We can use donations of materials and assistance in making them!

Concrete we are searching for:

  • PETG-Filament 1,75mm
  • PETG-plates 0.5mm, transparent and clear
  • Elastic head hole rubber bands
  • Companies and individuals who have free 3D printing capacity themselves

Feel free to contact Peter Kubior:

Help, I Am a Medical Facility and I Need Visors!

Medical facilities interested in the facial visors can contact Peter Kubior by email:

I Am from The Press and Want to Know More!

Please contact our press office directly for further questions.

Stay healthy. #physicaldistancing not #socialdistancing
Your Lab-Team!

Pressreview

Creation of a Tabletop Game

A field report by Tim Dümpelmann

When I entered the Fab Lab for the first time in November, I was really amazed that there was such a great place here in Siegen. The people were very nice and open-minded and I felt comfortable right away. I guess it’s also because I’ve always been a bit of a technology nerd.

An Idea is Quickly Found

The 3D printers have aroused special interest in me. Not only because it was exciting to watch them work, but also because I am somewhat involved in 3D modeling as a hobby. Over the next few weeks, I was at Open Lab every Friday. There I met many nice, interesting people who were all working on great projects.

I think creativity is somewhat contagious. Therefore, it did not take long and I had also decided on my first project:
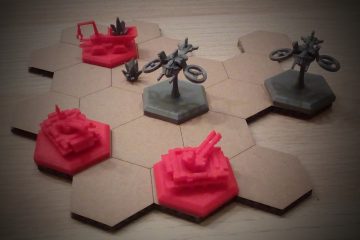
i wanted to create a tabletop game, model all the game pieces myself and make them with a 3d printer.
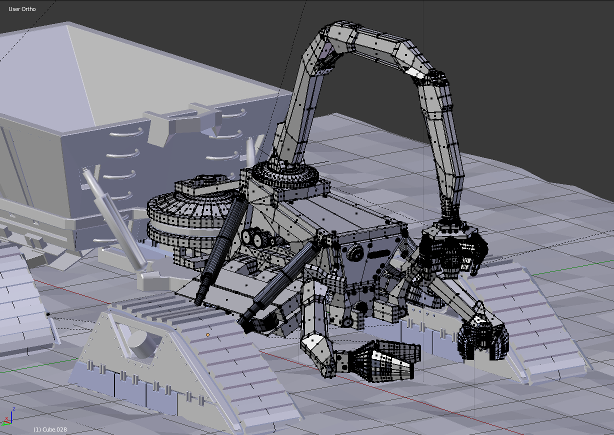
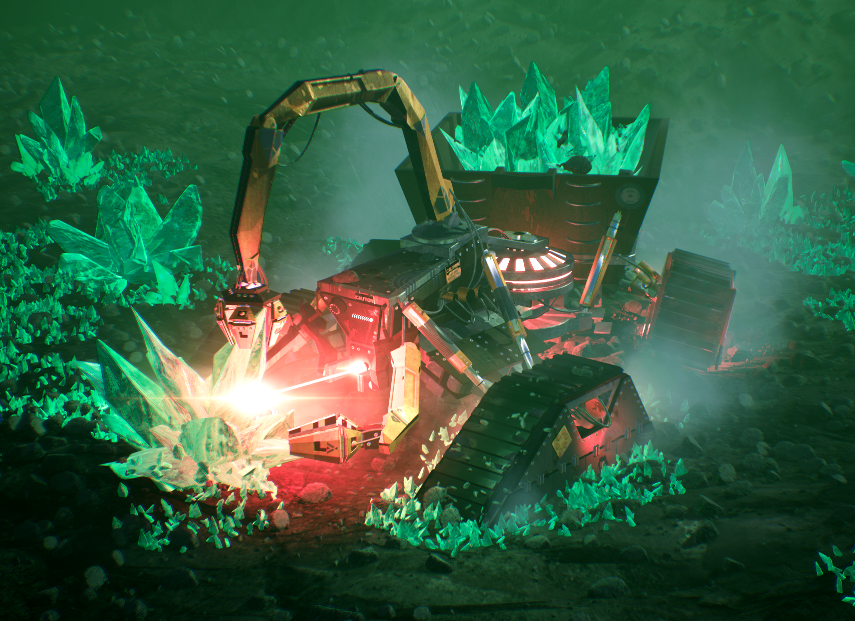
Since I had just rendered a great picture (see below) of a “MechMiner” for a science fiction contest, I took it directly as a template for my first figure, the “resource collector”.
mechminer-modell
minersmall

The Right Manufacturing Process

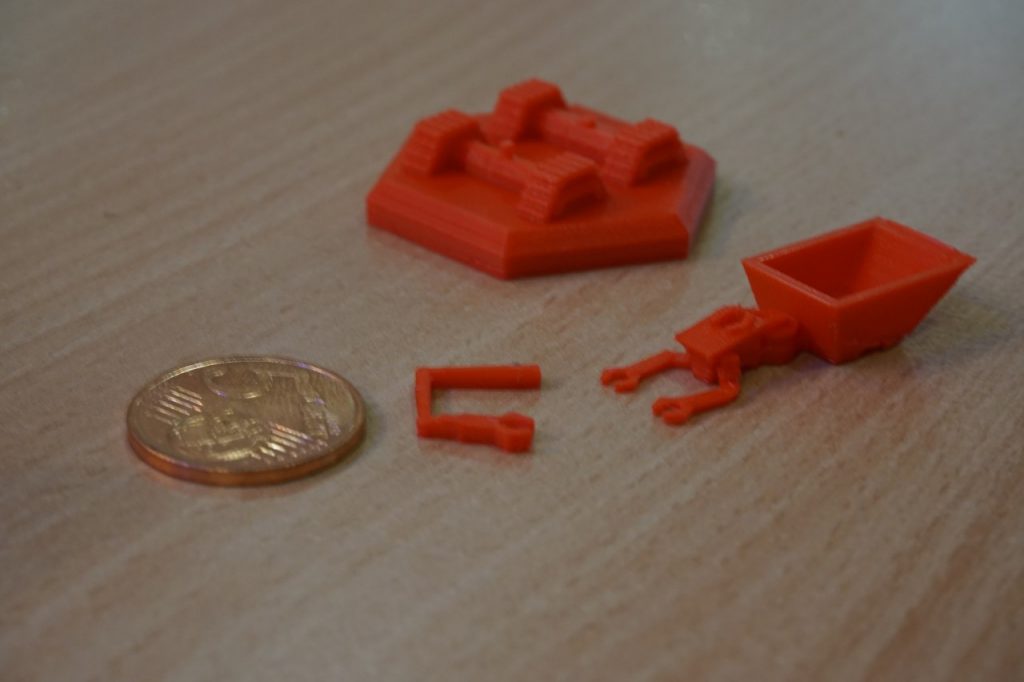
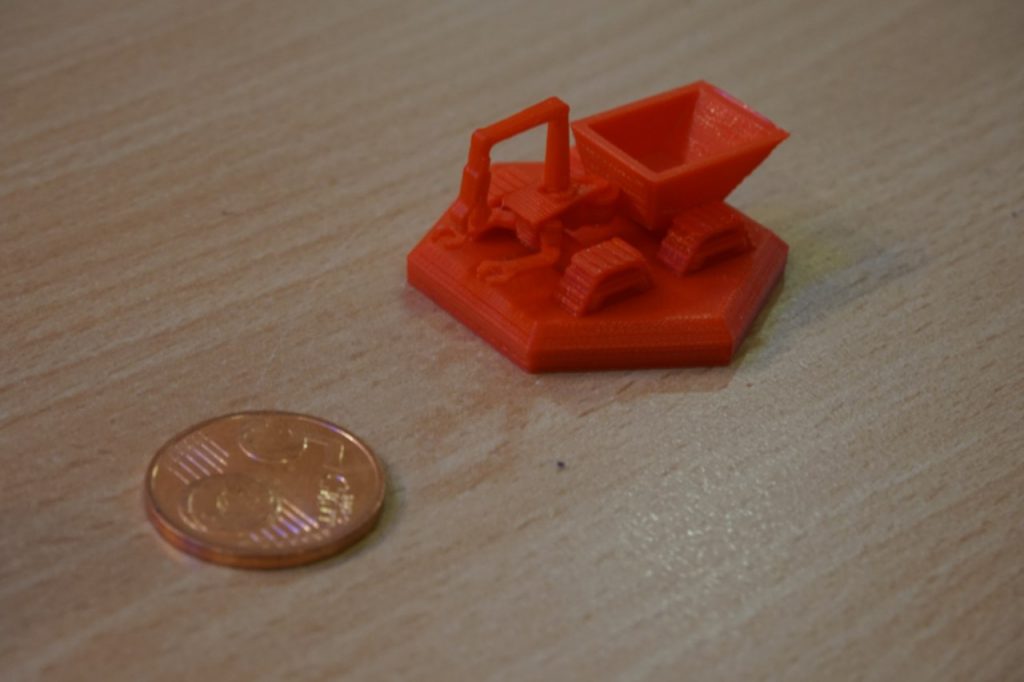
Then I just started modeling. In doing so, I often reached the limits of the FDM printing process due to the small dimensions of my figures and the many details in the 3D models. Therefore, I considered a modular plug-in system to be able to print as efficiently and detailed as possible. I was offered to use an SLA printer, which has much higher precision, but dealing with resins and other liquids is not really my thing.

IMG_20190329_223633_426
IMG_20190329_223626_578

Build, Build, Build

With most problems, both in modeling and in manufacturing, someone was always ready to help me. Since the laser was a little more complicated to use than the 3D printers, I was also quite happy about it.
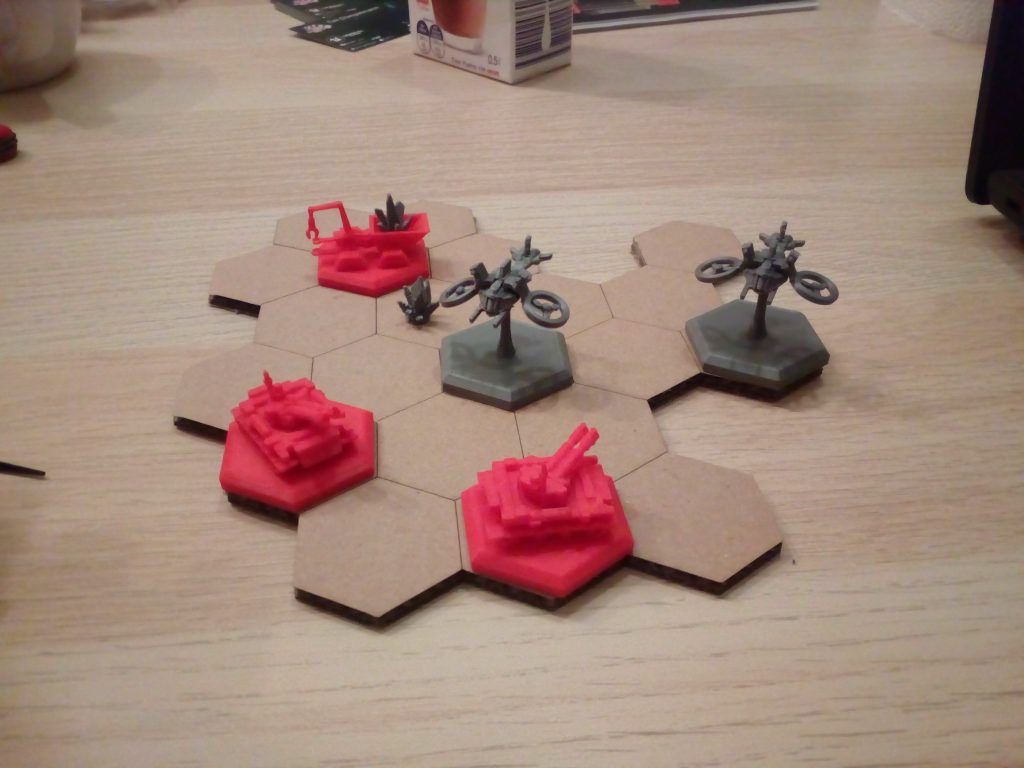
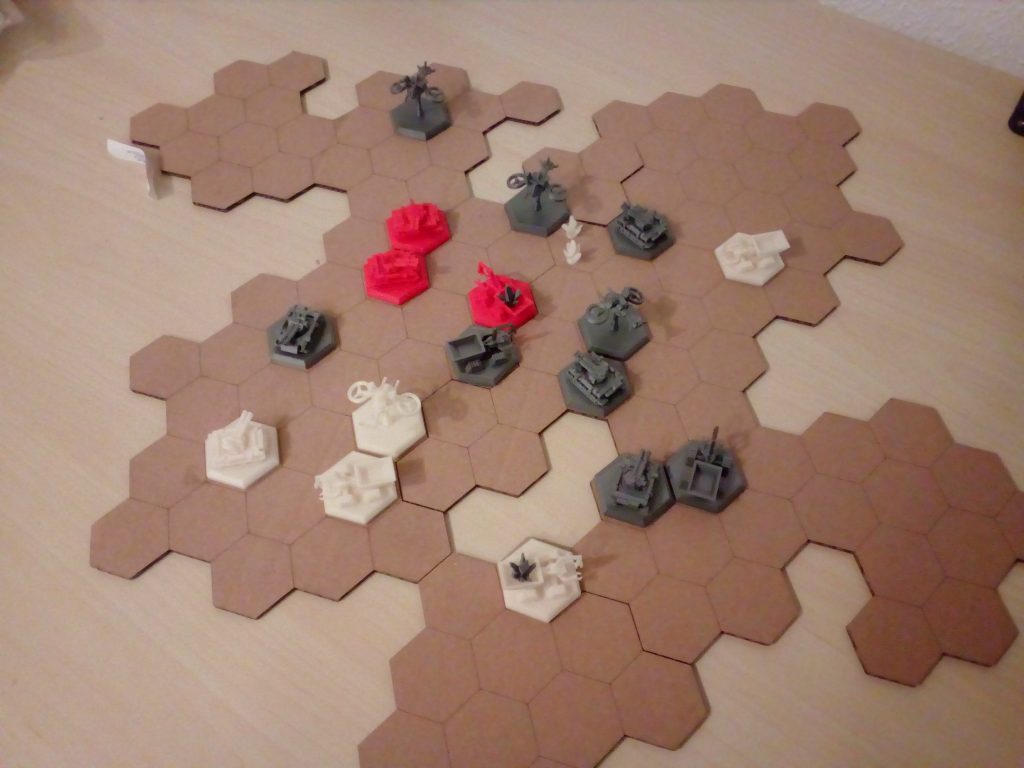
Since the laser was a little more complicated to use than the 3D printers, I was also quite happy about it. This one was perfect for making a nice modular game board. At the moment the game is not finished yet, so here you can see only a prototype for testing the game mechanics.

IMG_20190317_003814
IMG_20190329_223410

It will be some time before the first version can be played. Balancing will take a long time, and there are still many game cards to be designed.
I have already put the 3D models into a Github project. Stay tuned!

And Around It: The Lab

I myself could also help some people with their projects with my knowledge, and it makes me a bit proud :). I think coming together and working with like-minded people is what makes Fab Lab such a great place.
The technical competence of the staff is high and they do their work very professionally.
The Lab provides opportunities for everyone to try out technology. And I definitely found some people there that I would call friends.
In the meantime, I own my own 3D printer to move the project forward.
Thanks again to everyone who helped set up and troubleshoot!

IMG_20190316_193046

In my opinion, a place like the Fab Lab is an enrichment for Siegen. I just don’t understand why so many people walk past it. 😮 Anyway, I’m looking forward to spending more time there.

Until then: Happy work!

Yallah – You All Are Hackers

“YALLAH- You all are hackers” is an international exchange and cooperation project between the University of Siegen and Birzeit University in the West Bank in Palestine. The project is funded by the DAAD program “University Dialogue with the Islamic World” and will be implemented for the first time in 2016. In two exchange phases of four weeks each, ten students from one university visit the other country. In addition to getting to know the region, culture and people, it is also about working together on projects that focus on local issues. The goal is the joint development of creative and sustainable approaches to solutions, in the implementation of which the students also make use of digital fabrication methods, which happens, for example, in the Fab Lab Siegen or in and around (hack/maker/*) spaces in Palestine.

yallah_gruppenarbeit

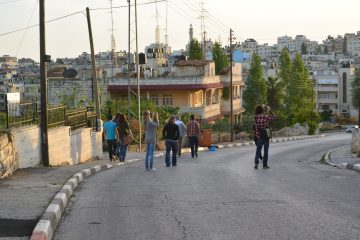
As part of the first exchange phase, ten students and two staff members of the University of Siegen traveled to the West Bank this April, excited and full of expectations. After an initial orientation phase with many new impressions, all students from both universities brainstormed together to develop project groups dedicated to the various problems and possible solutions.

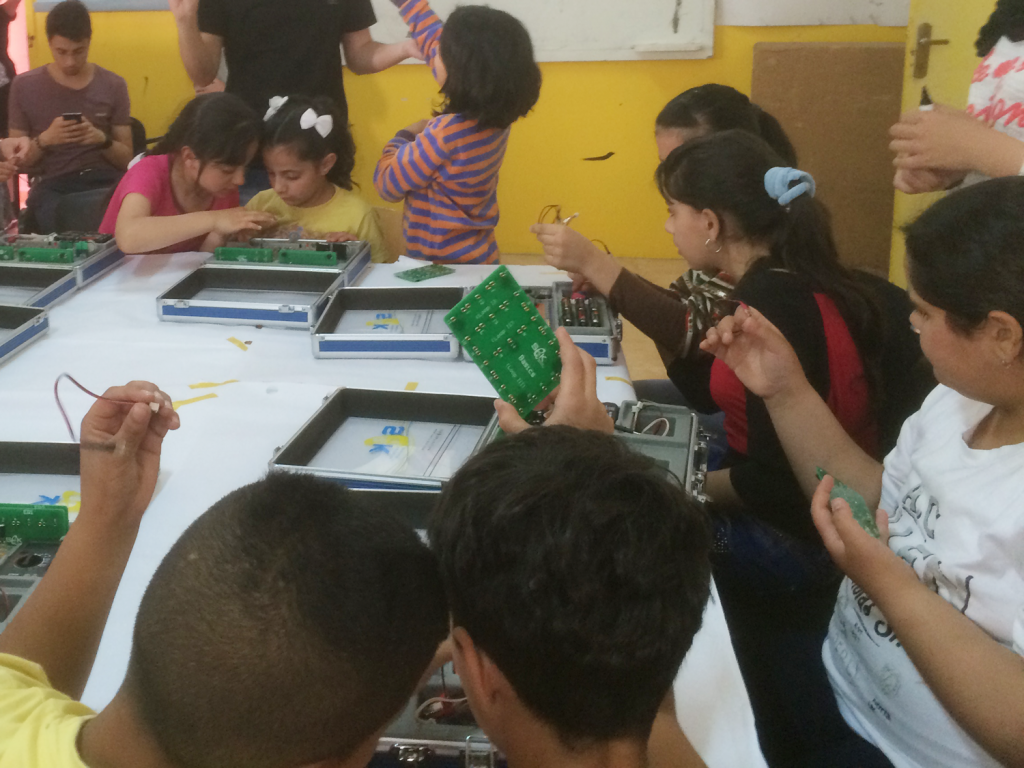
One project group, for example, dealt with the computer club in the refugee camp “Al-Amari”, which on the one hand aims to promote intercultural exchange between Palestinians and refugees on site, and on the other hand offers a collaborative and playful addition to the limited educational opportunities in refugee camps. The club was already established in 2013 as part of research work for the come_in project. The students first took care of repairing the infrastructure on site and developing new workshop ideas with the available resources. Afterwards, several workshops were held with children, in which they were taught the simple basics of electrical engineering so that they could directly build their own first circuits. Even after the first exchange phase, the on-site workshops are still continuing.

Another project group dedicated to the (plastic) waste problem frequently found in the Middle East (as in so many parts of the world) developed, among other things, the first prototypes of edible cutlery made of dough and conducted a study on plastic bag consumption in supermarkets. Another project team built a small garden in the refugee camp under the title “Urban Gardening”, for which, among other things, plastic bottles were recycled as watering cans and planters. The individual groups repeatedly made use of principles of hacker and maker culture in their projects.

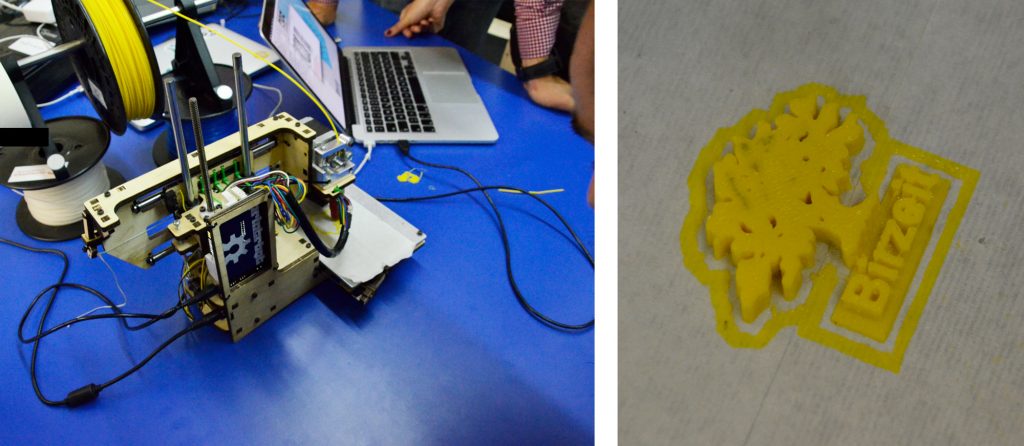
But outside of the projects, there were other points of contact with hacker and maker culture, as well as with digital fabrication opportunities on the ground. For example, students participated in an Arduino workshop at the first Palestinian hackspace, Vecbox. In addition, students and staff from Siegen, who are currently also actively involved in setting up our Fab Lab, held several 3D printing workshops at the university, where not only were the basics of 3D printing taught, but the participants also designed and printed their own first 3D models together. As a prerequisite to holding the workshop, the available 3D printer was also collaboratively maintained and serviced. In the course of this, the university partners of the University of Siegen were also able to advise a professor on site on the purchase of a new 3D printer.

During the four weeks on site, the students experienced a lot. A lasting impression was left in particular by the strong contrasts between innovation and tradition that are lived out locally. For example, a horse plowed a field right next to the Hackspace, where innovative technologies like 3D printers are used.

In summary, a trend toward innovation via a community-oriented hacker and maker culture – as in many places around the world – is also evident in Palestine. However, the development, elaboration and dissemination of these trends, which ultimately also have a great deal to do with self-determination, are always faced with major challenges. Yallah is one piece of the puzzle of many in the establishment of global collaborations at eye level, in which creativity, self-determination and the use of (digital and distributed) fabrication methods play important roles. In August, the second exchange phase begins, which will take place in Germany and during which the students also want to further develop their solution approaches at our Fab Lab. You can read detailed reports about the experiences during the exchange so far on the project’s blog.