

Instructions
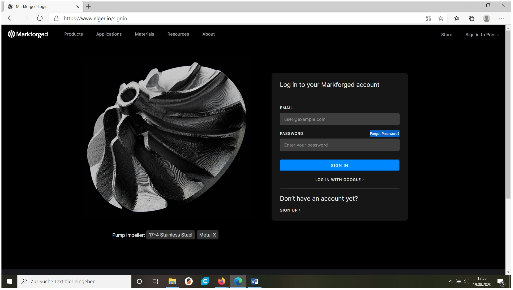
- Logging into the Online Slicer
The best thing to do is to talk to the Fab Lab staff. These have access to the slicer running in the browser.
- Import file in slicer
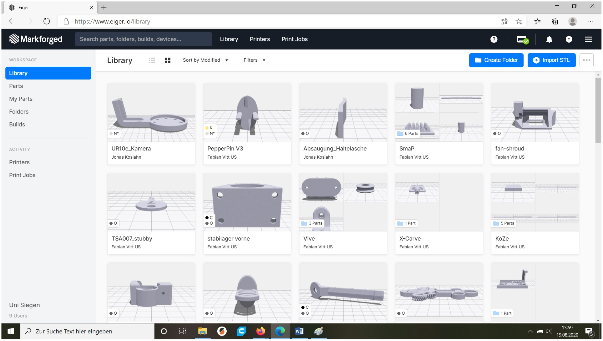
Here you are in the library and you can upload your file via import STL.
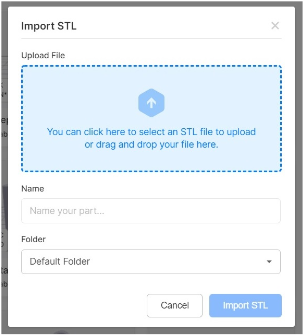
Select the file and click on import STL.
- Slicer settings
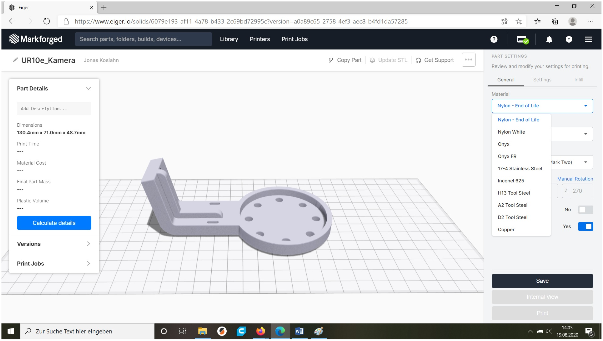
In the Material tab you can select the currently loaded material.

Under Reinforcement Material you can select a reinforcement. It’s best to ask the staff if your model needs reinforcement.
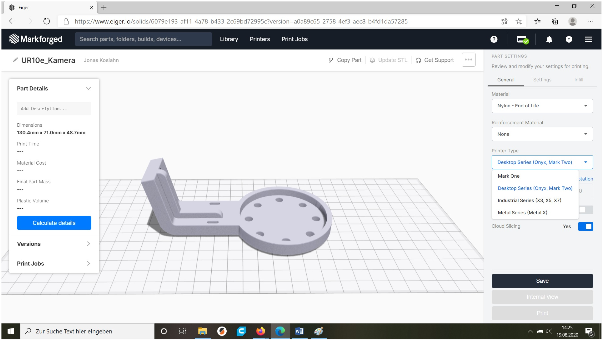
You can select the correct printer via Printer Type. We have the Mark One and the Mark Two to choose from.

Under Settings you have the option of making fine adjustments. Most of the time the settings fit and can be adopted.
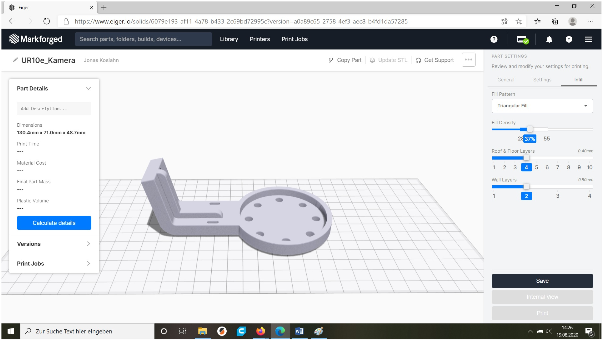
Under Infill you can regulate the density of your model. Here, too, the settings can usually be adopted.
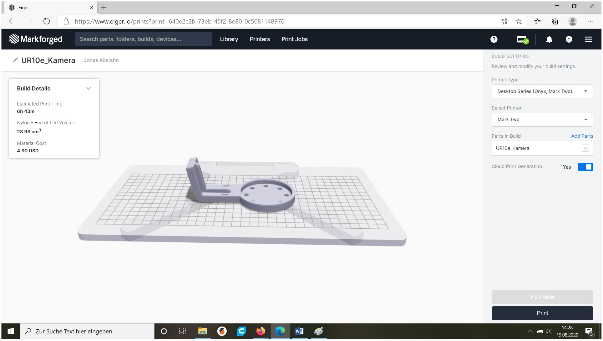
- Start printing

When all settings are correct, you can press Save.

Then you have to press Print.
Now you will see how much printing time and material is needed for the model. Then press Print again.
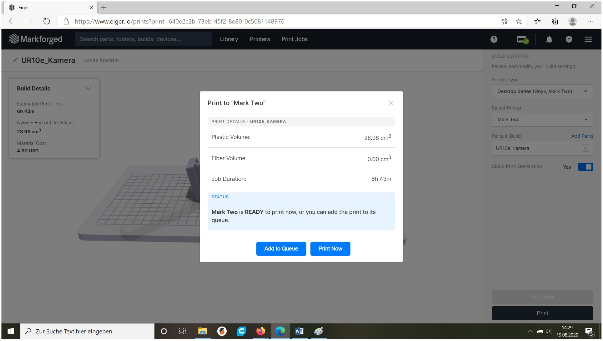
Now all important data is displayed. Confirm by pressing Print Now.
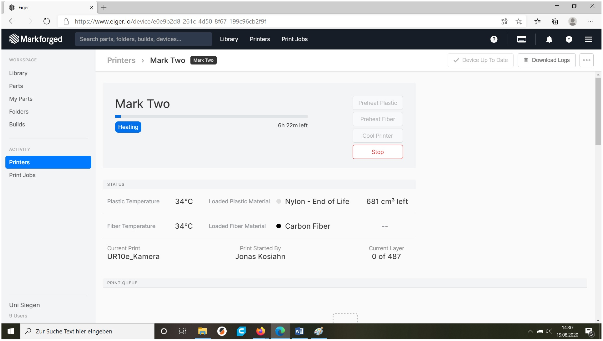
Finally, you end up in this window. Now the printer is called up and then starts printing.
- Printer starts working

The display of the printer shows that it is now heating up.
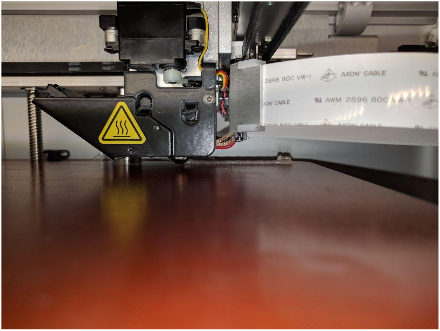
The printer first draws a thick line on the edge. Then he starts printing the model.
0 Comments