A field report by Henning Schroeder
In mid-January 2019, during the course of a project with my Raspberry Pi (Wikipedia) 3B+, I was looking for a suitable case that would hold my PI with a 3.5-inch TFT screen. Since I’m new to Raspberry Pis, I thought that doing as much as possible myself would get me up to speed faster than click and buy products from various online markets. With this in mind, I searched for a company in Siegen that performs 3D printing. Right on the first Google run, I came across the Fab Lab website. After a quick phone call to the Fab Lab, I got the info to just come by the following Friday. So it happened that shortly after I entered the Fab Lab I was shown the entire Fab Lab, the staff and the equipment in an extremely friendly manner. The concept of the Fab Lab was previously only known to me from articles on the web. However, this still seemed a long way off for a city like Siegen. All the more I was surprised and thrilled. Everyone present made a very nice impression while focused but always helpful in the Fab Lab.
The 3D Model and Printing
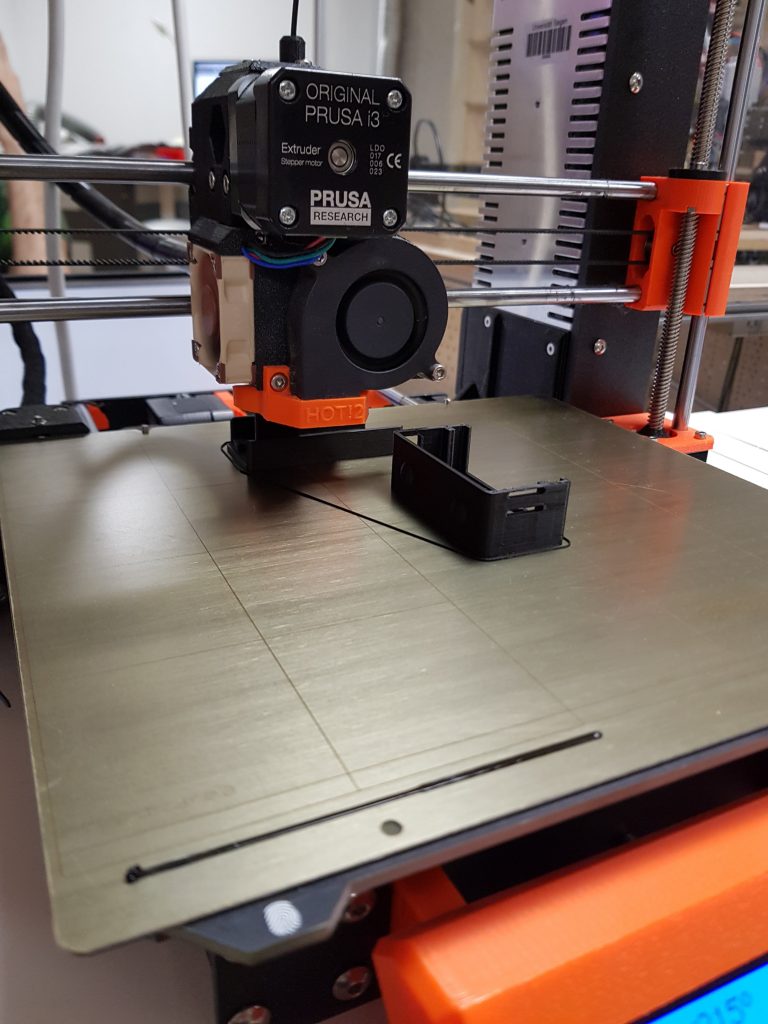
So, with the help of Fabian, I started using the Slice program (Wikipedia) to prepare the file I had previously downloaded via Thingiverse for the 3D printer, brand “Prusa“. After slicing, we exported the generated G-code (Wikipedia) to an SD card, again plugged it into the 3D printer, and started preparing it at the printer. This consisted of removing any previous printing residue from the printing plate with an alcohol solution and then briefly polishing it. After that, we started printing with a few keystrokes. According to the ad, this was supposed to last longer than the Fab Lab’s opening hours, whereupon Fabian made me the offer to put the print on a shelf after it was finished, from which I could pick it up at any time. After a few more Q&A situations that I needed to understand the complexity of the community/open source model in Fab Lab, I left.
Mistakes Lead to New Ideas
Of course, only to return to the Fab Lab three days later in the evening, full of excitement.
I tried to insert the PI including the screen into the case directly after I had fetched the case from the aforementioned shelf. Unfortunately, the top layer of the screen cracked in the process. This can probably be attributed to the ambient temperature at that time, which is probably not very good for a screen at 0°C. Mistakes in a project and frustration lead to new ideas (at least for me).
A Project Rarely Comes Alone
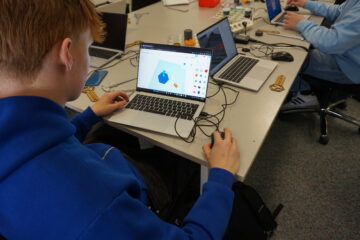
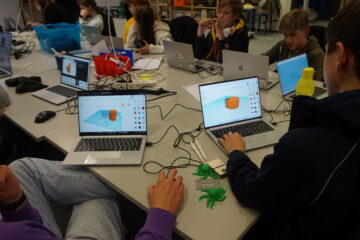
So it came that I was looking for a new housing project. This I started slightly smaller and simpler than the screen case. Again on Thingiverse. Once again soaking up ideas. Using software called Blender (Wikipedia), I created a “thrifty” cage-look bumper case over many hours of gruesome desperation. The next Friday, for the next Open Lab, I sought out the Lab again to dive into 3D printing. After a little help from the Lab visitors and staff present, the bumper case printing began. This one also worked to complete satisfaction and fits spot on.
Now I am busy with my thoughts around the next project at Fab Lab Siegen.
3D Models to Copy and Develop
The 3D models for the Pi cases are also available for download:

0 Comments